Australian Sailfish: Backing Blocks and Hardware

I’ve been making only slow and occasional progress on the Australian Sailfish. Home improvement projects, interspersed with periods of nursing my persistent malaise, interspersed with acquainting myself with a new camera on local, morning jaunts, and a comic book cabinet project I’m doing for a friend, have intervened. Further, what little progress I’ve made I simply haven’t documented, or I documented it but didn’t bother to upload it here. So let’s do some catch-up.

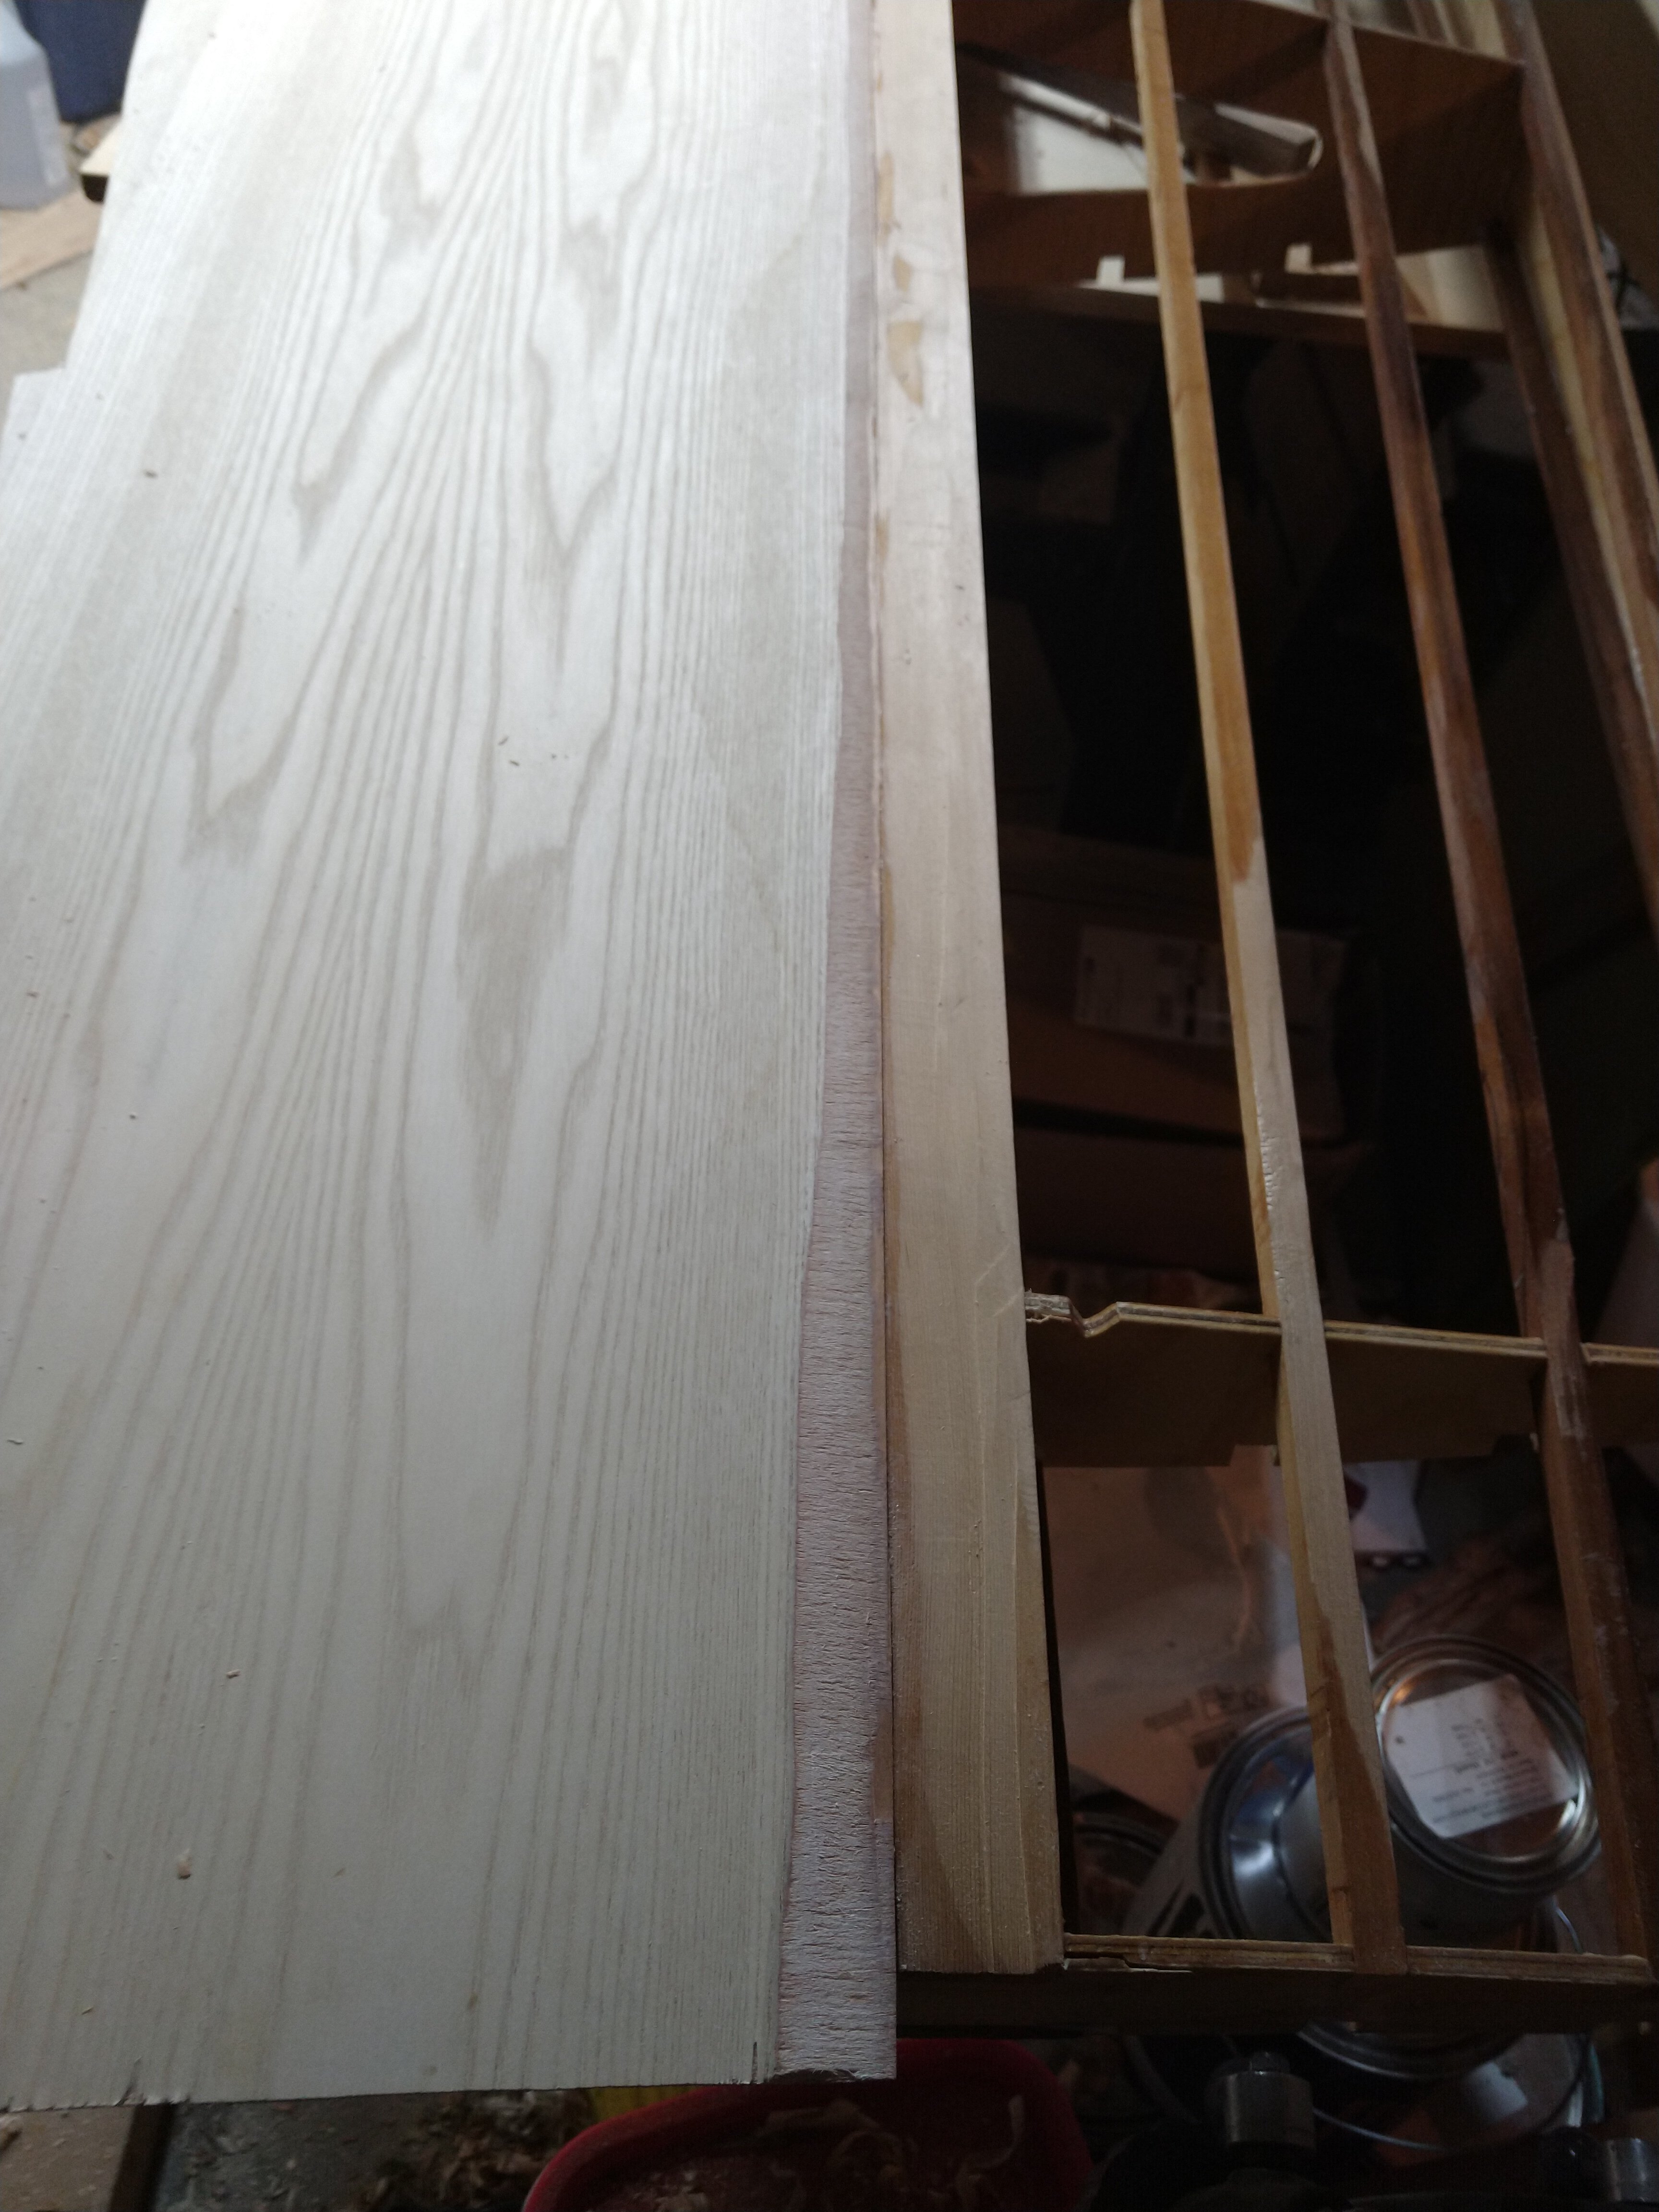
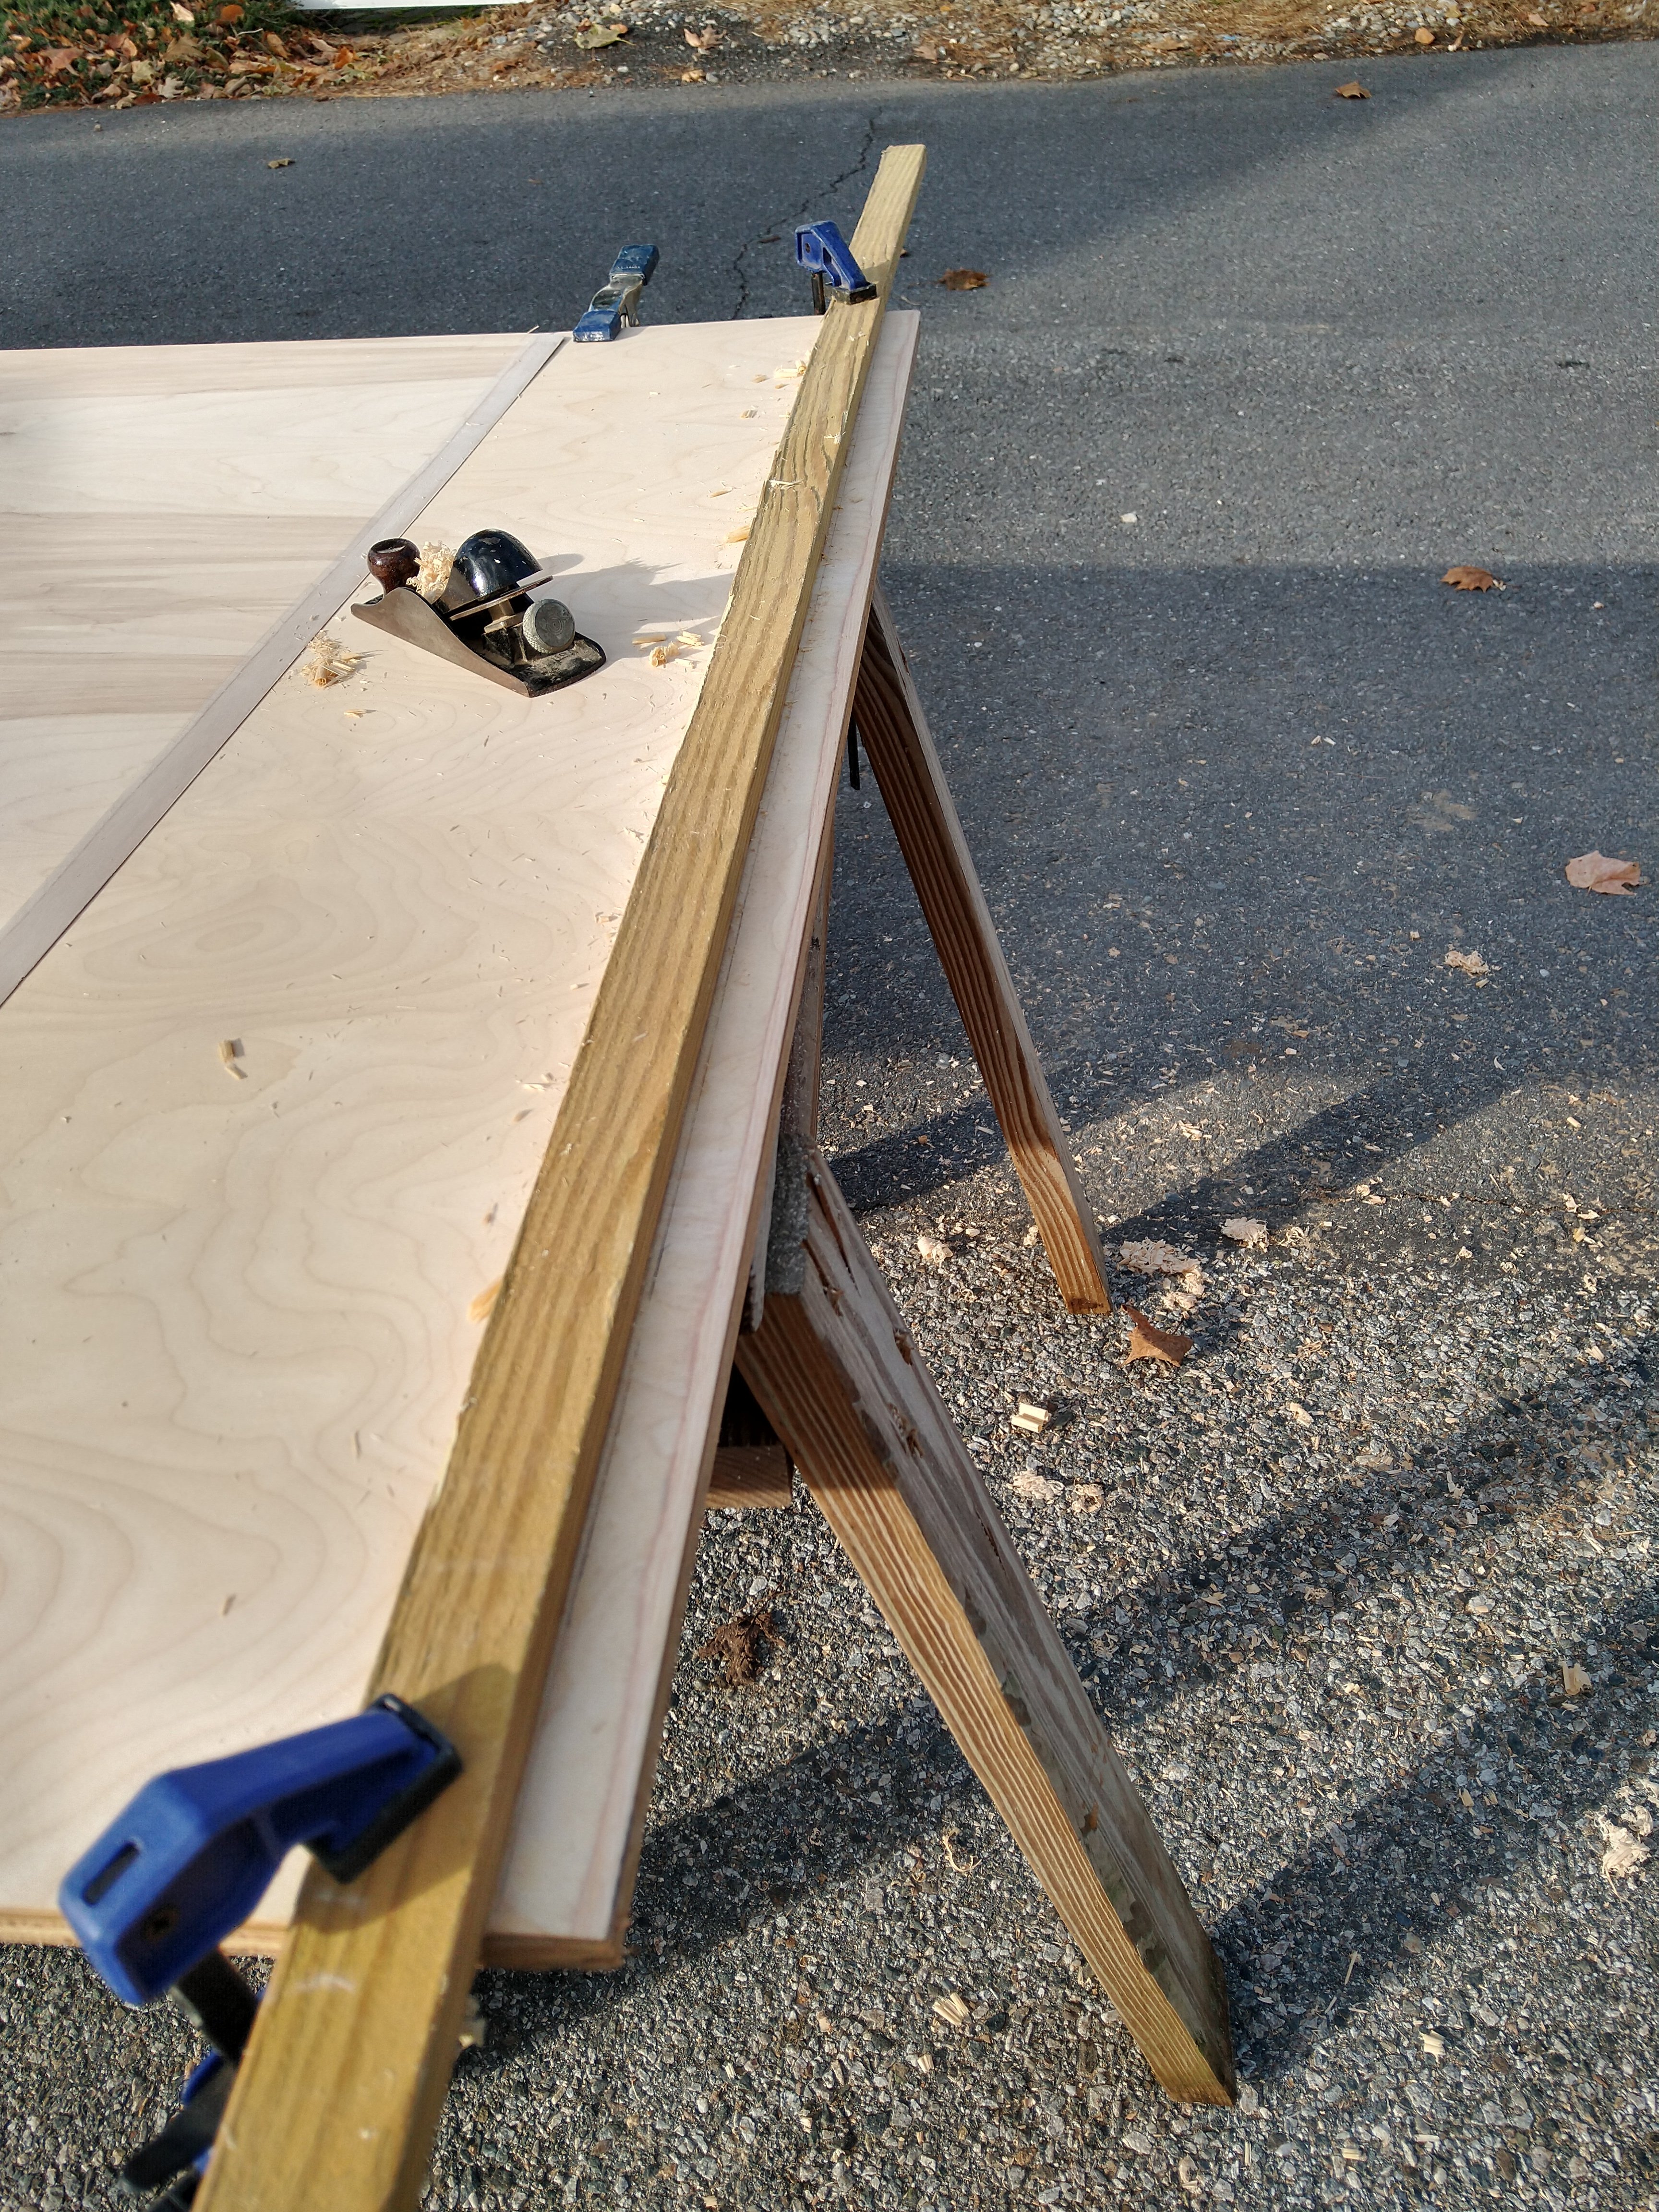
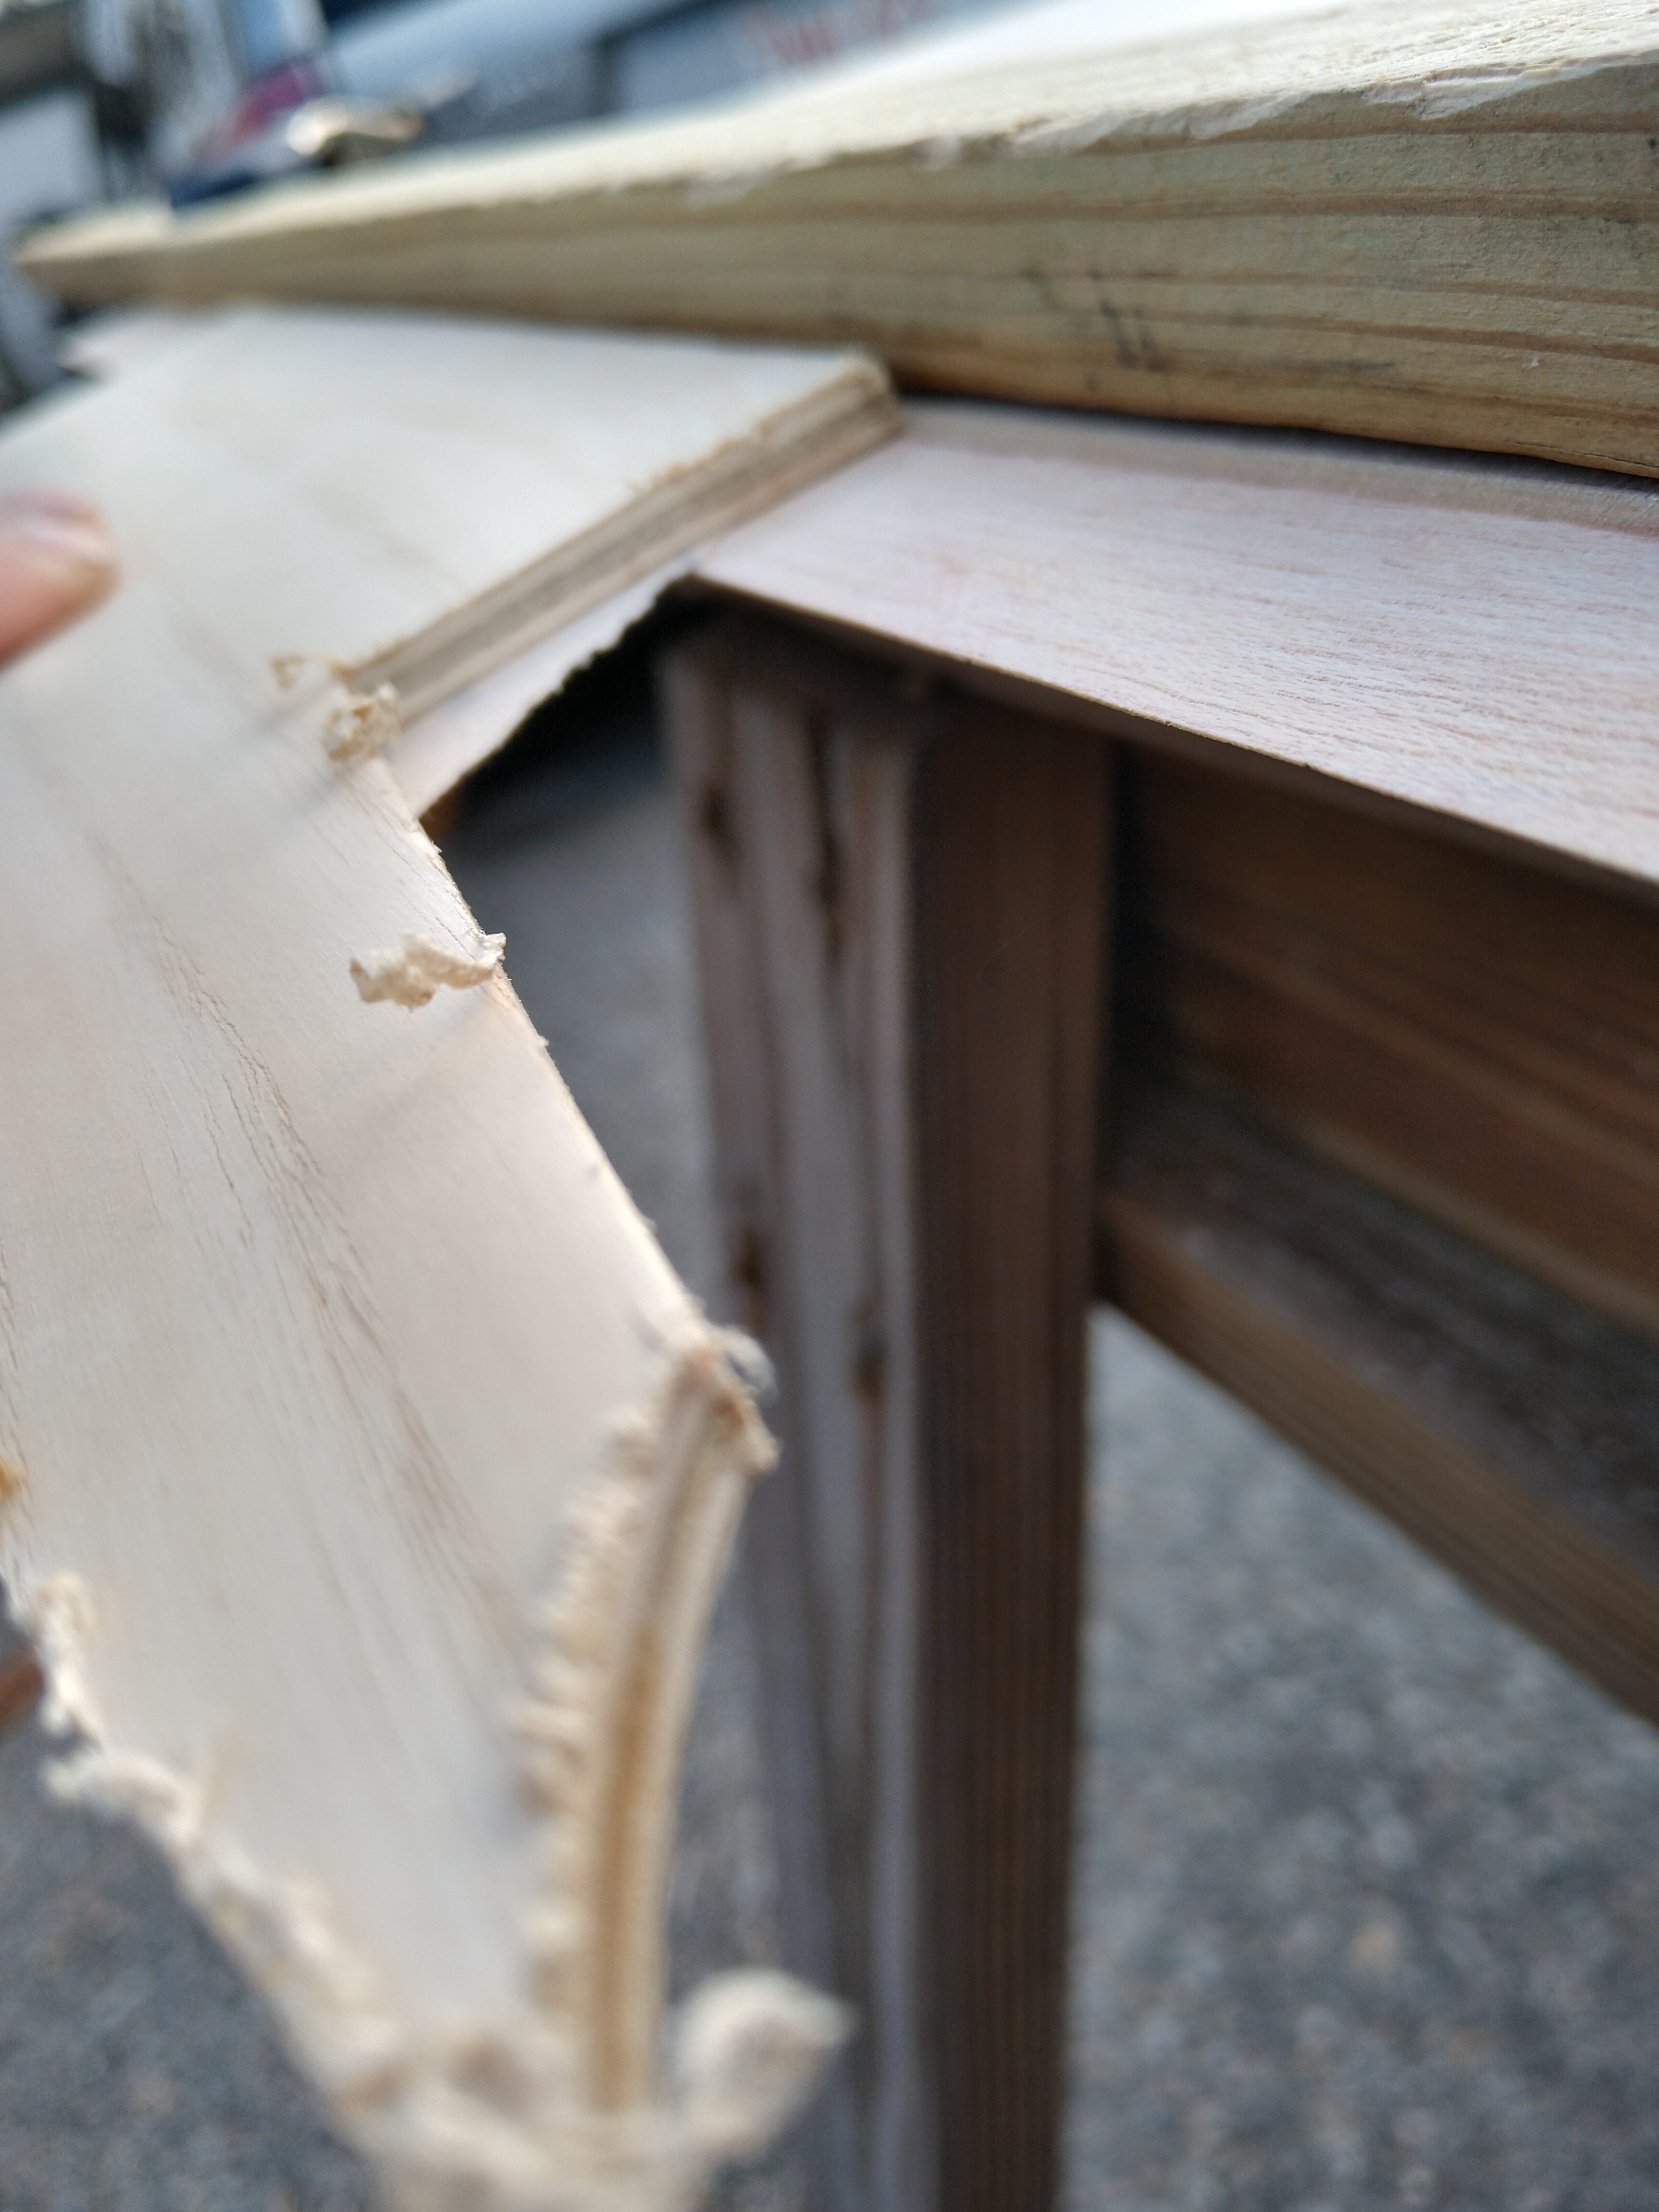
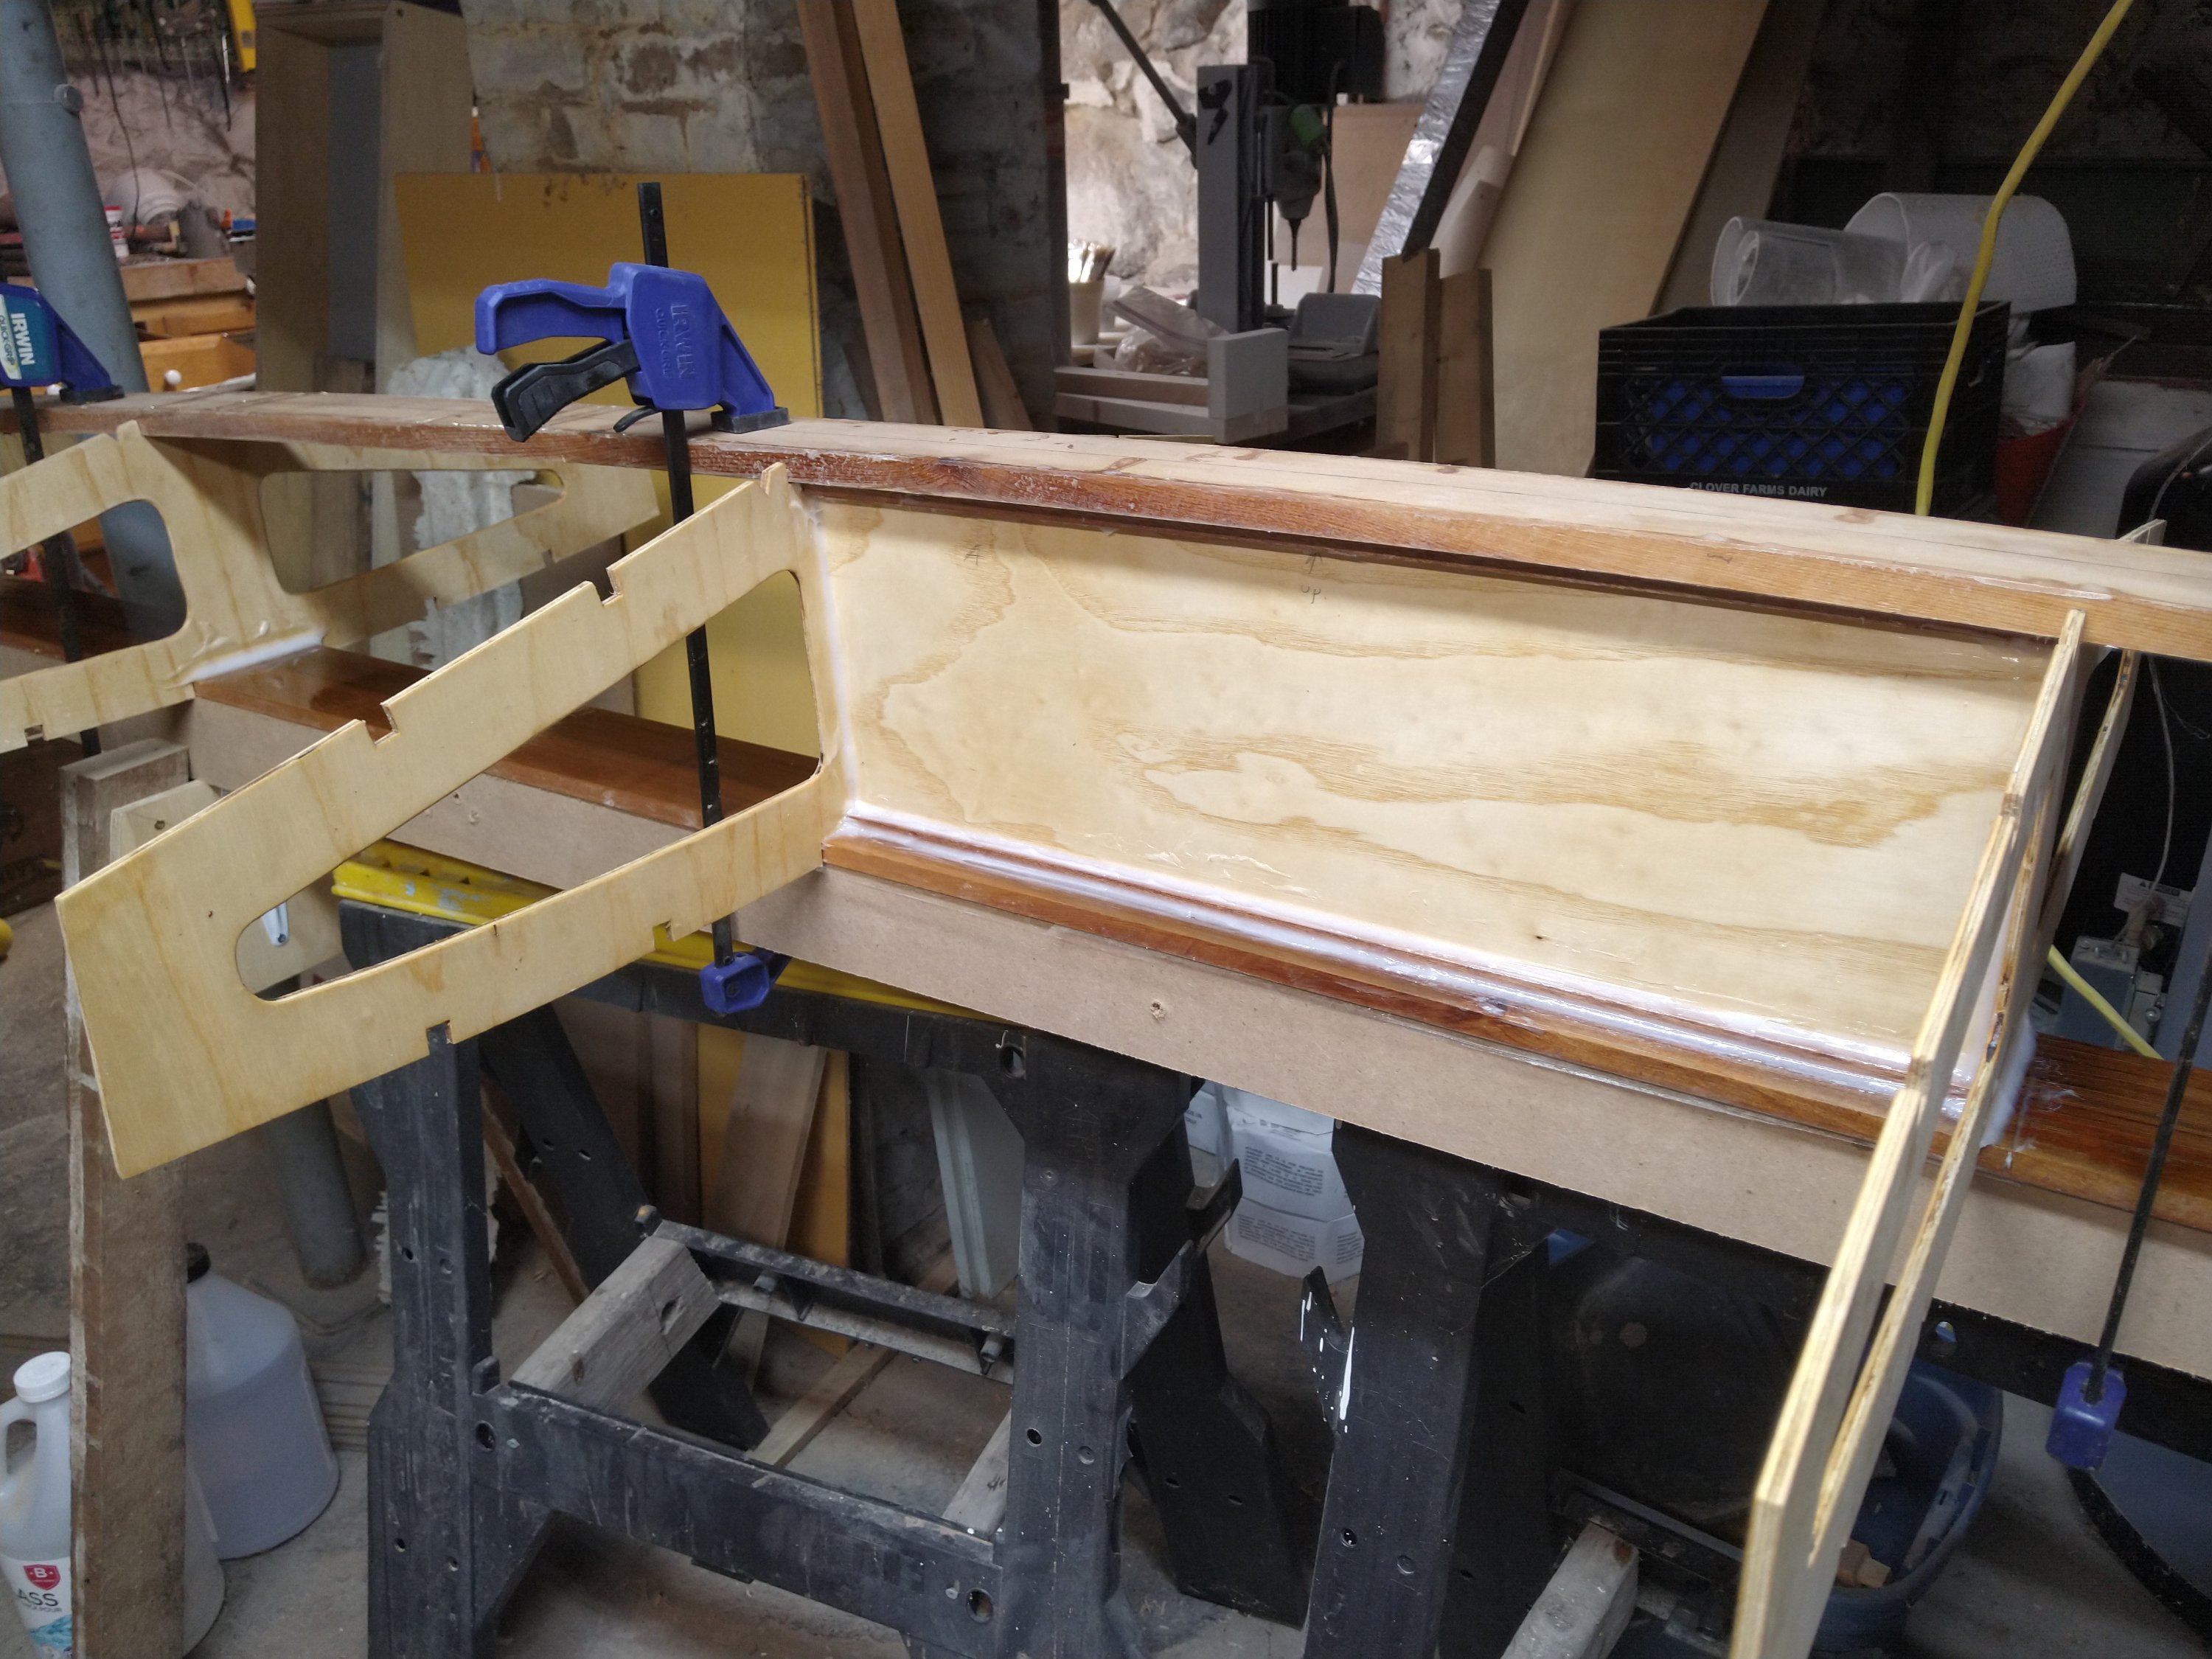
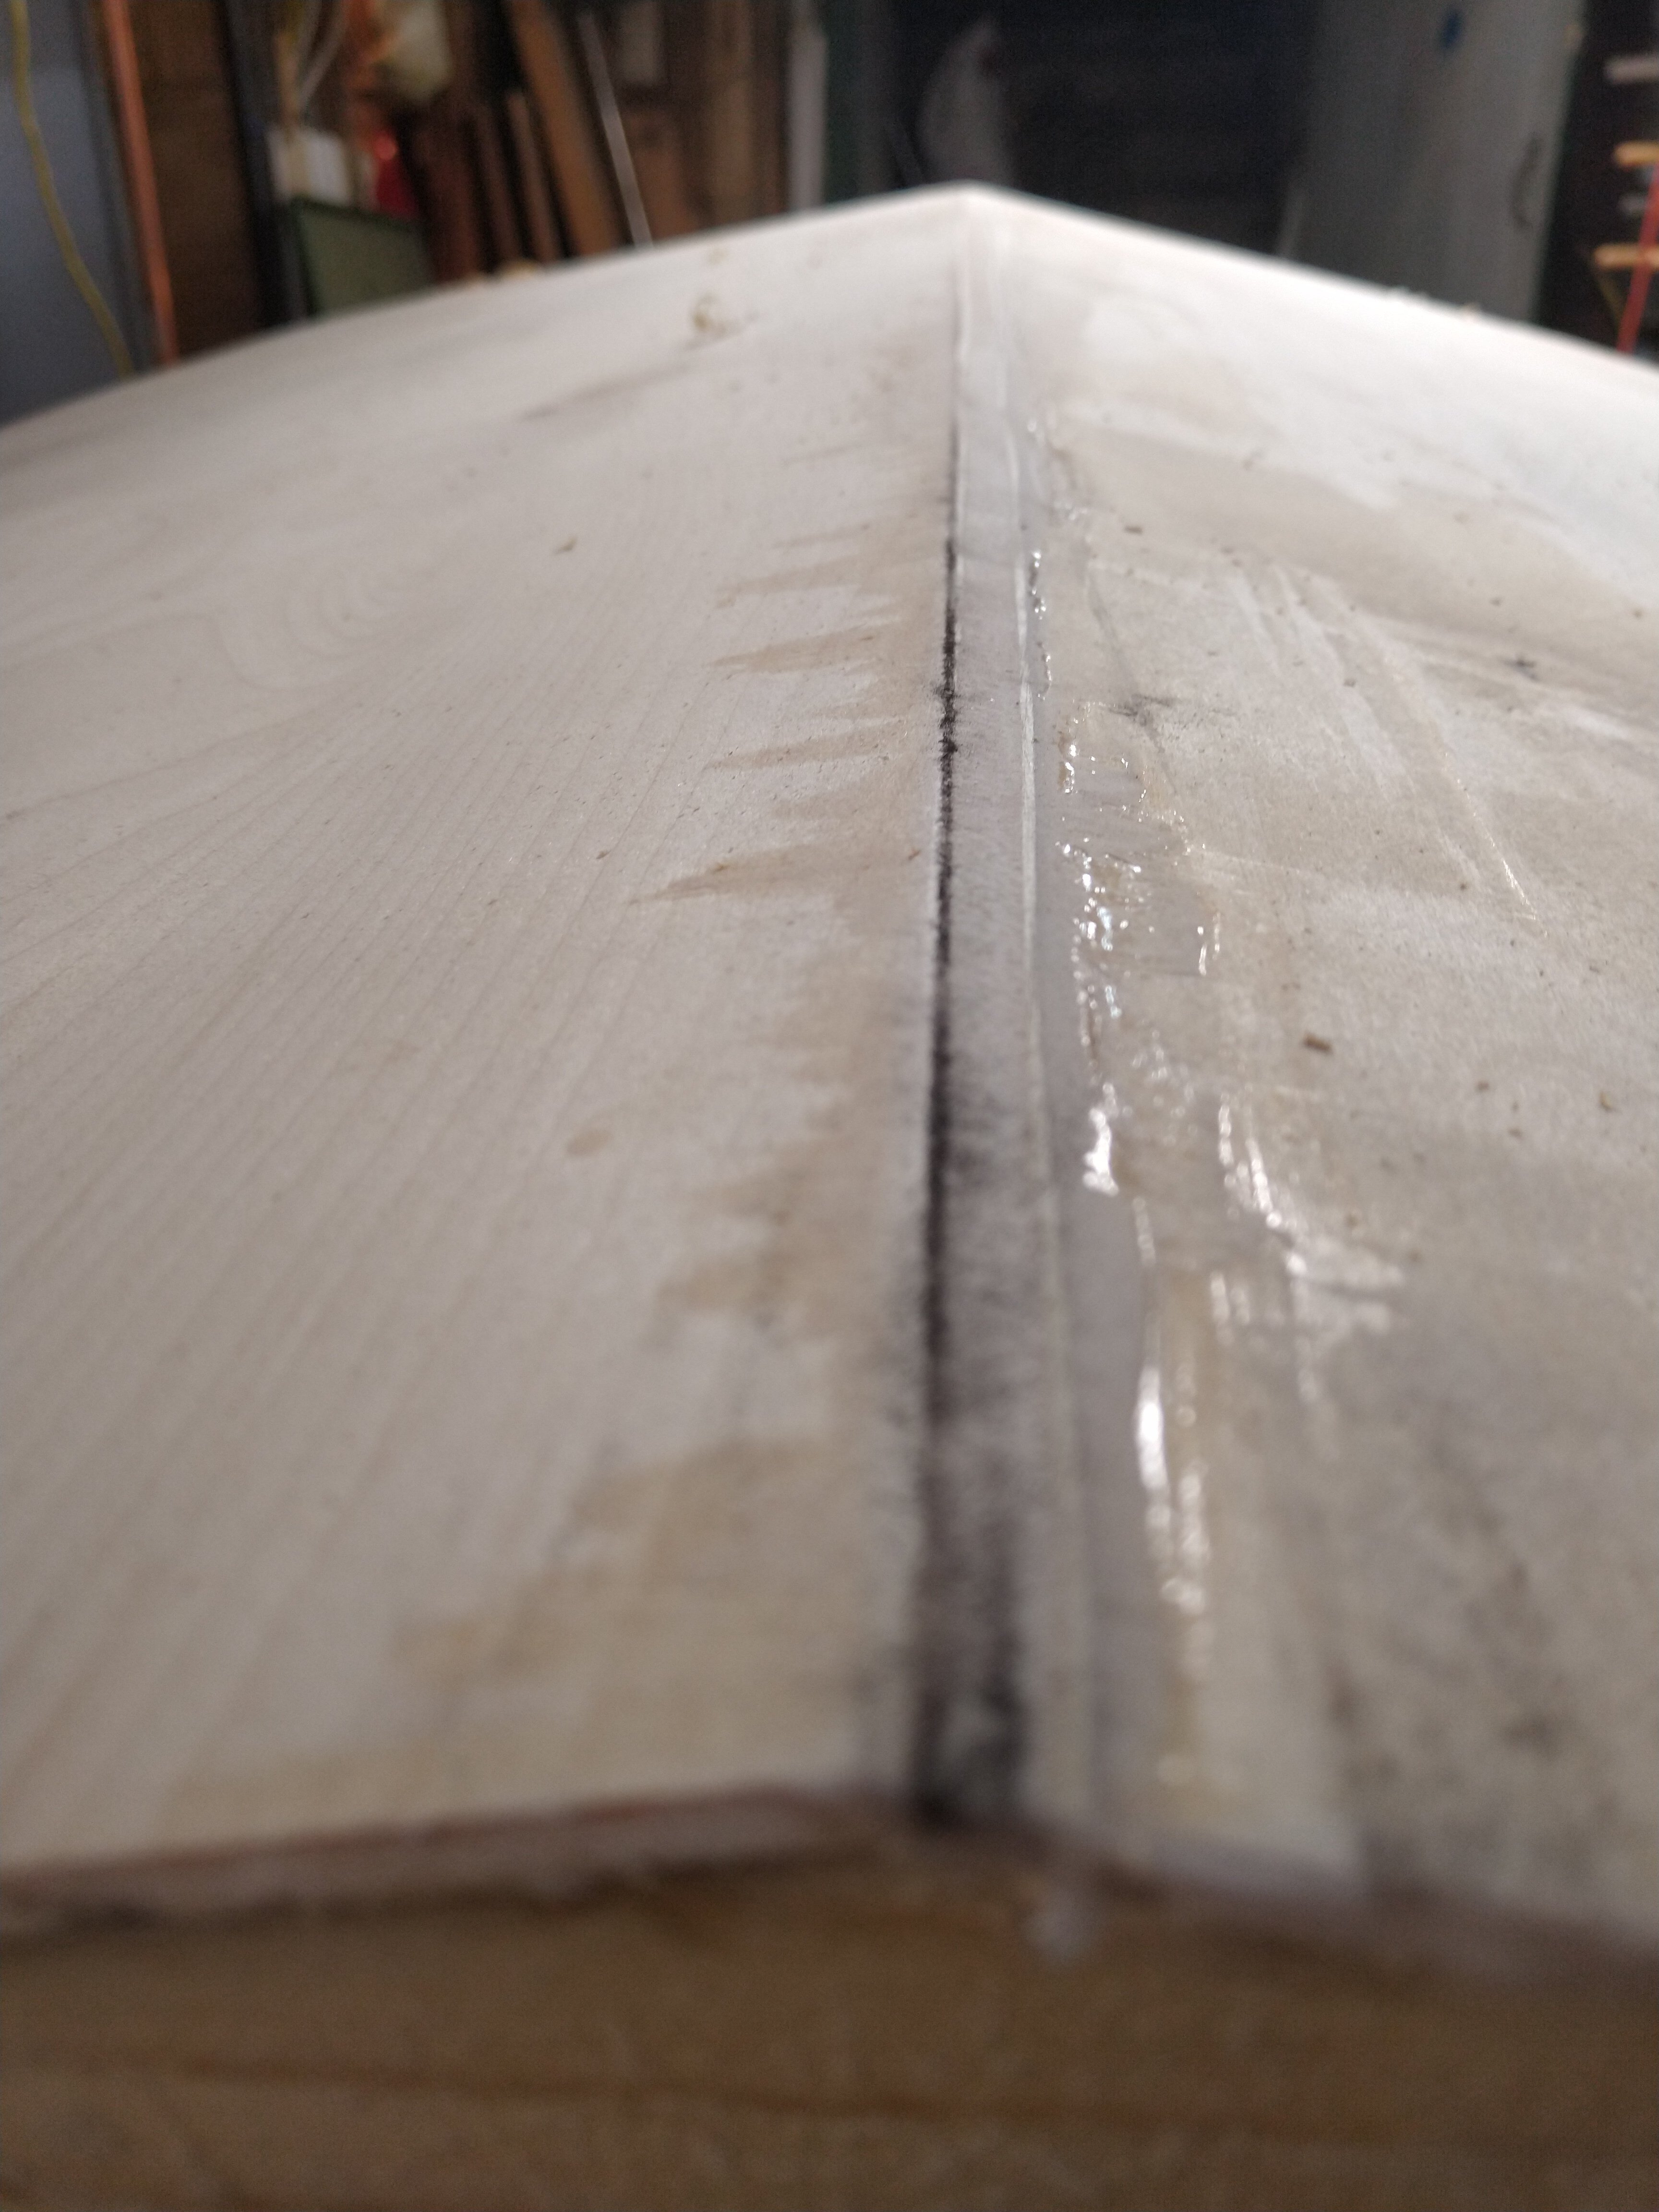
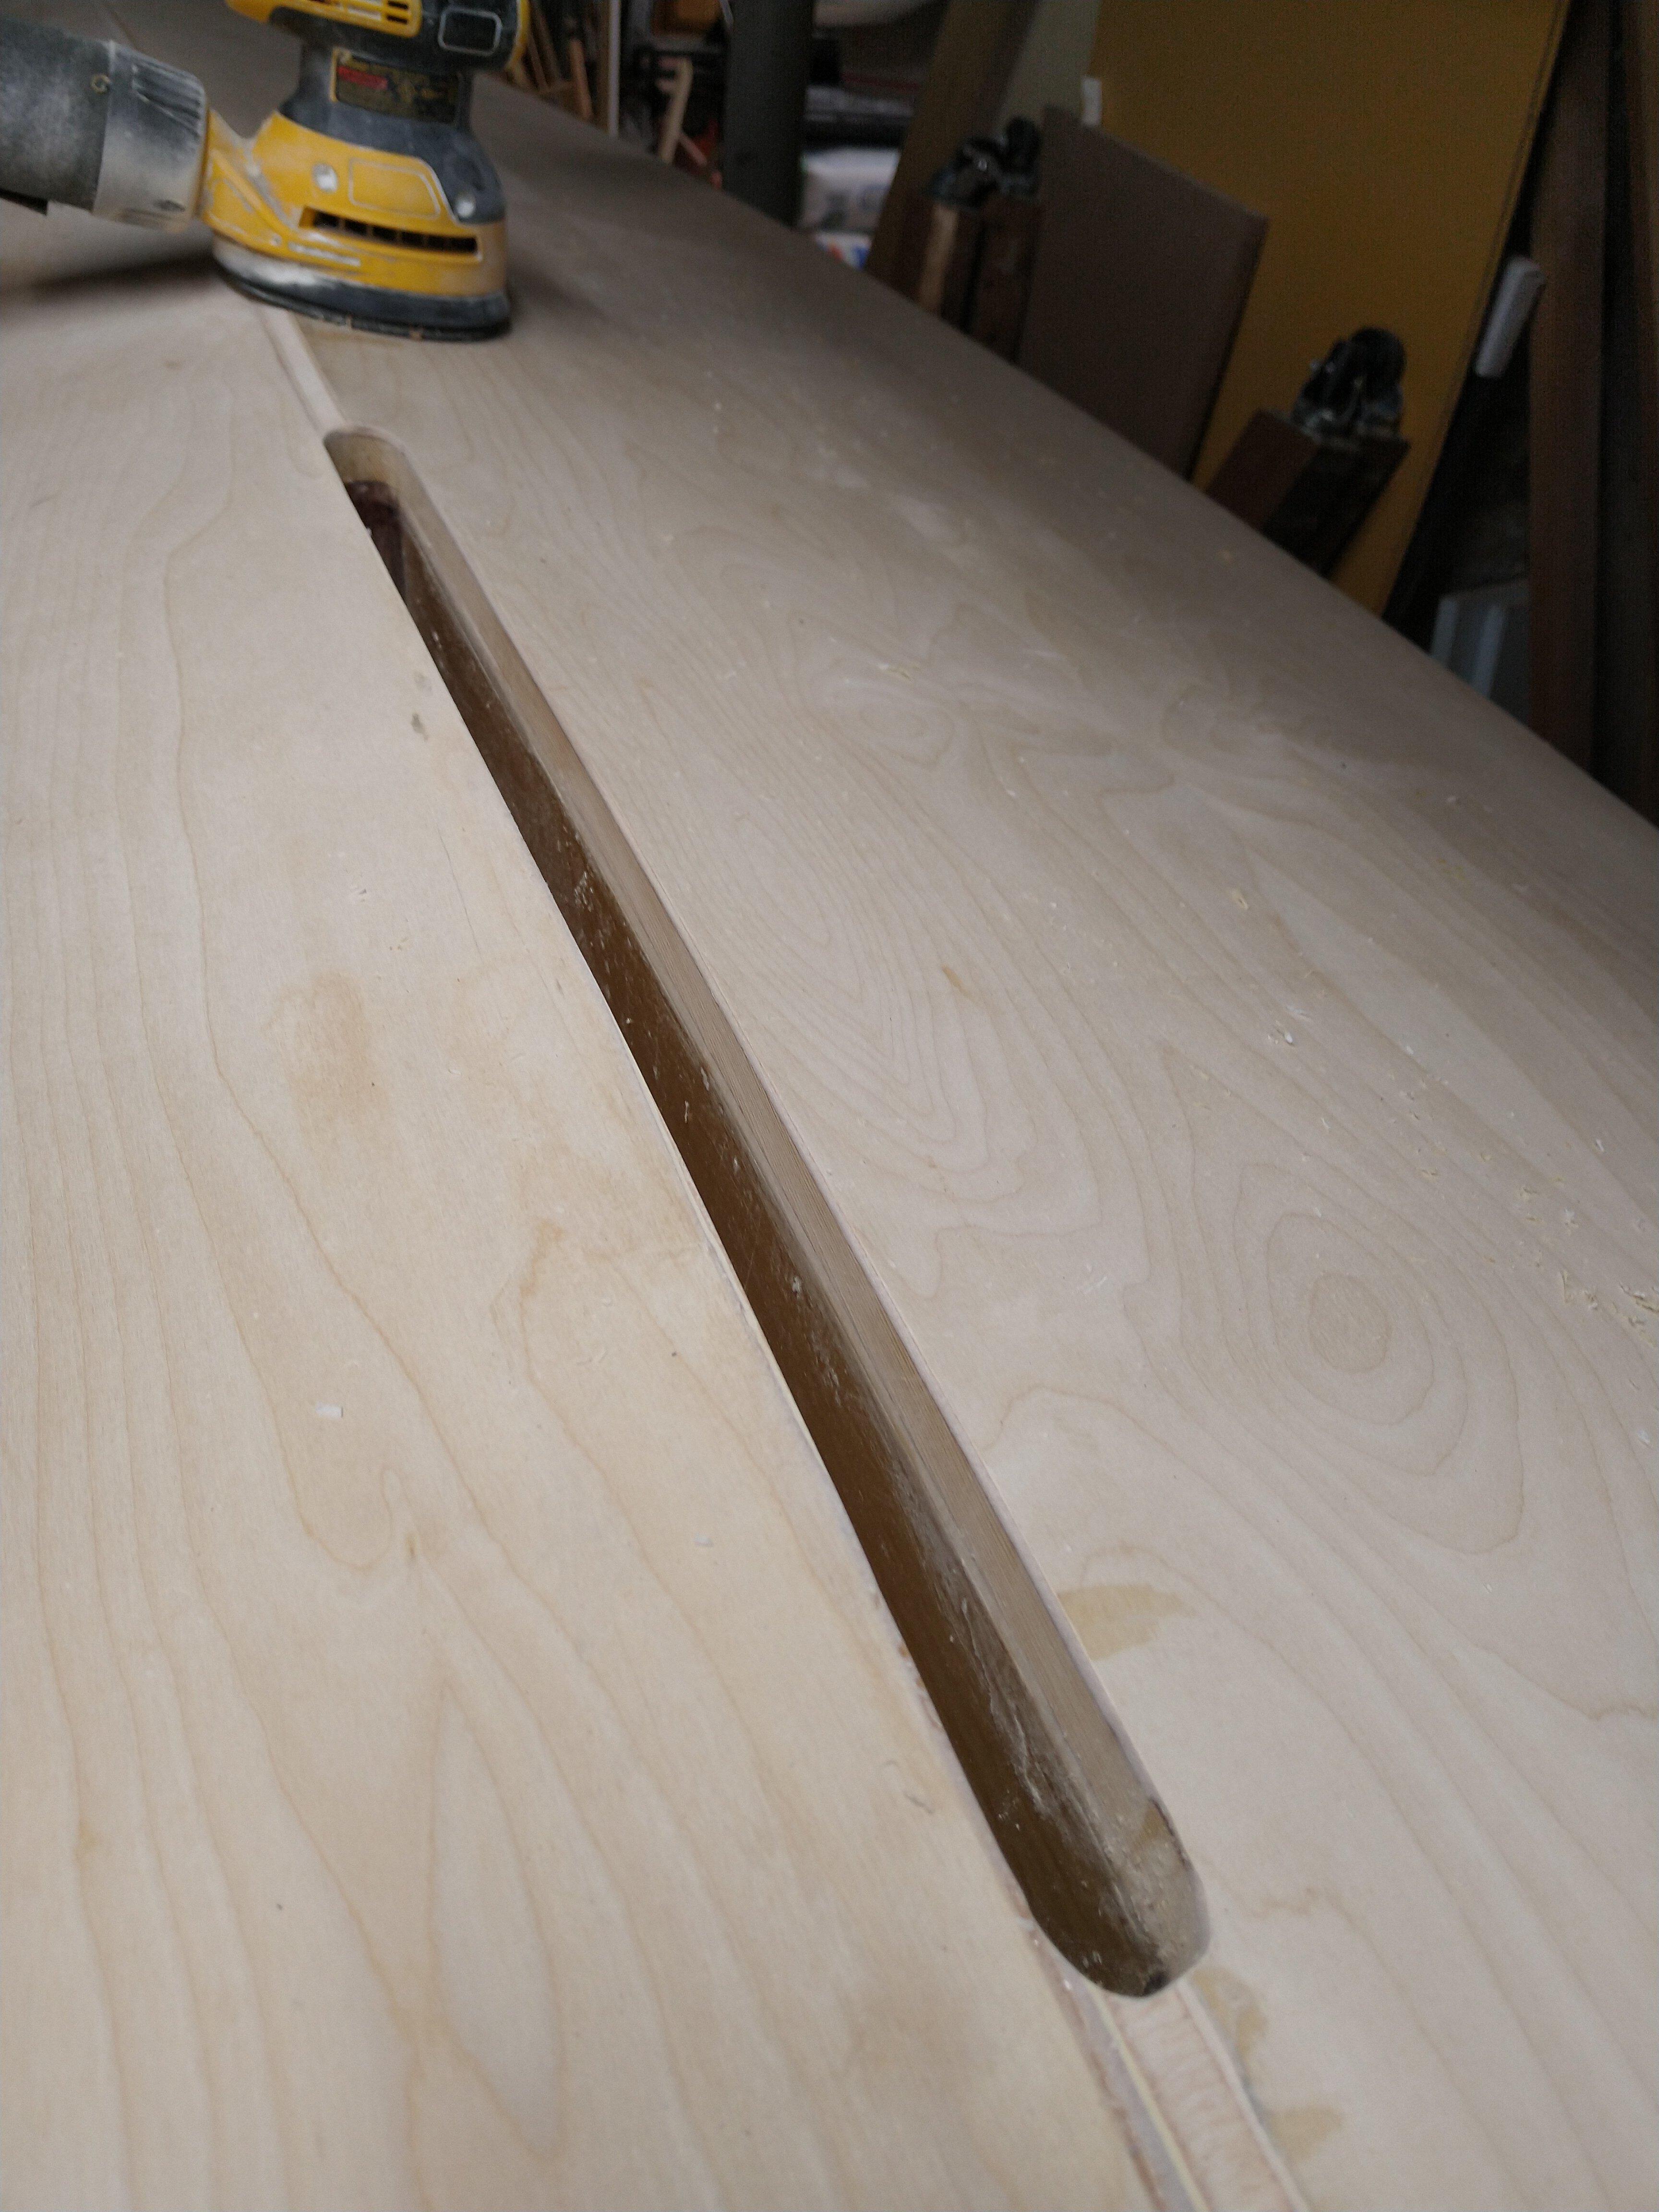
First, I managed to get the bottom on. This was fussy, and the results were not spectacular. Something I was afraid of happened: the bevel on the keel wasn’t really coplanar with the angle of the stations. Either the drawings had me cutting too deep of a notch on the stations for the keel to set in, or my stock was too thin, or I inadvertently planed it down too far. As a result, the two bottom pieces didn’t meet cleanly and I had to save it by filling with thickened epoxy. If I had wanted an unpainted bottom this would have been a deal breaker. But then, if I had wanted an unpainted bottom then I would have butted the two halves, not lapped them.

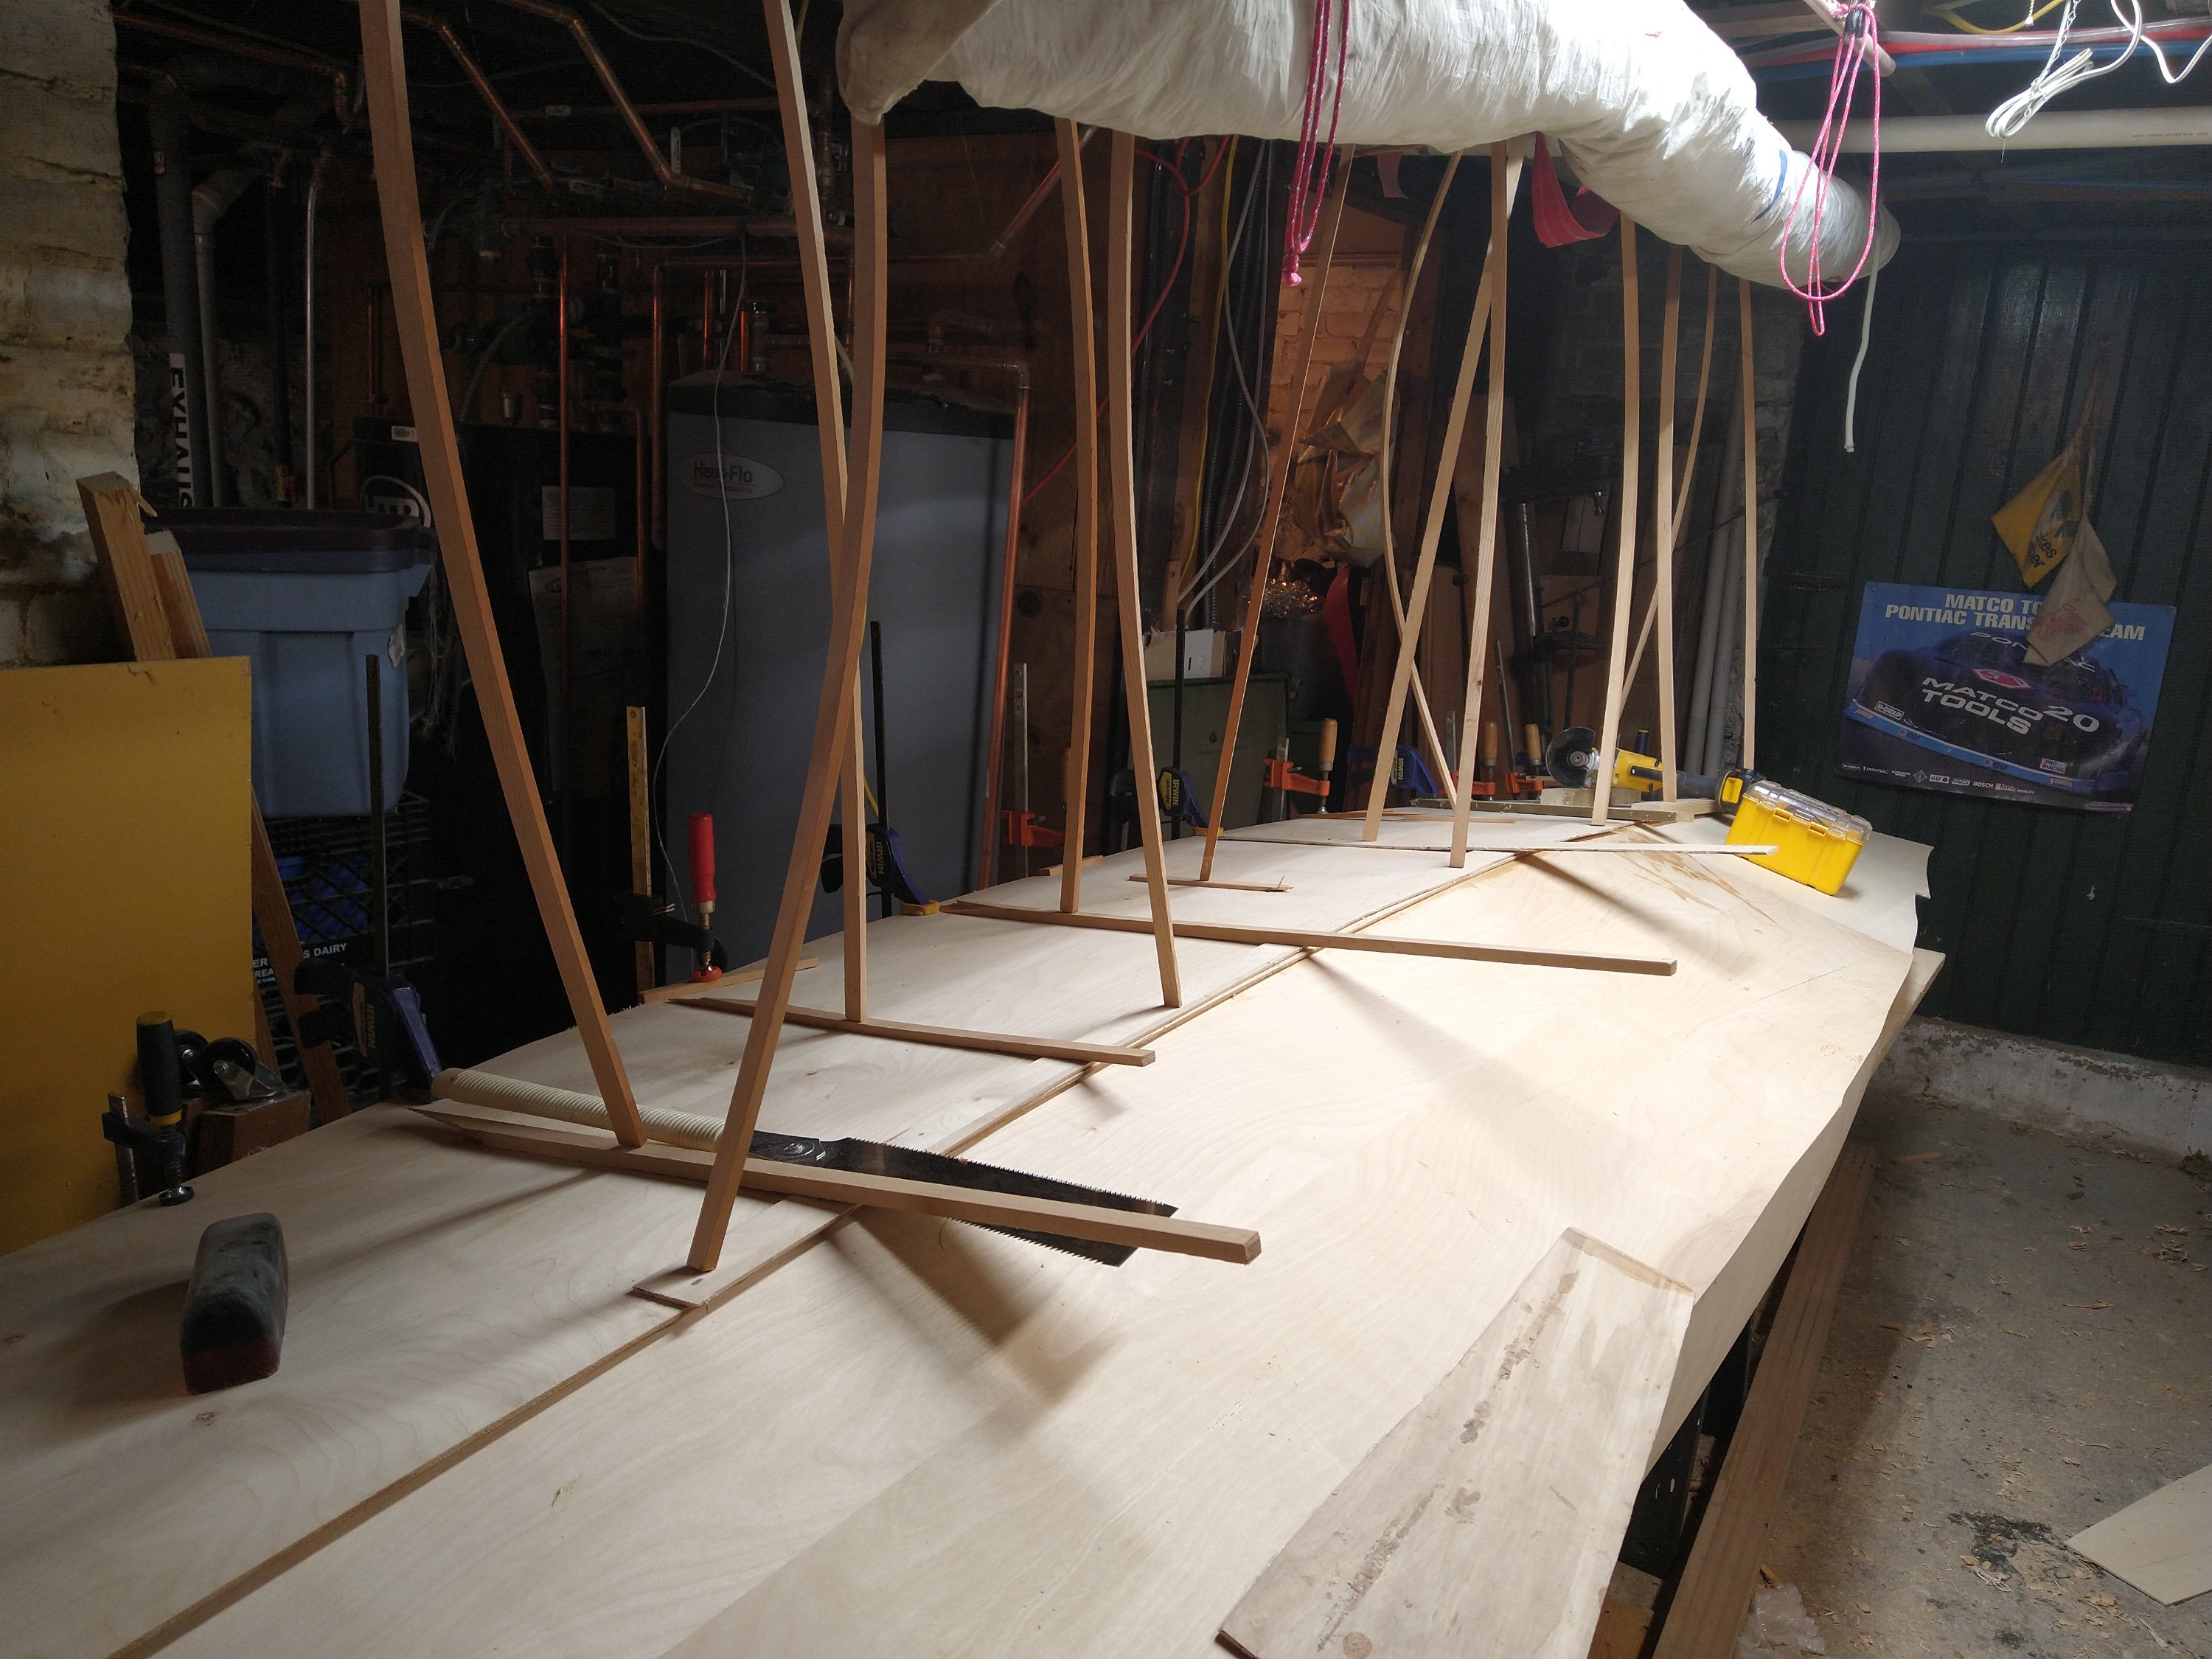
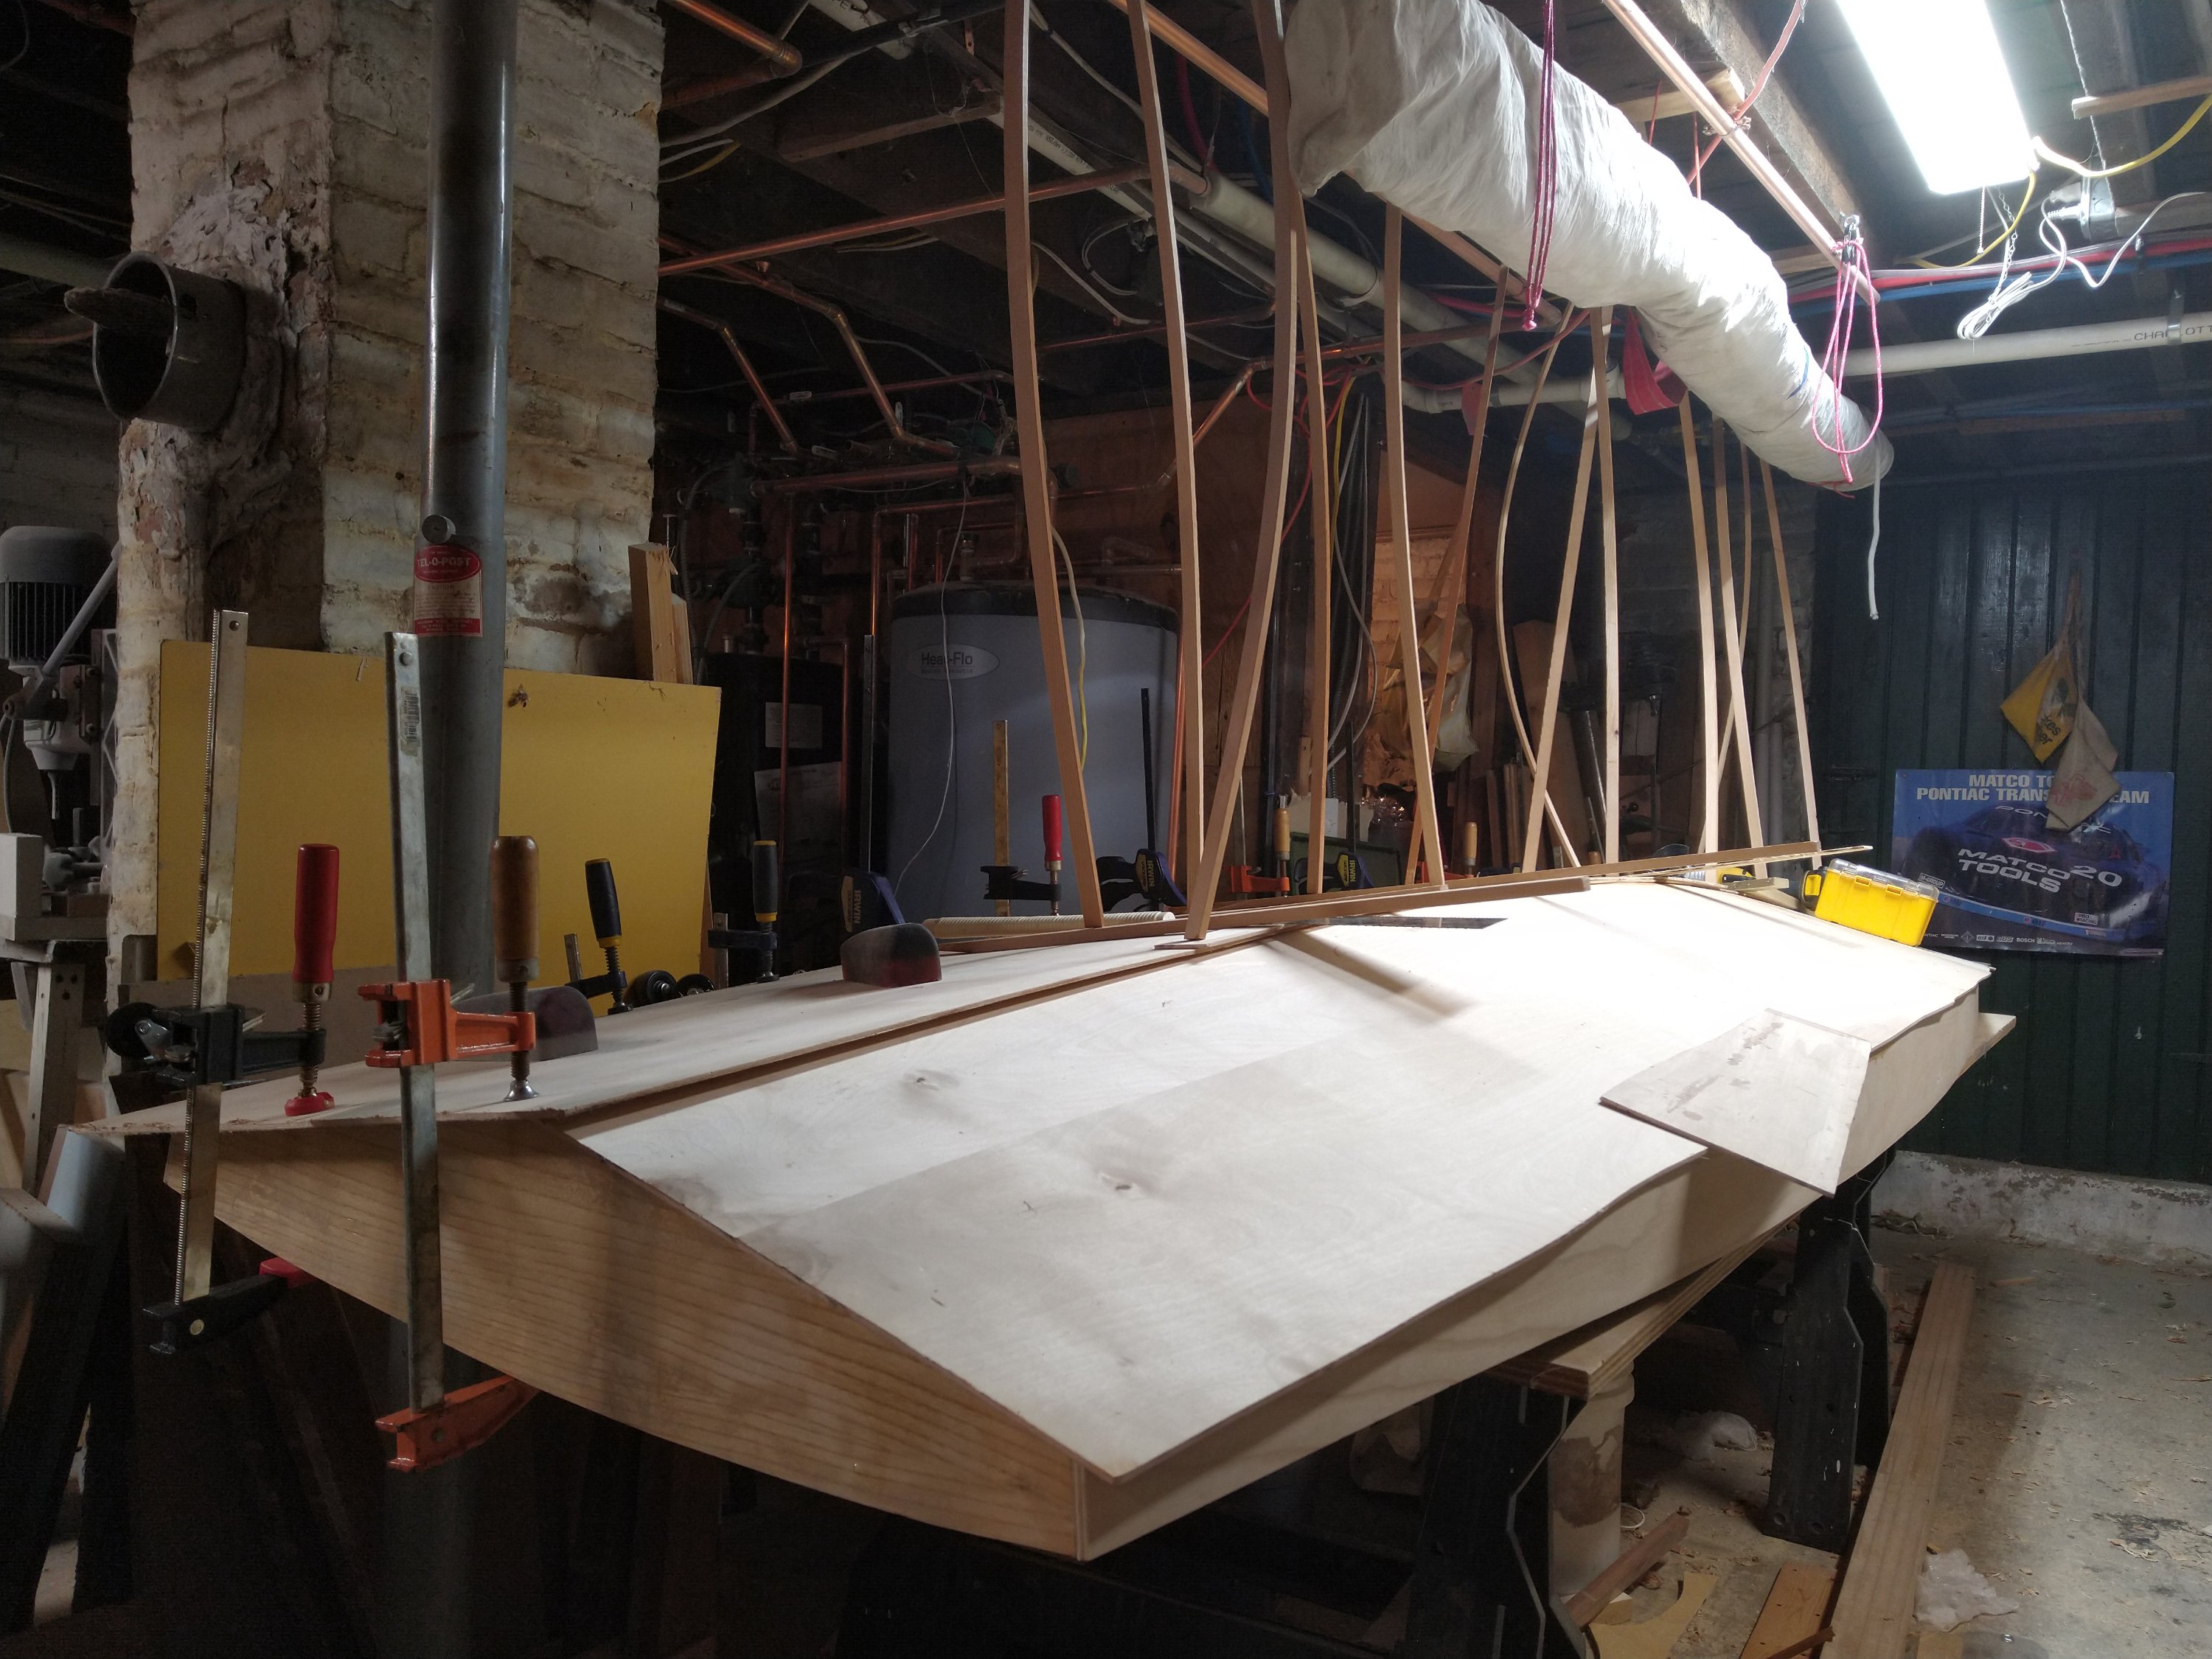
So here I have the ugly bevel. And when I’d mostly established center, I went ahead and cut the daggerboard slot. Then I ran a chalk line and tuned the bevel to run straight along it.

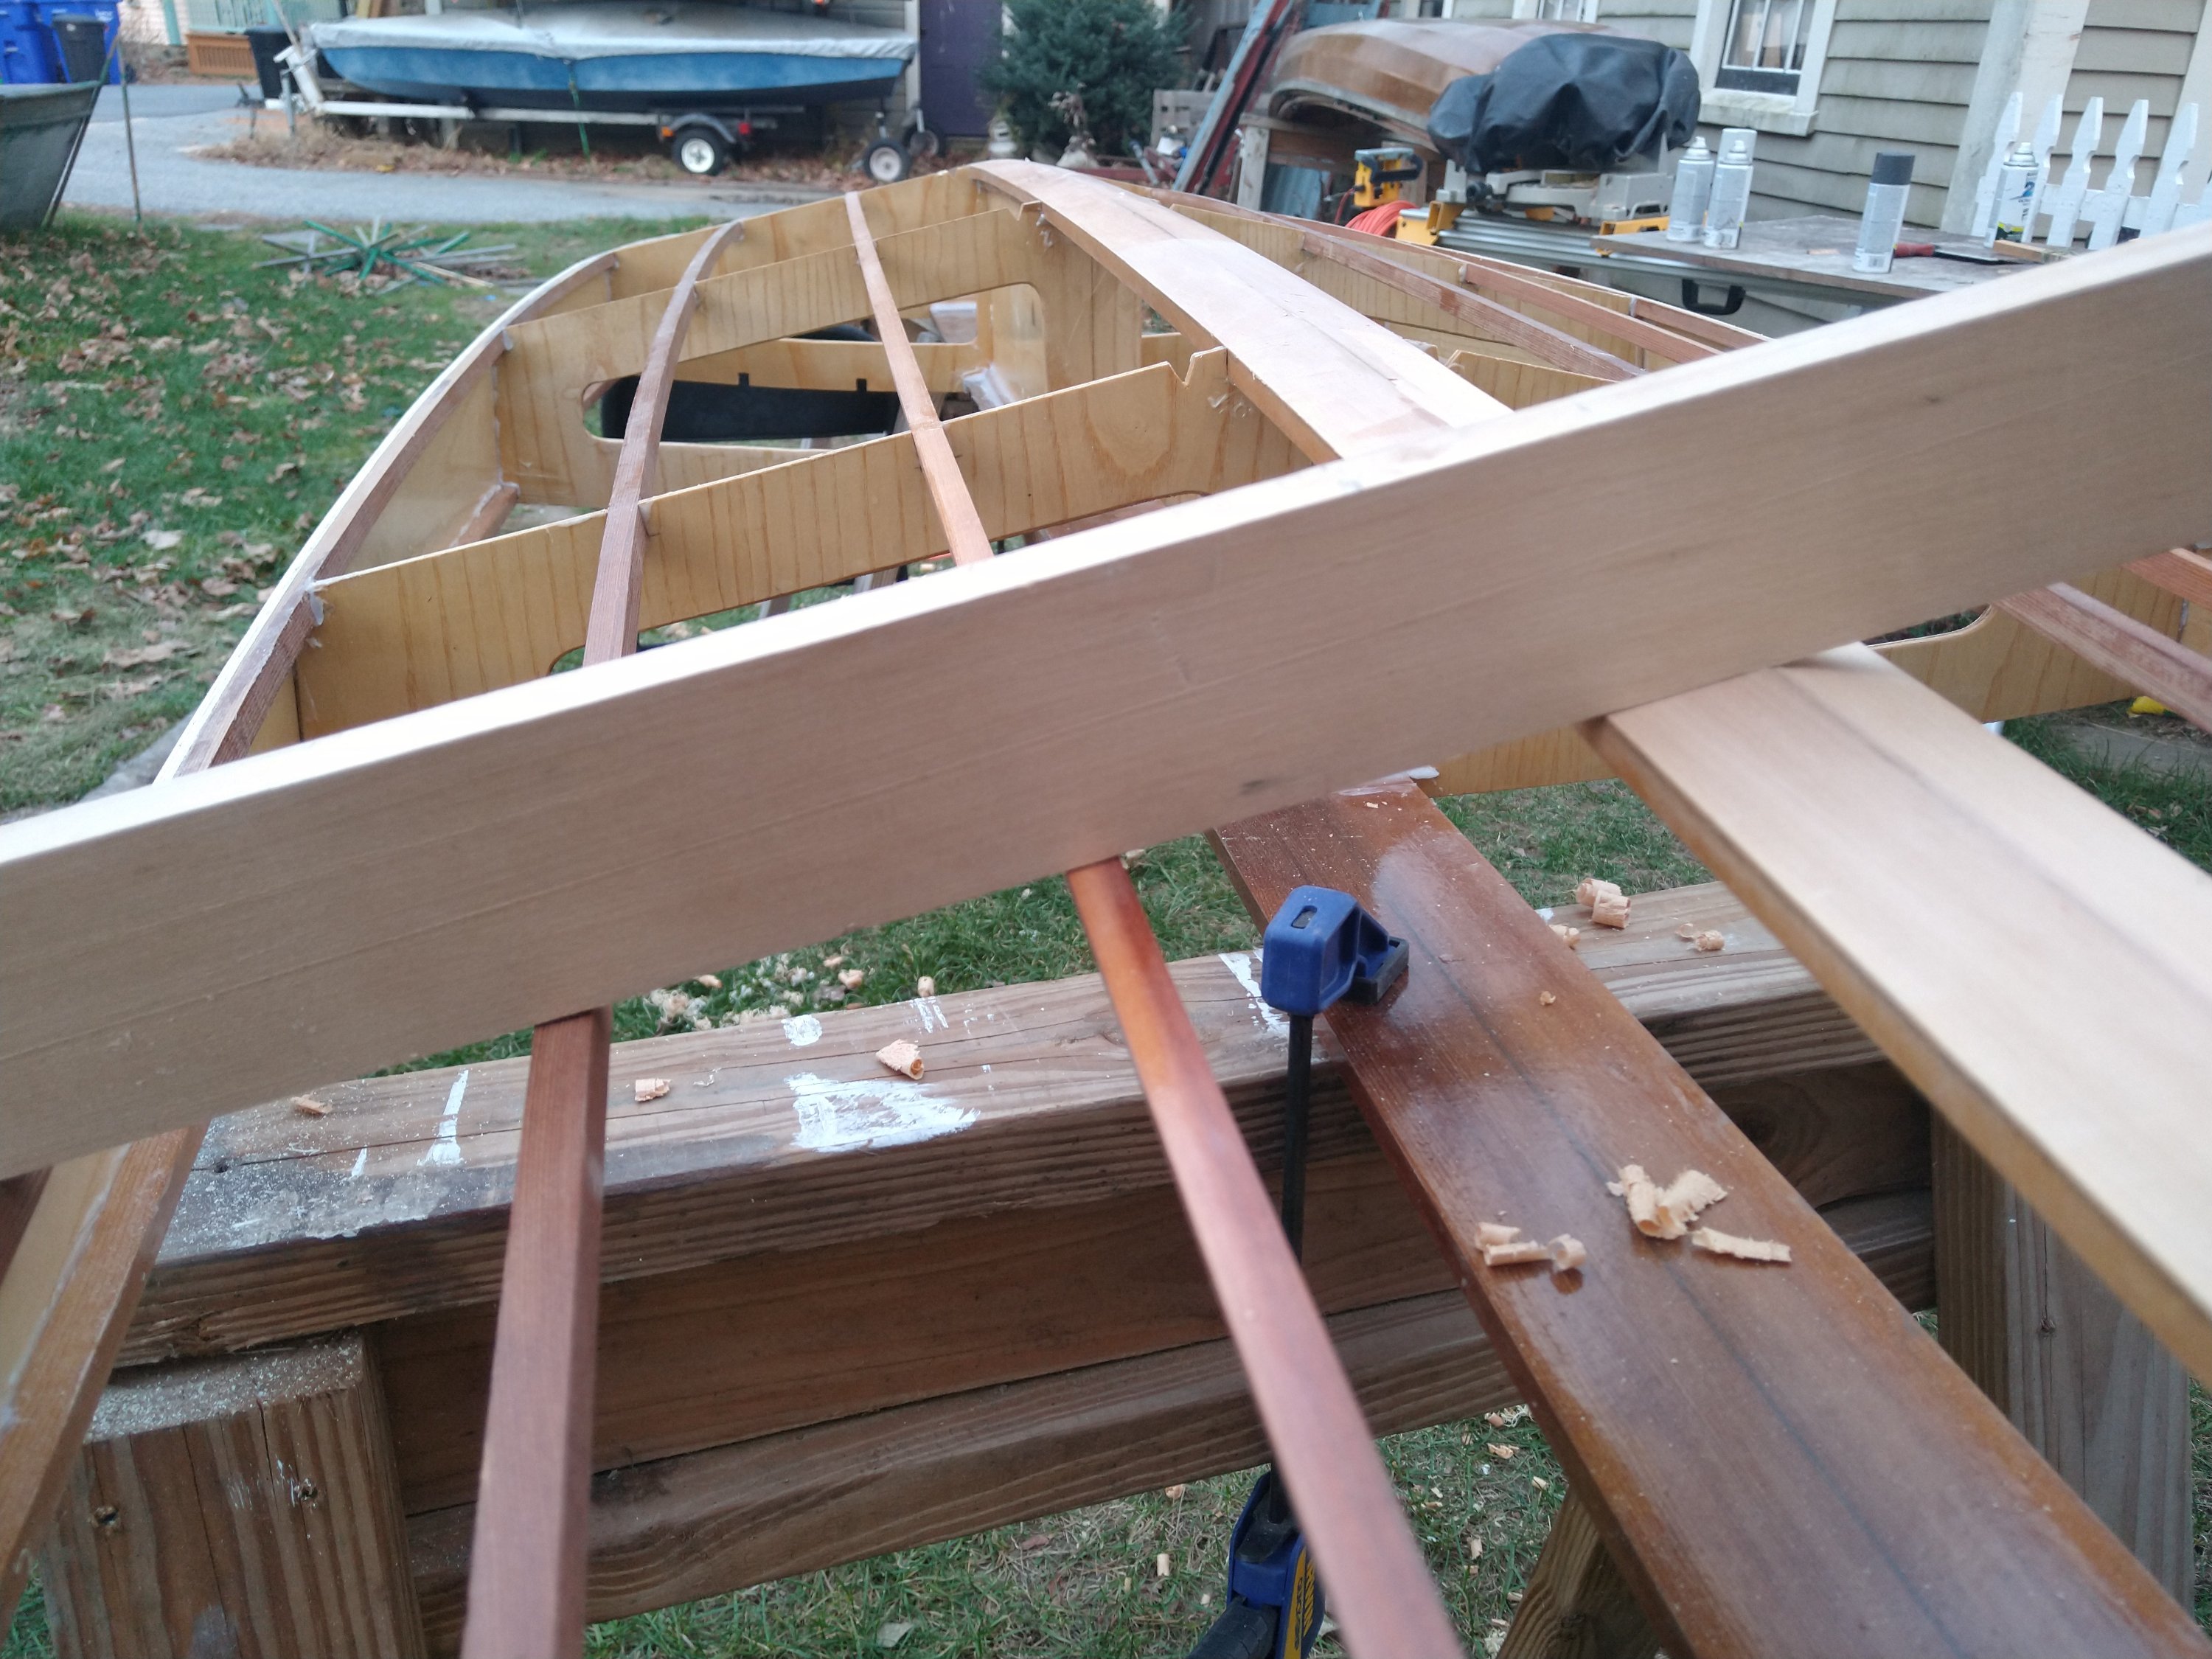
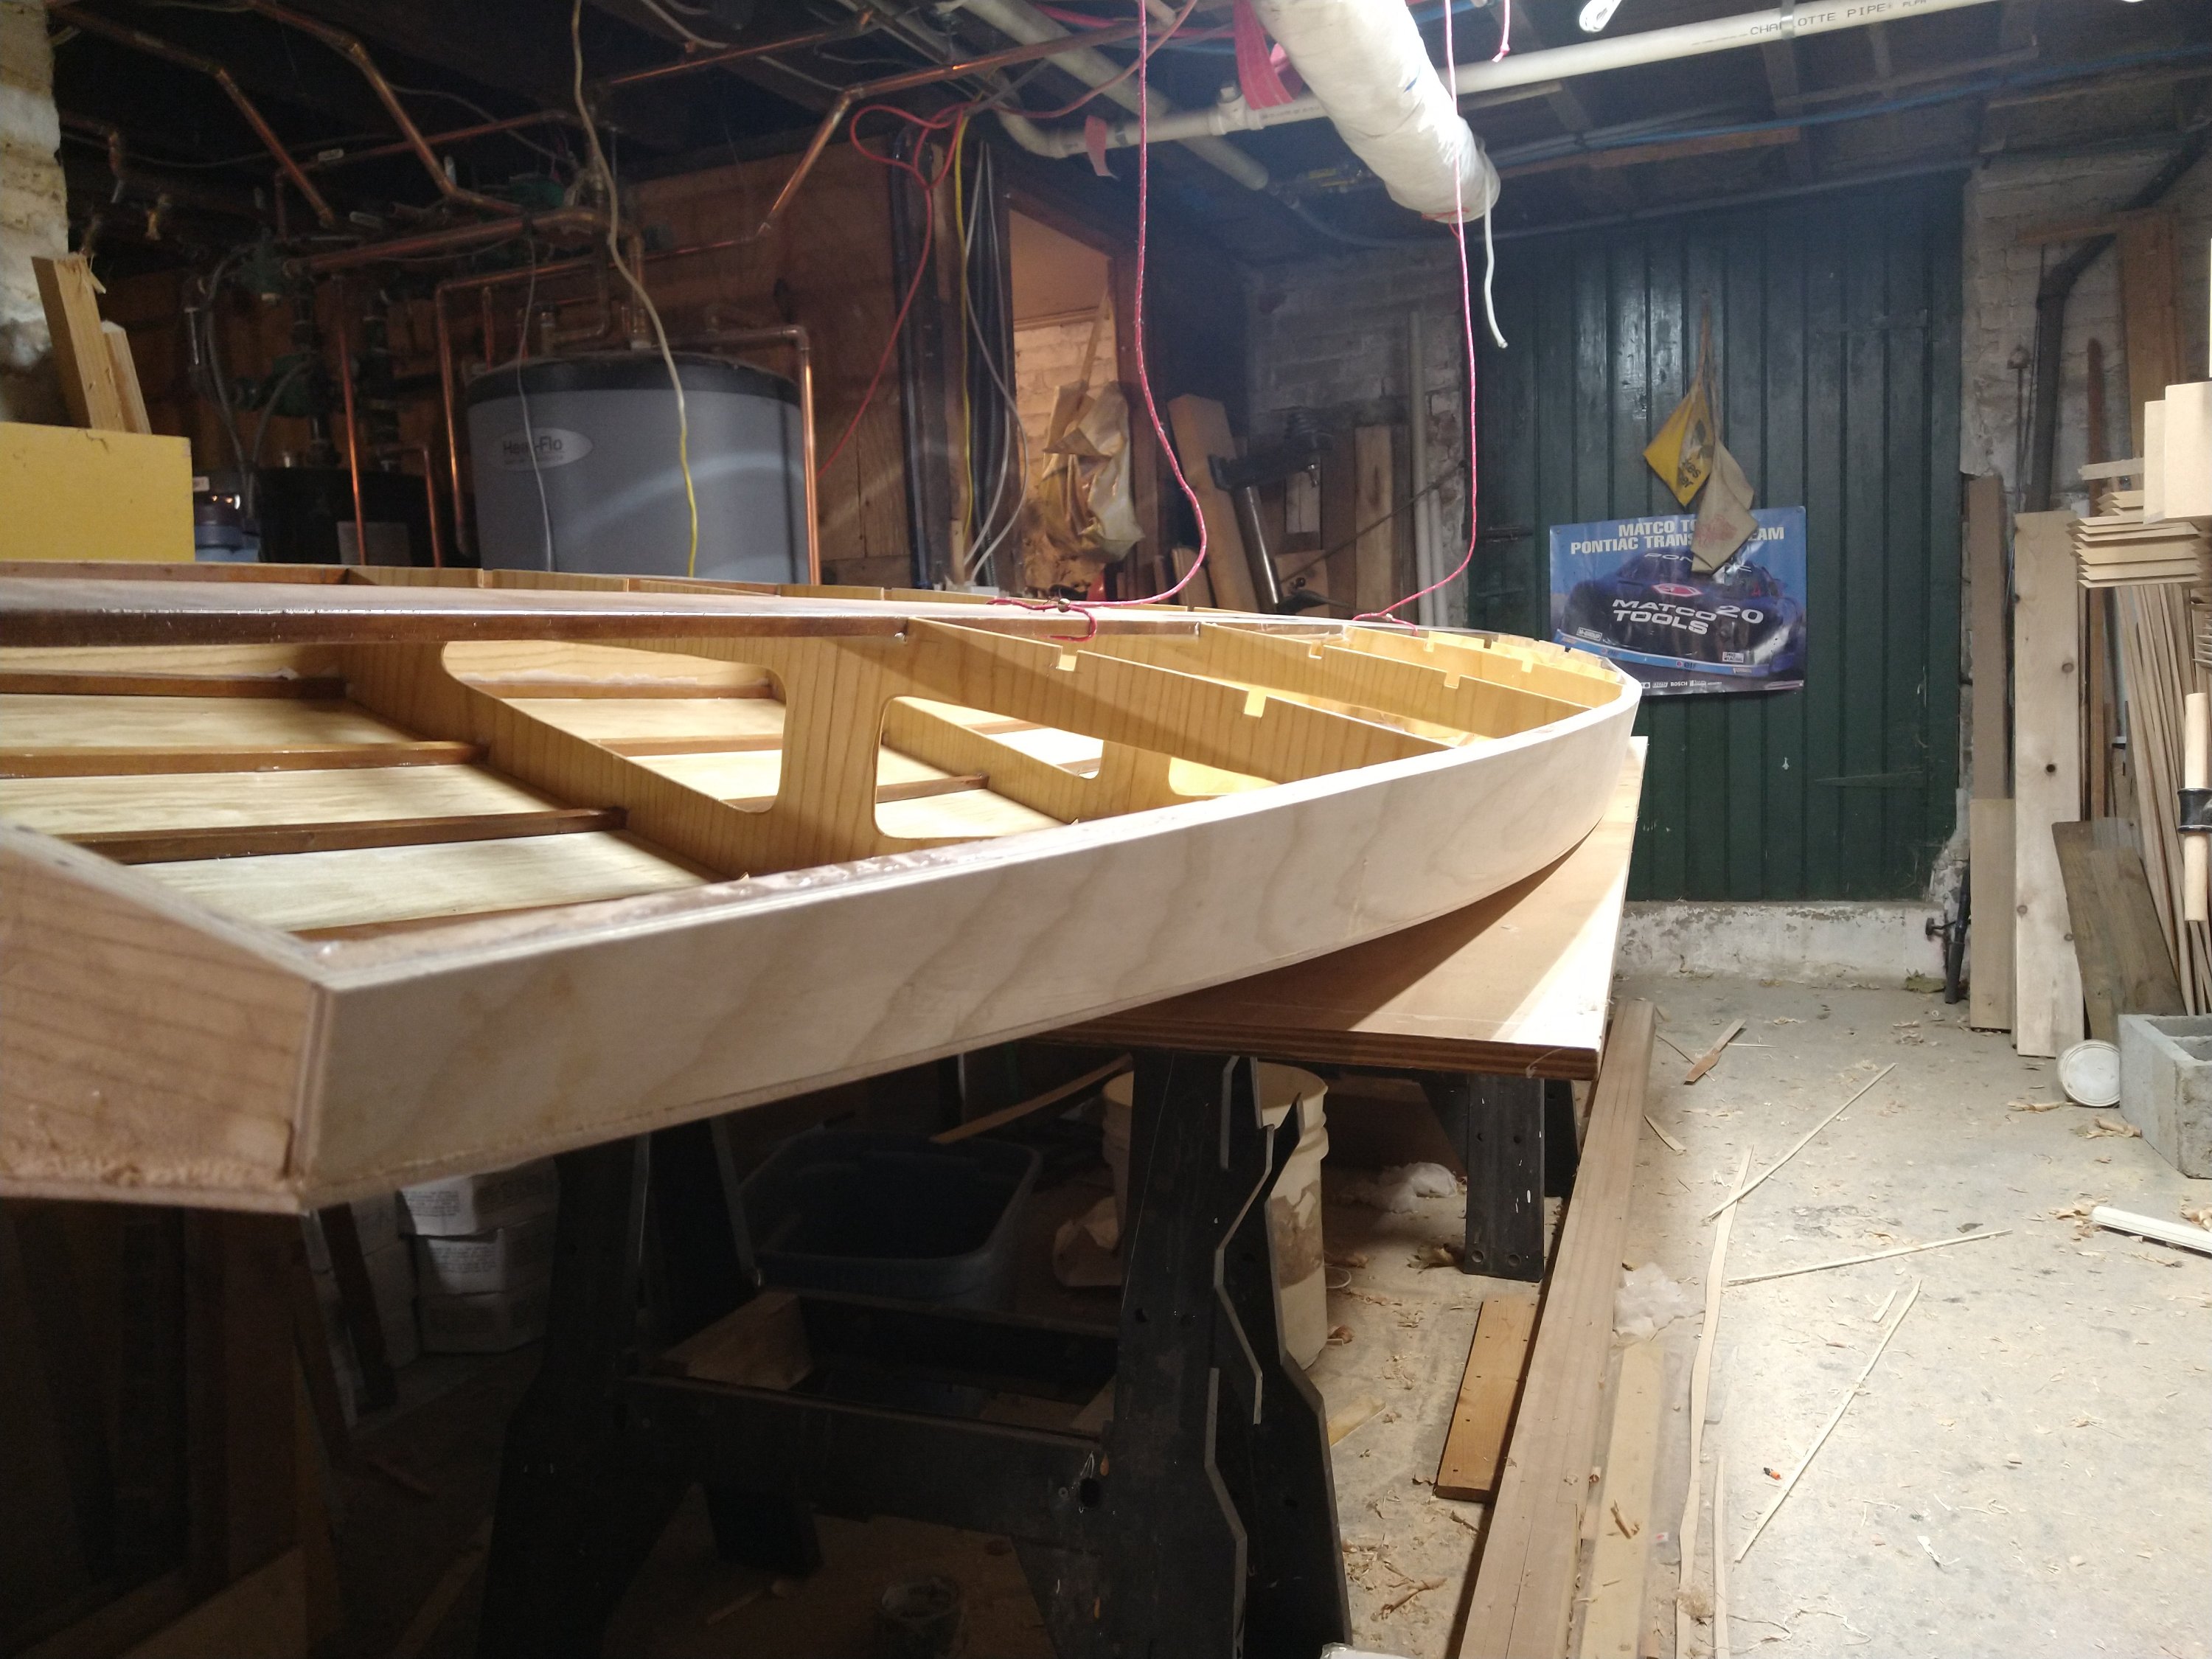
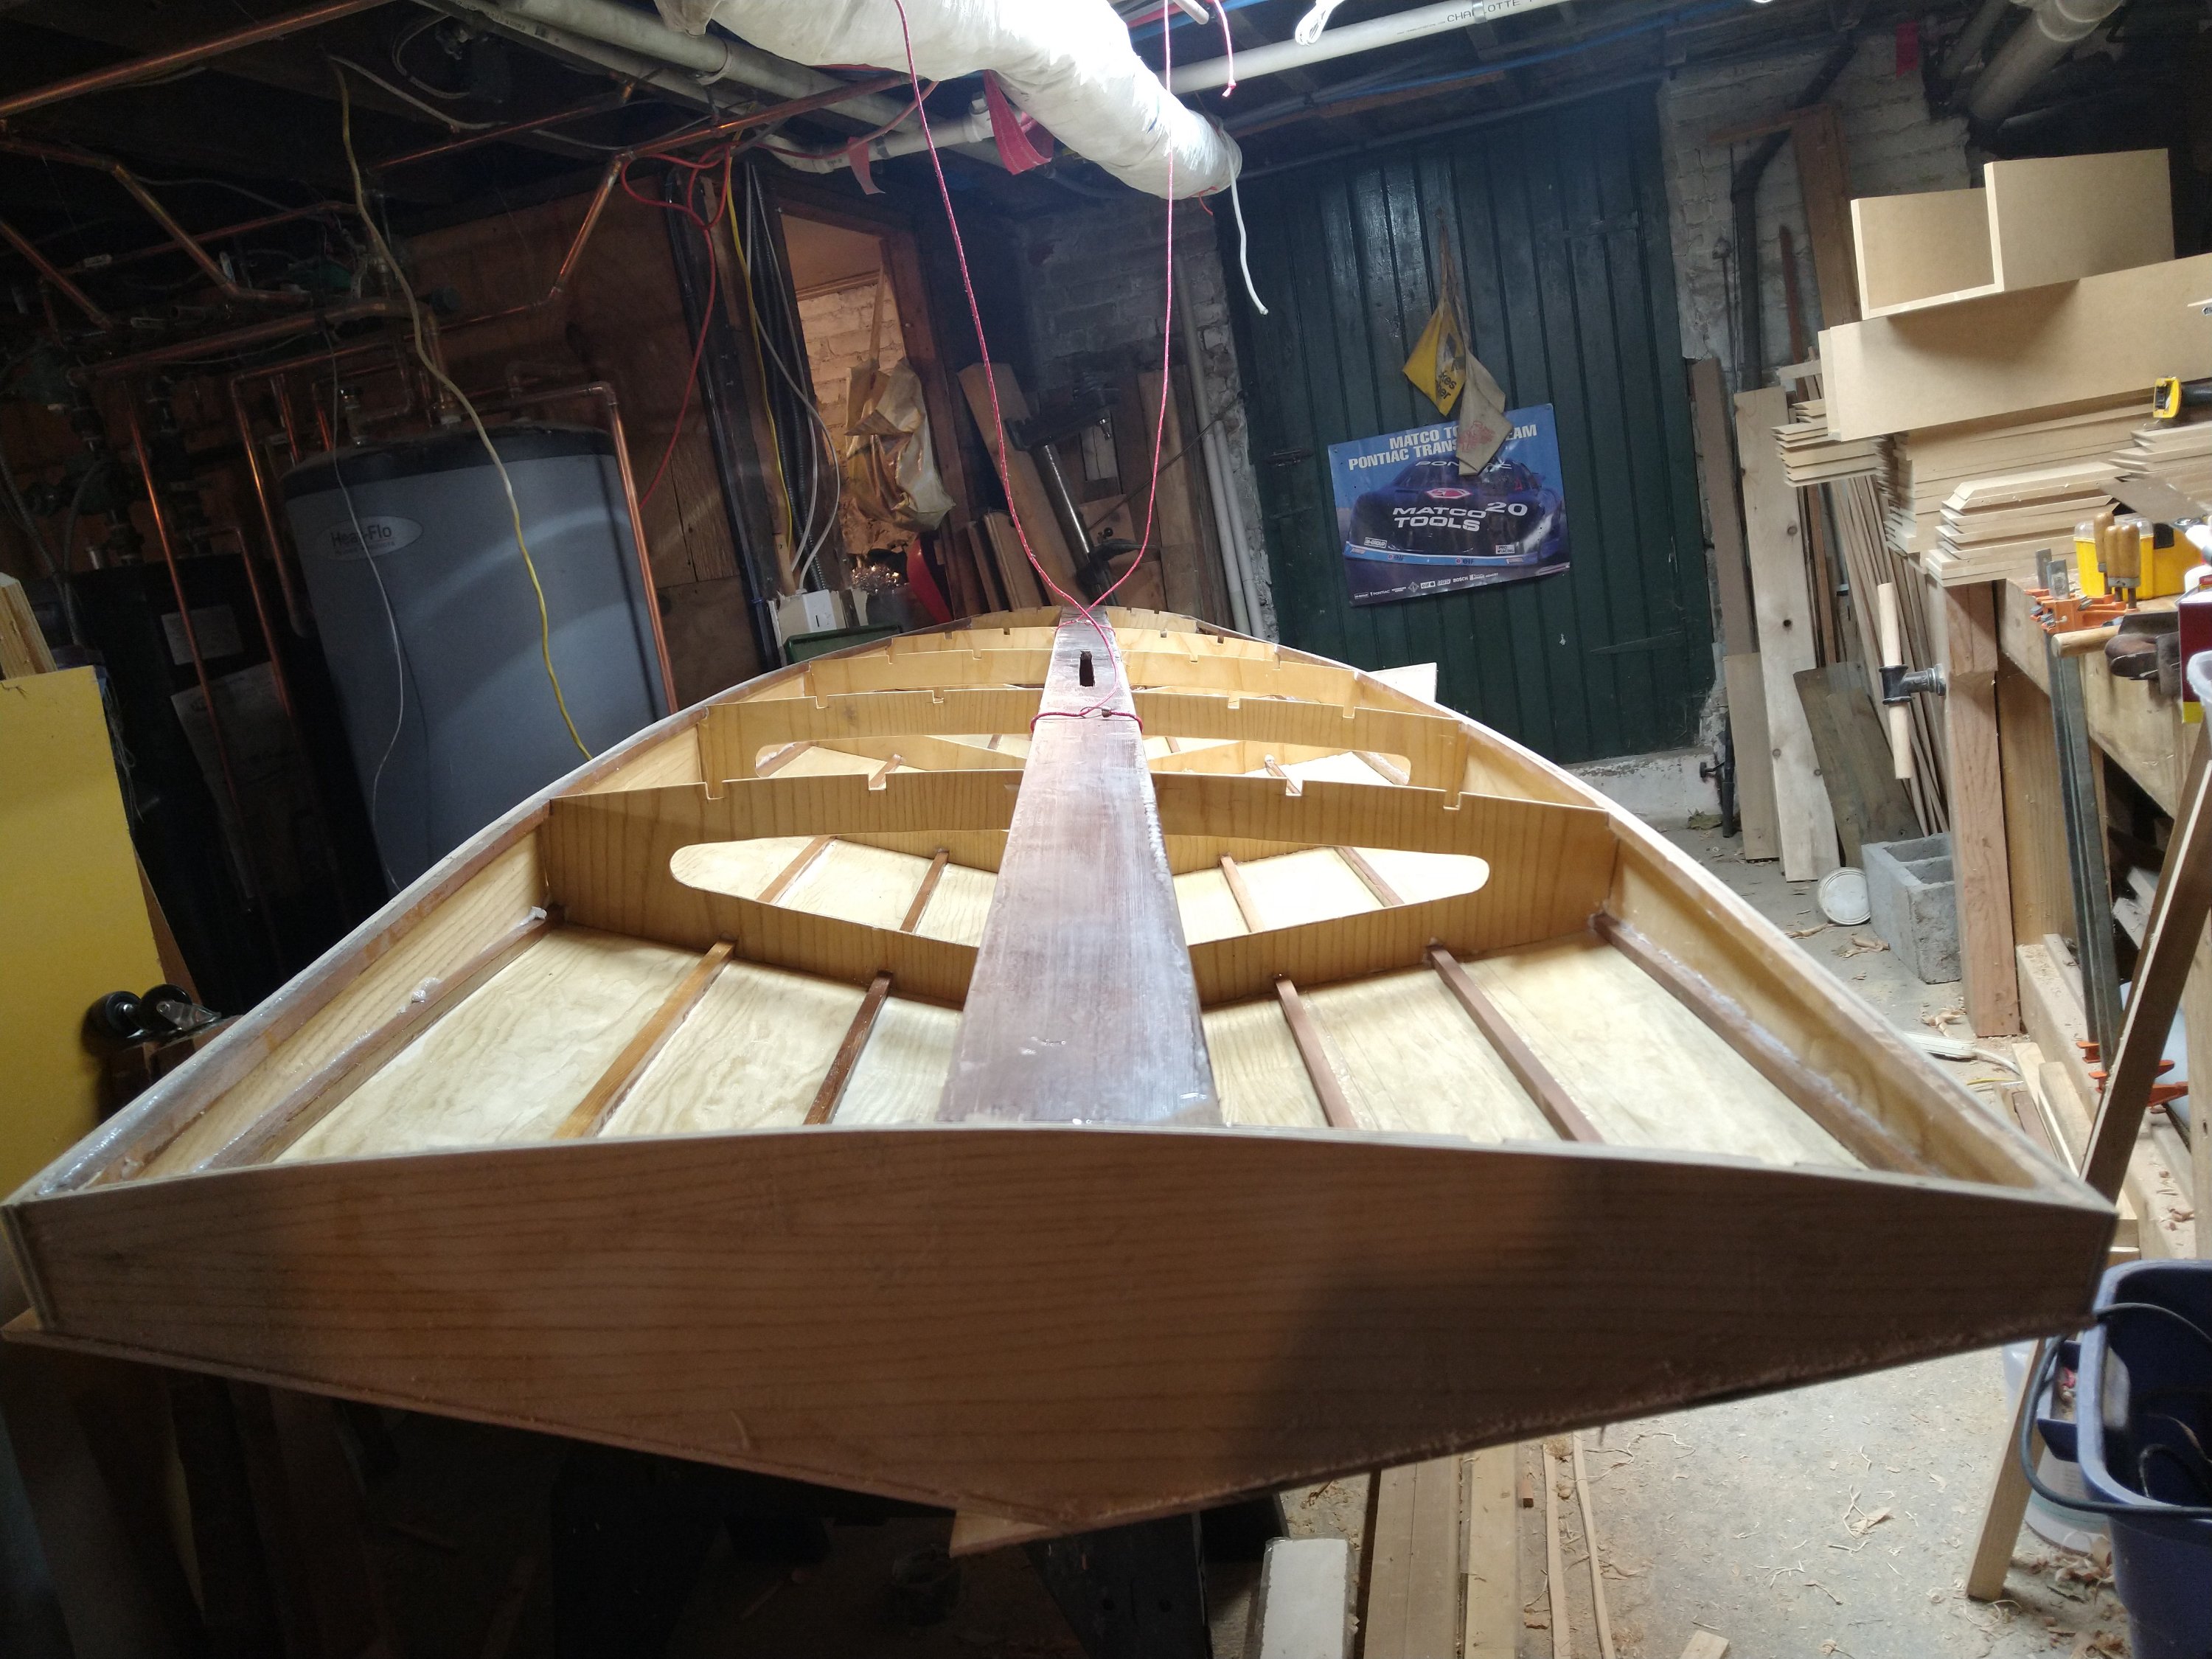
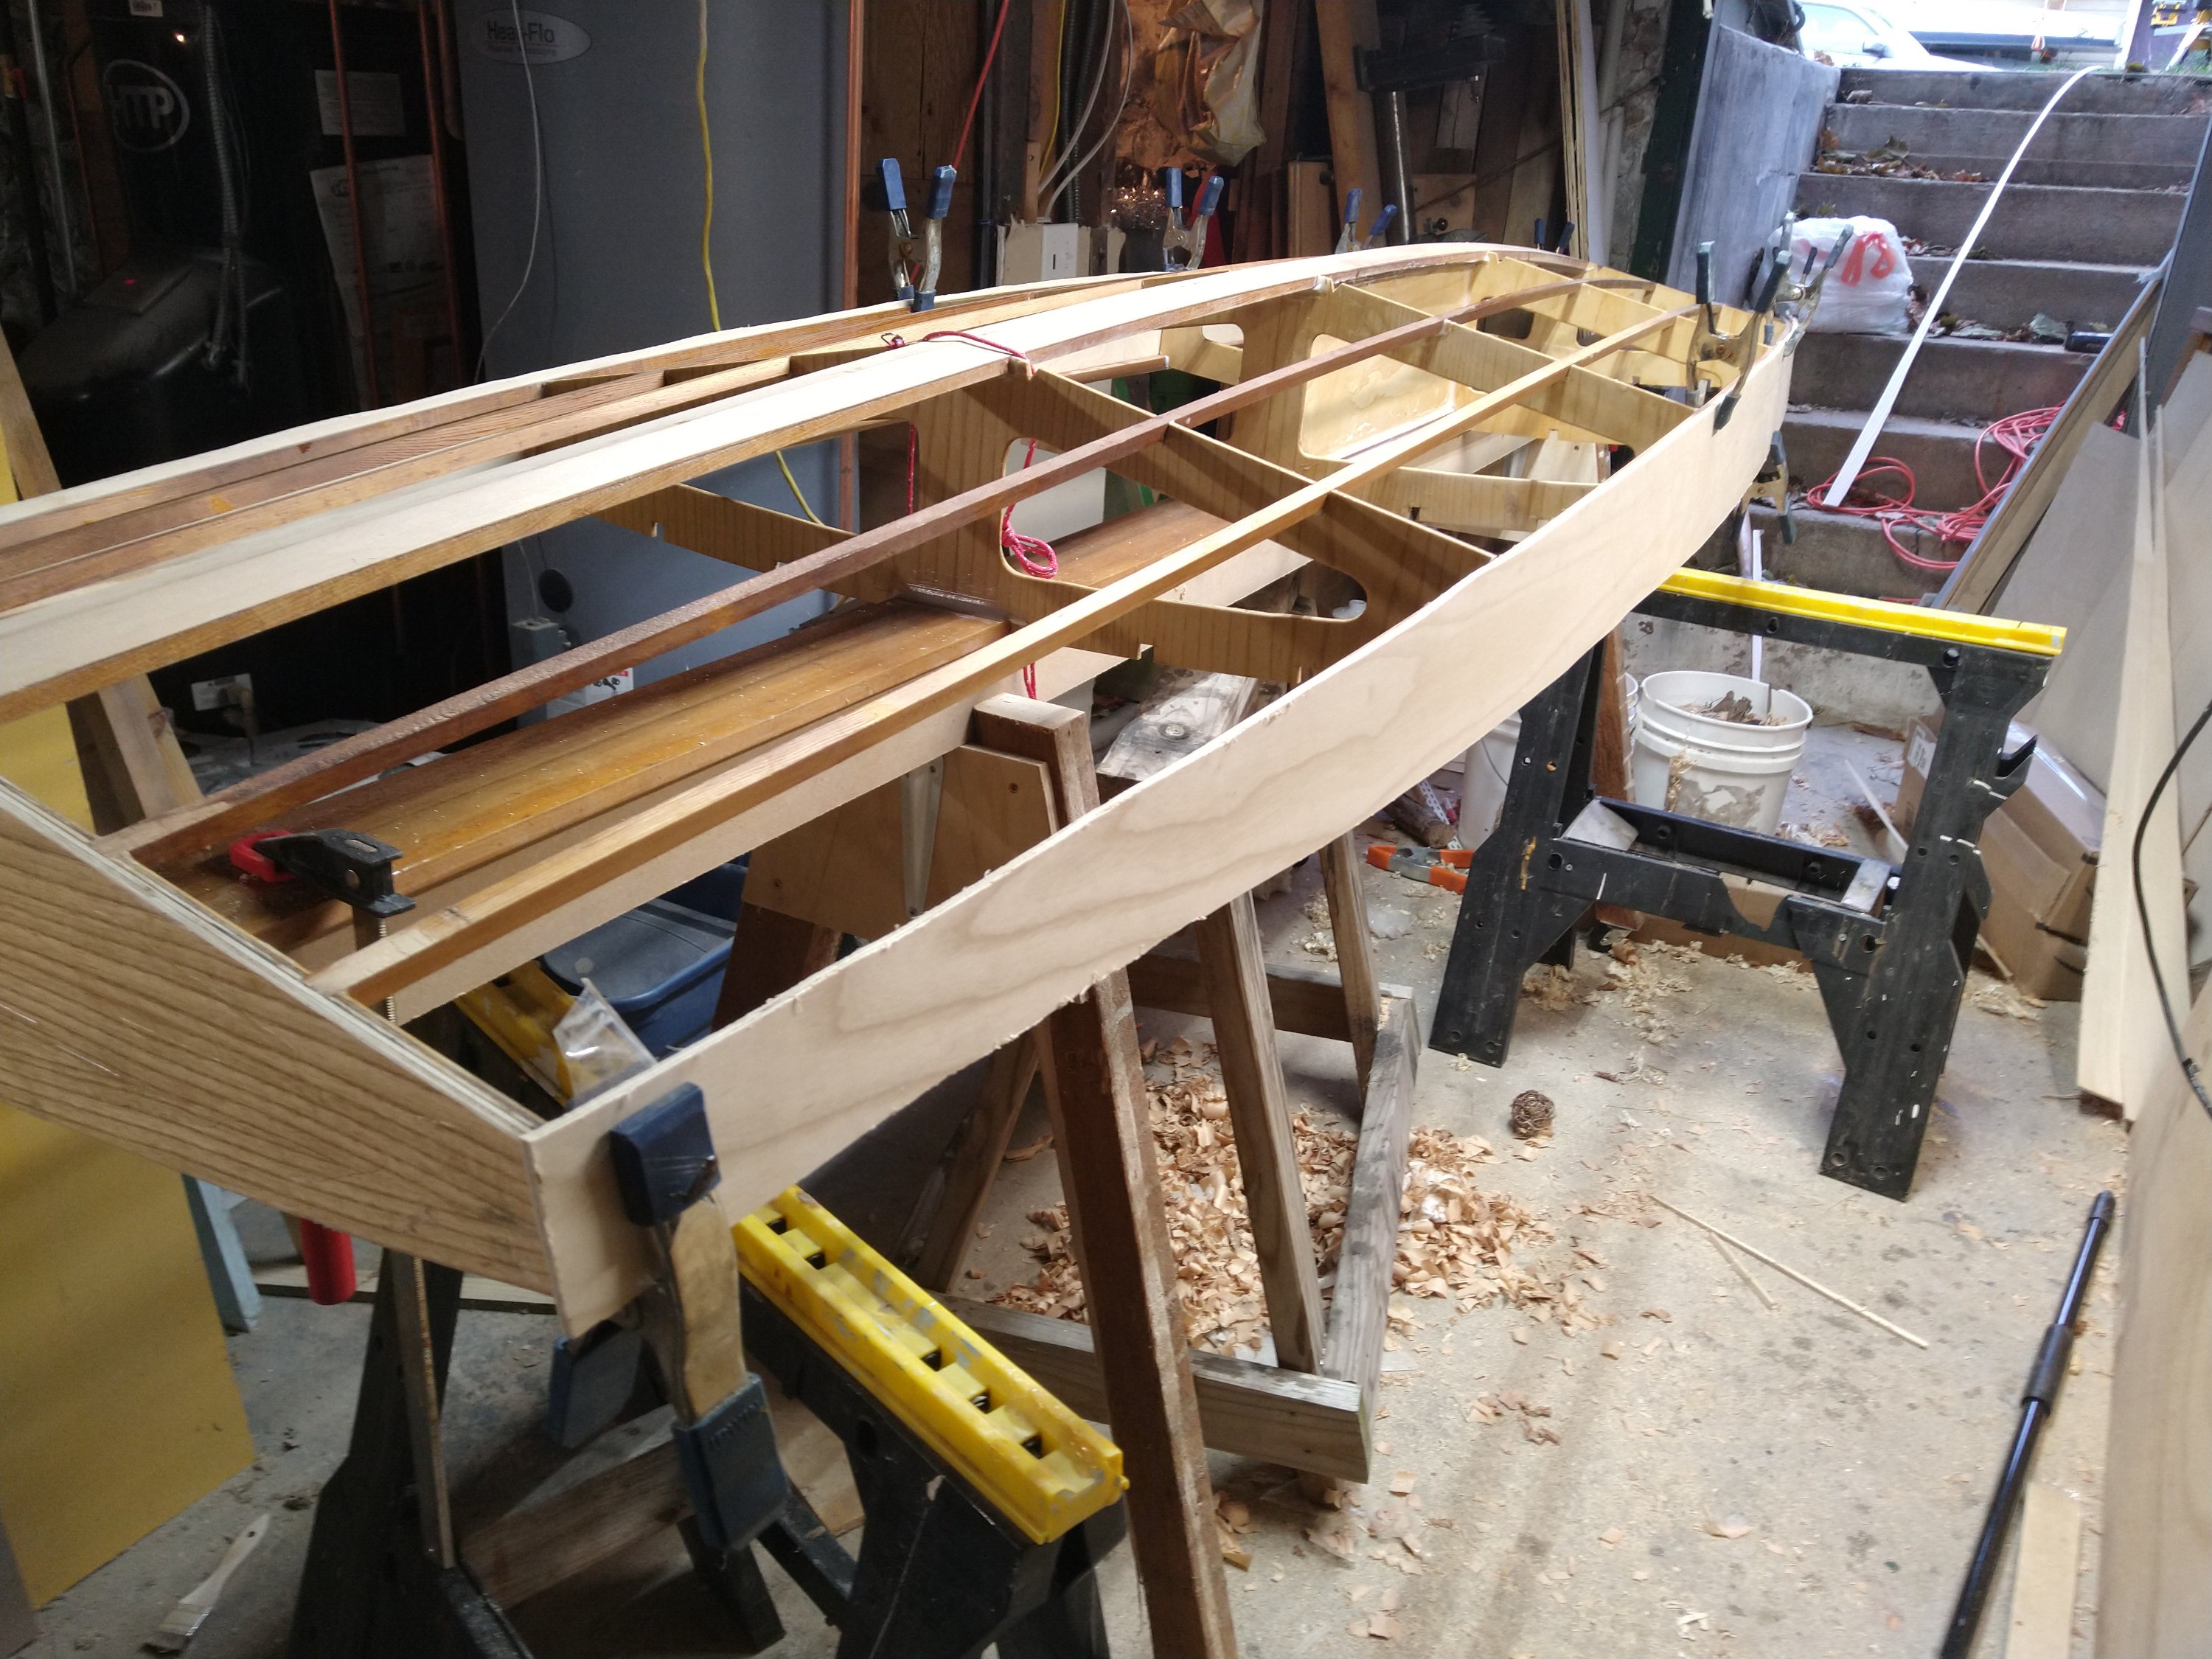
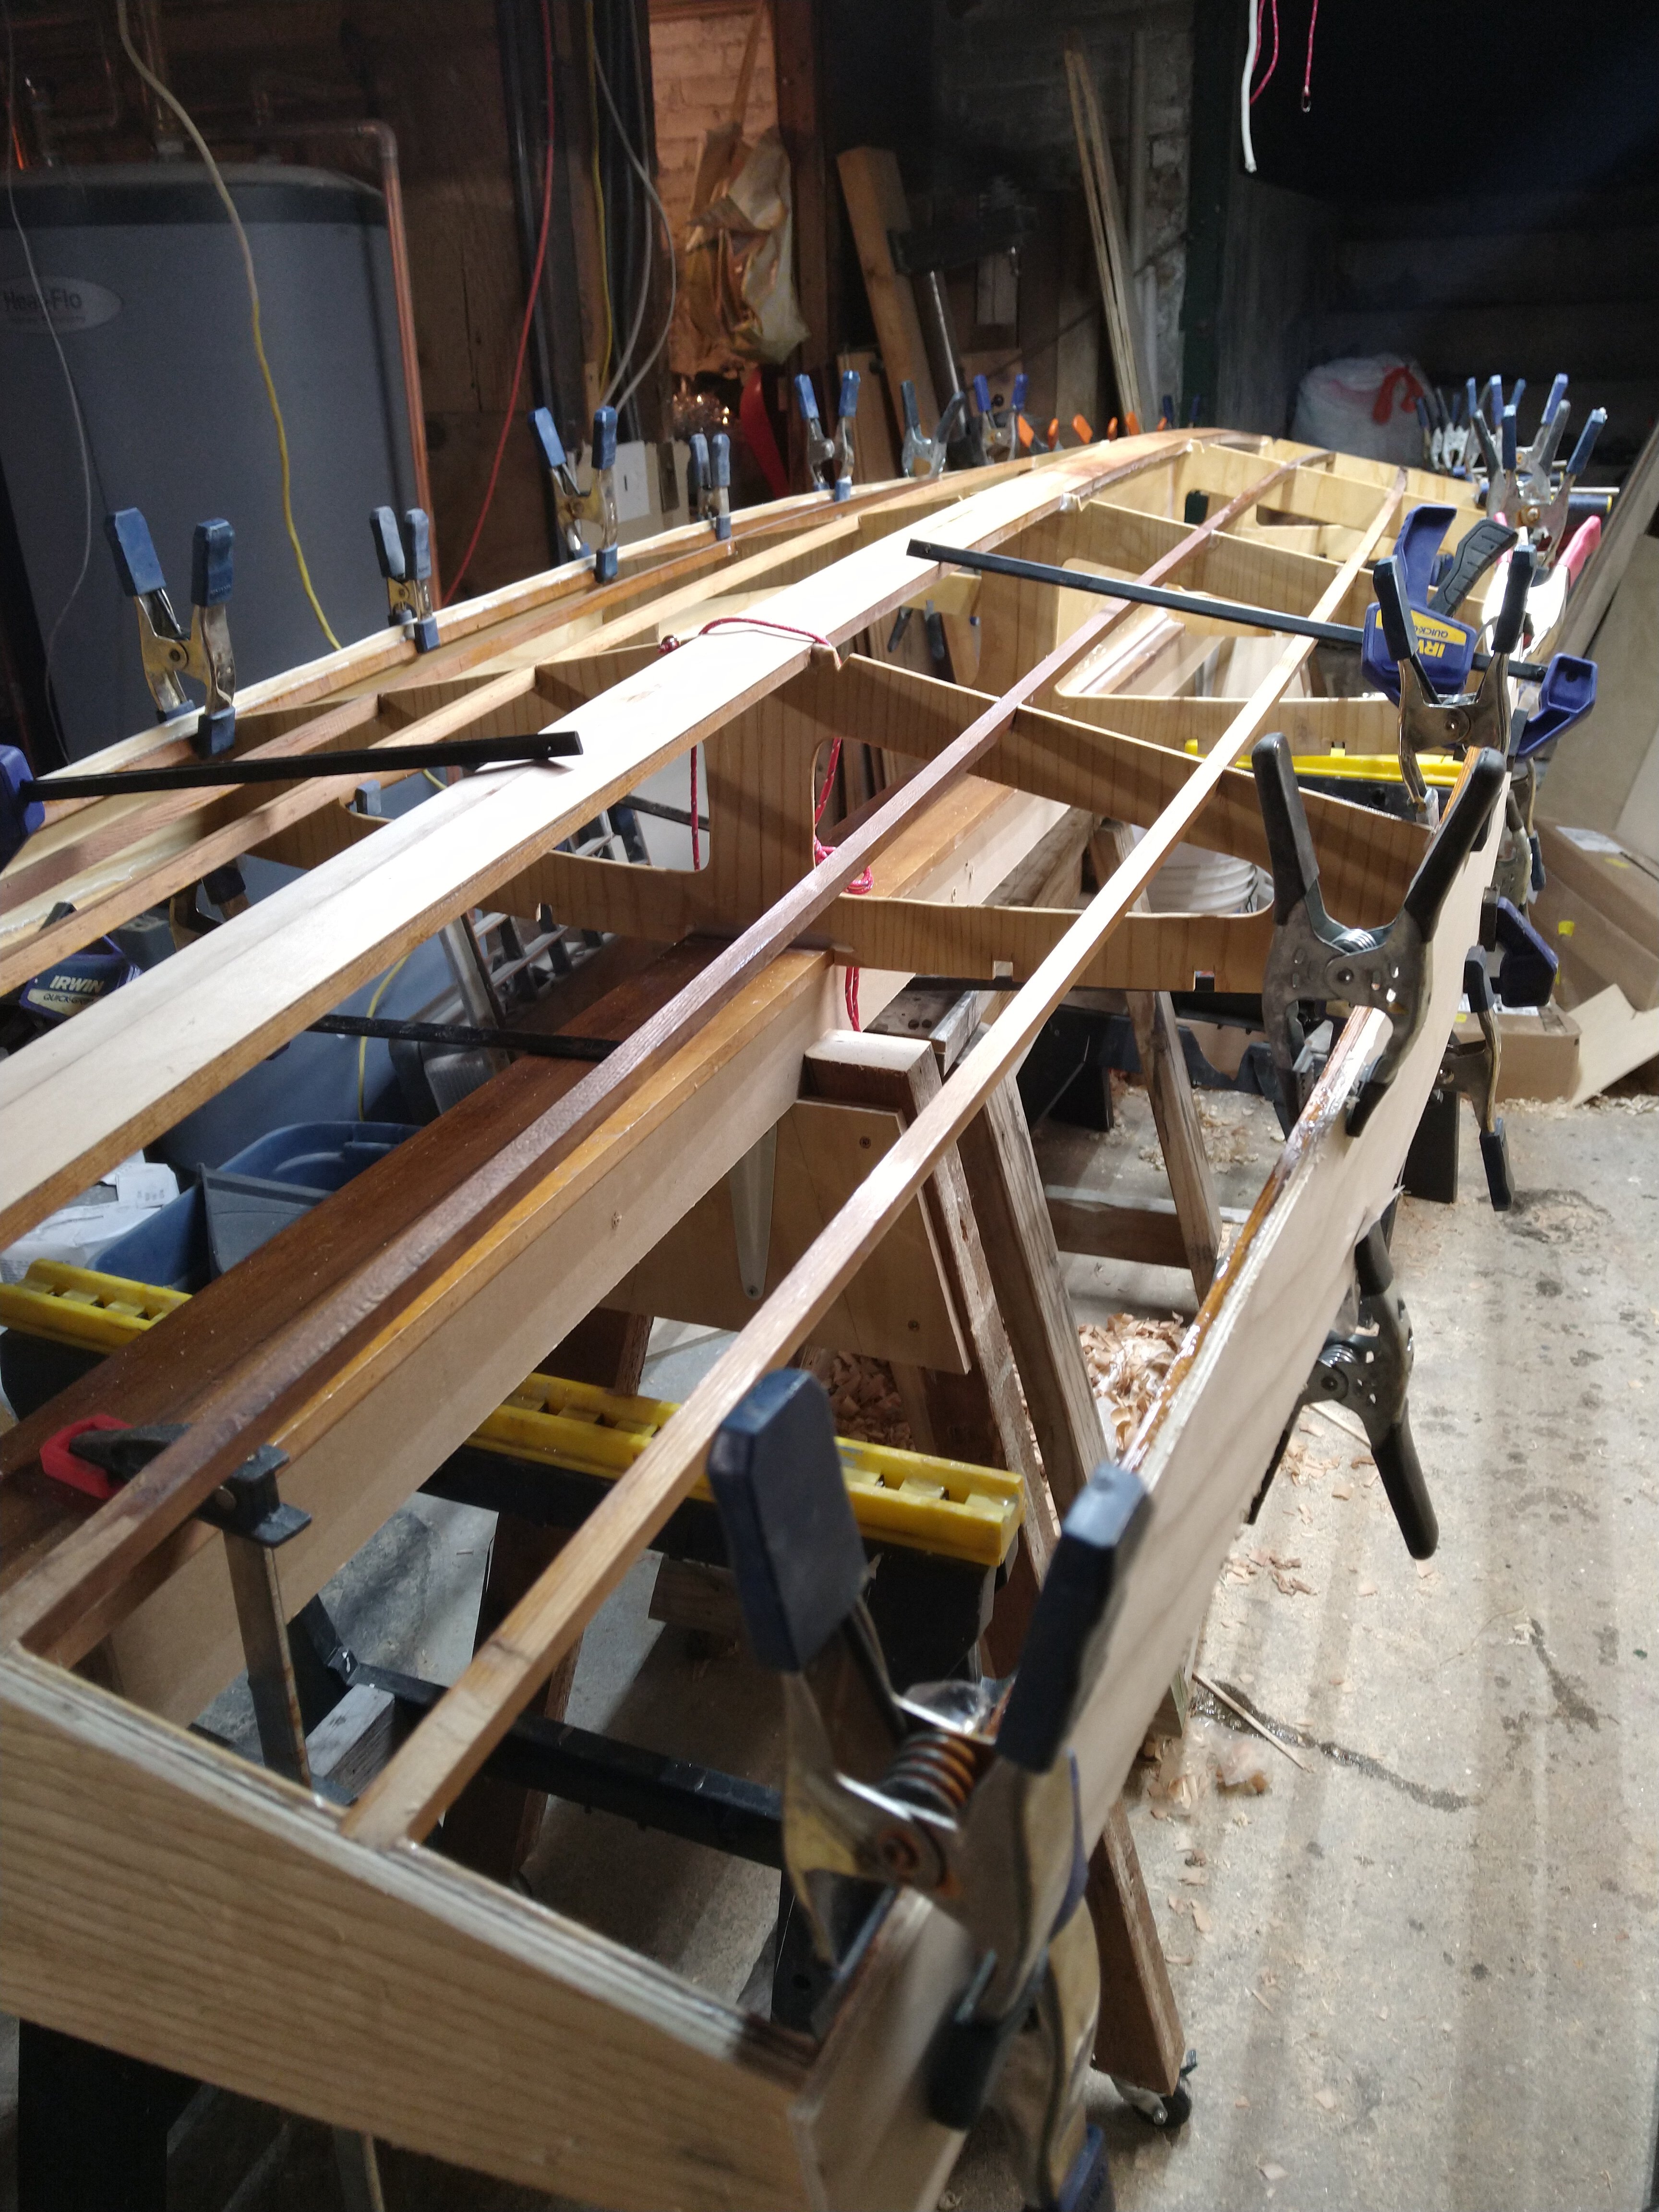
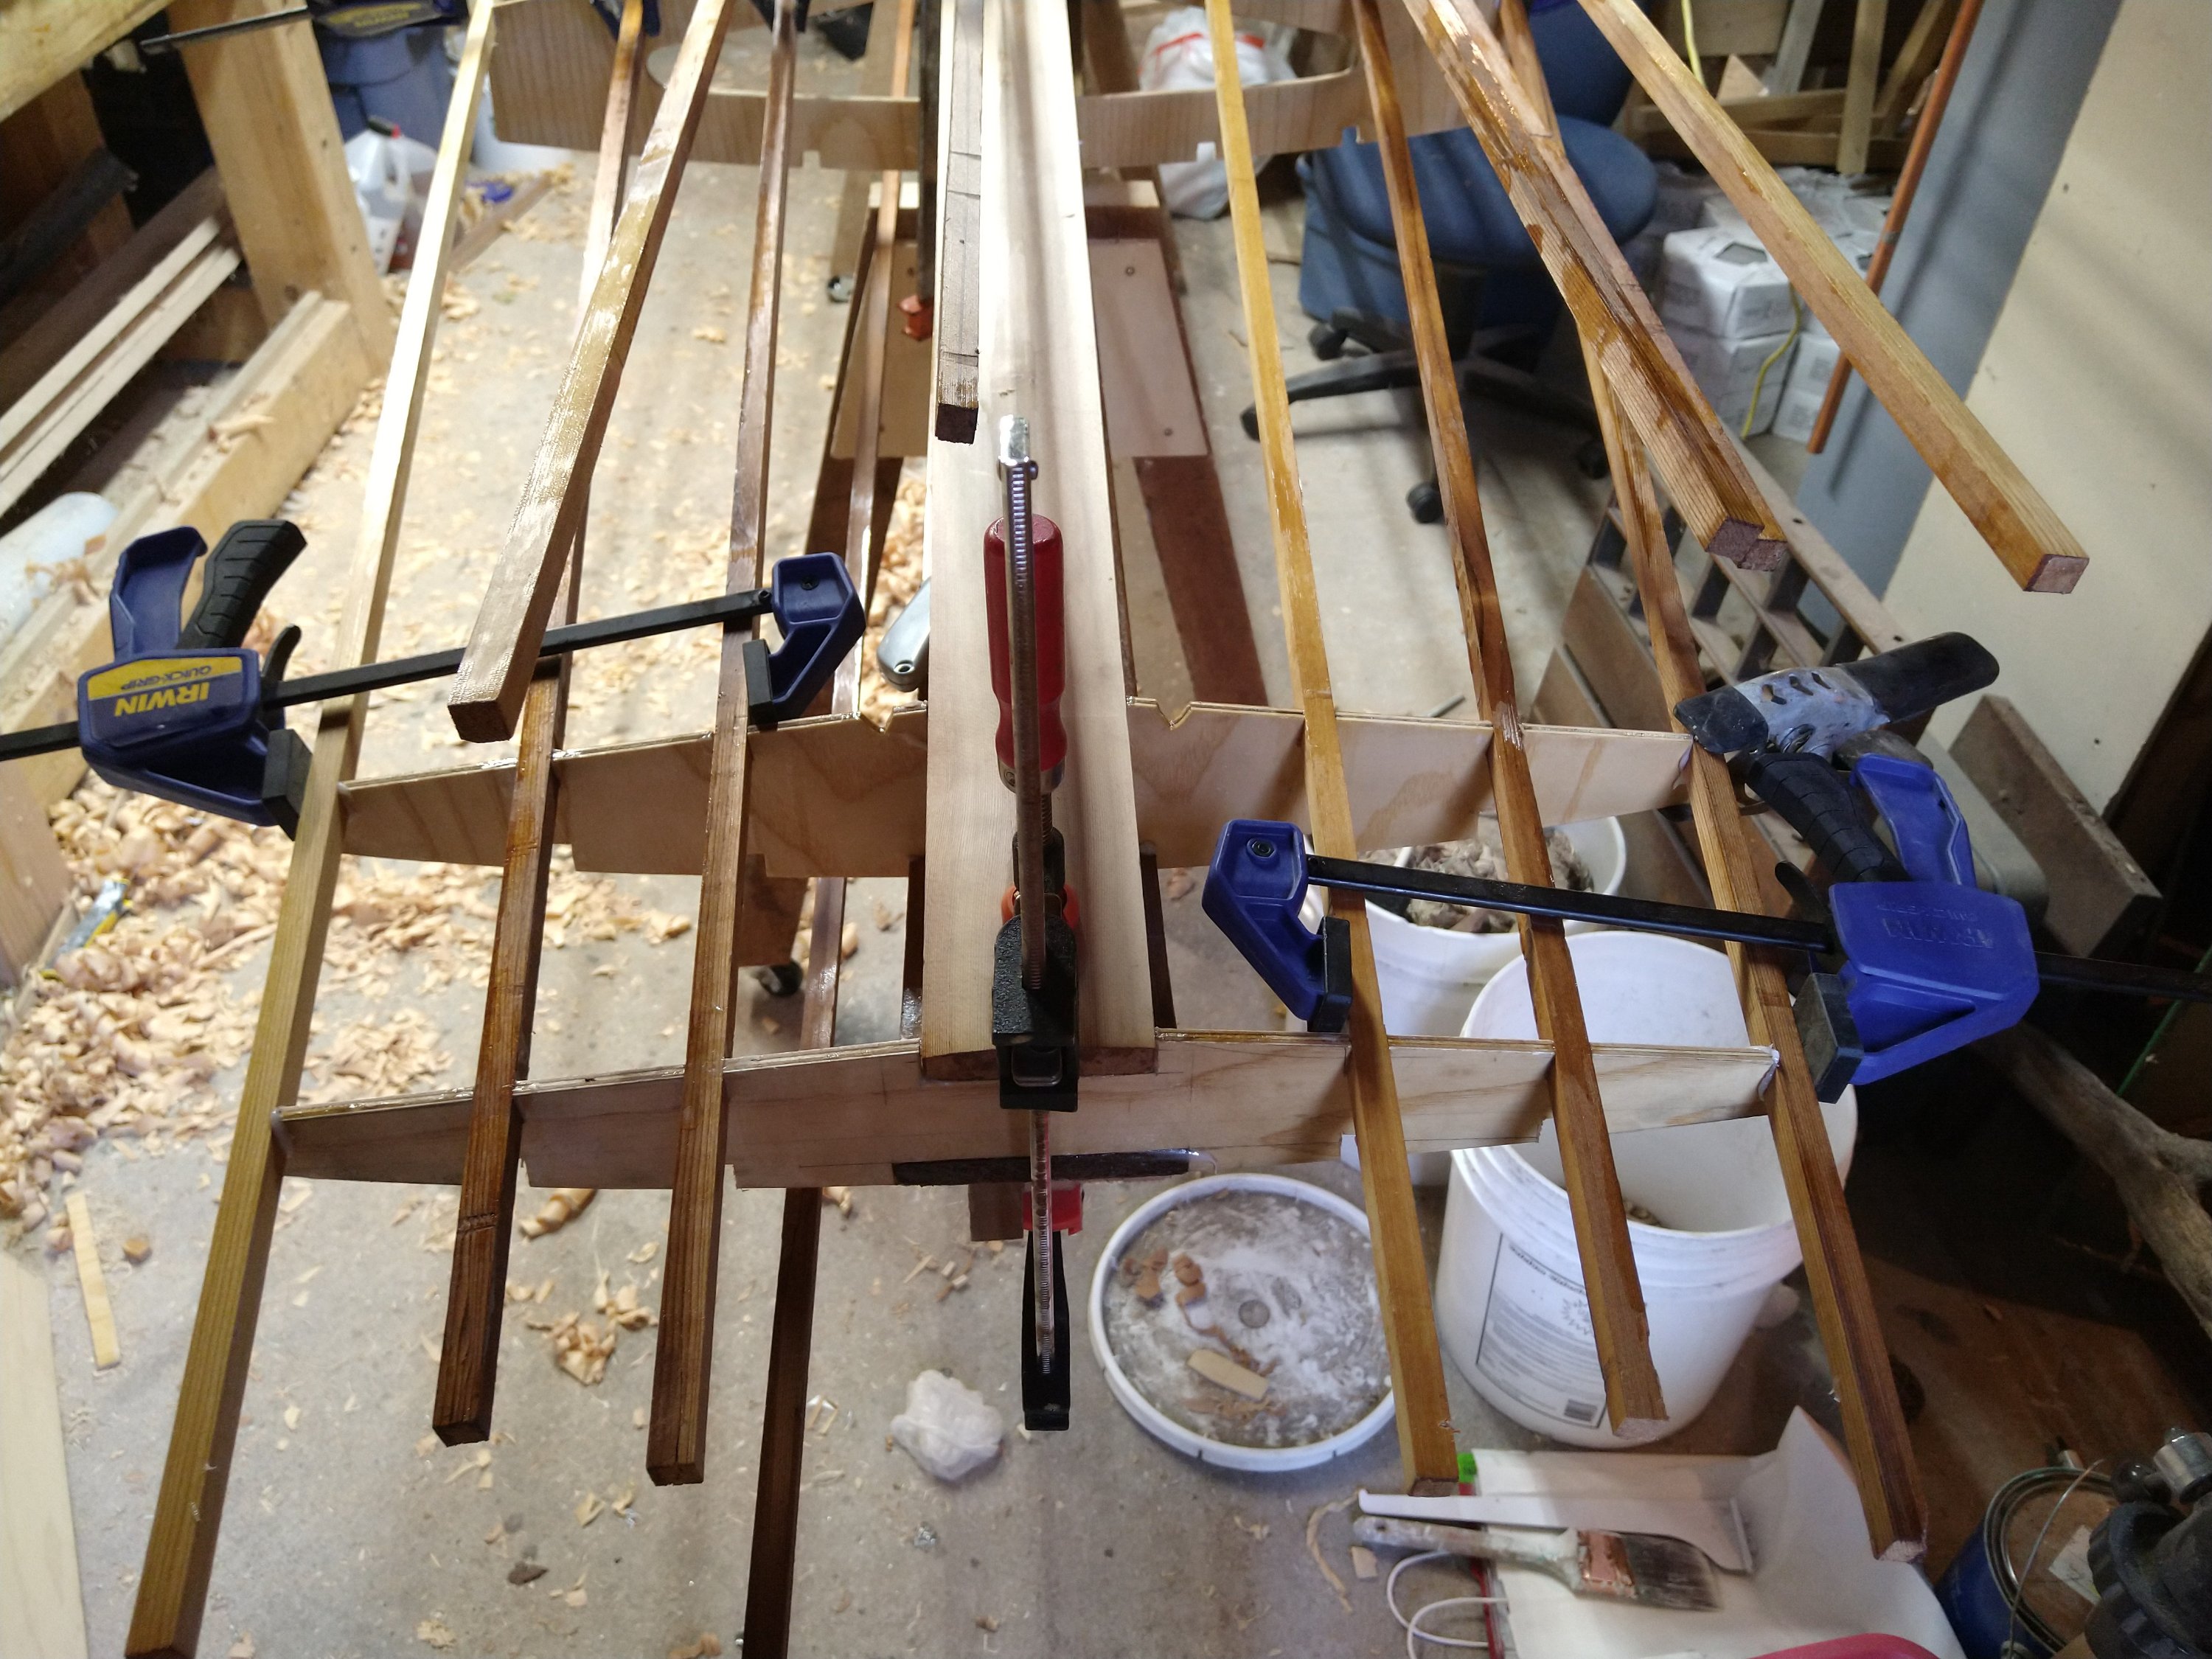
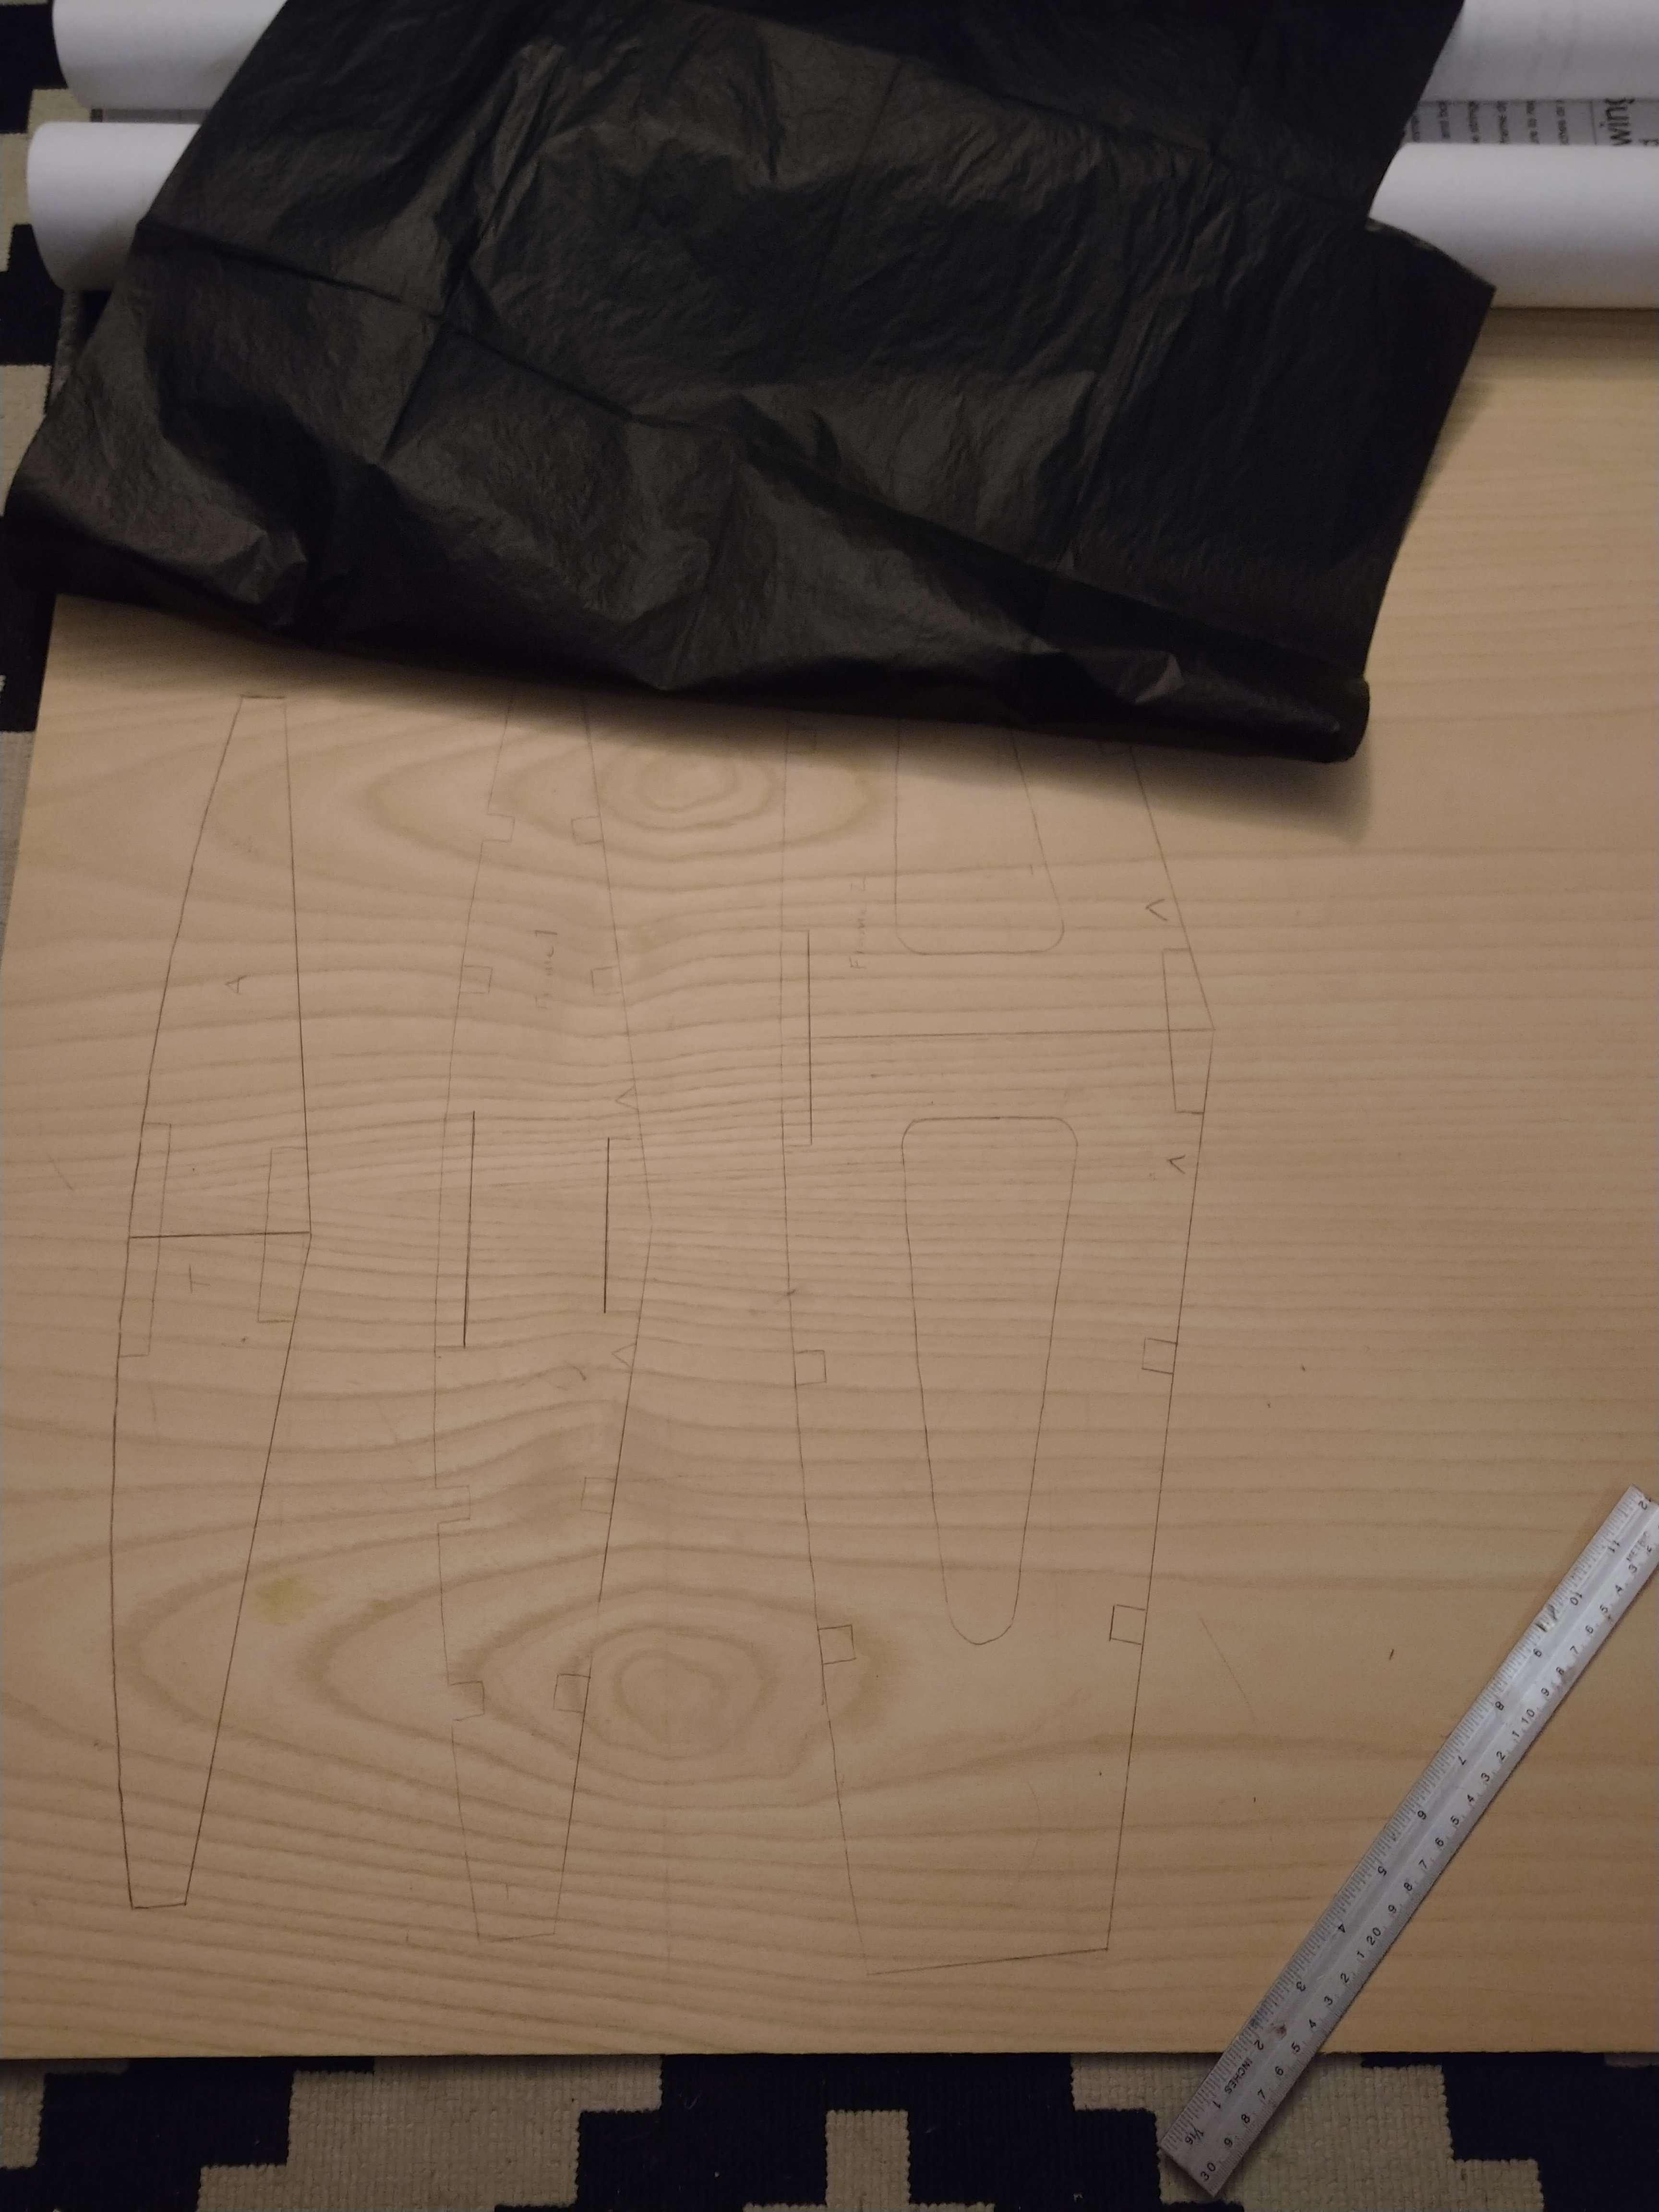
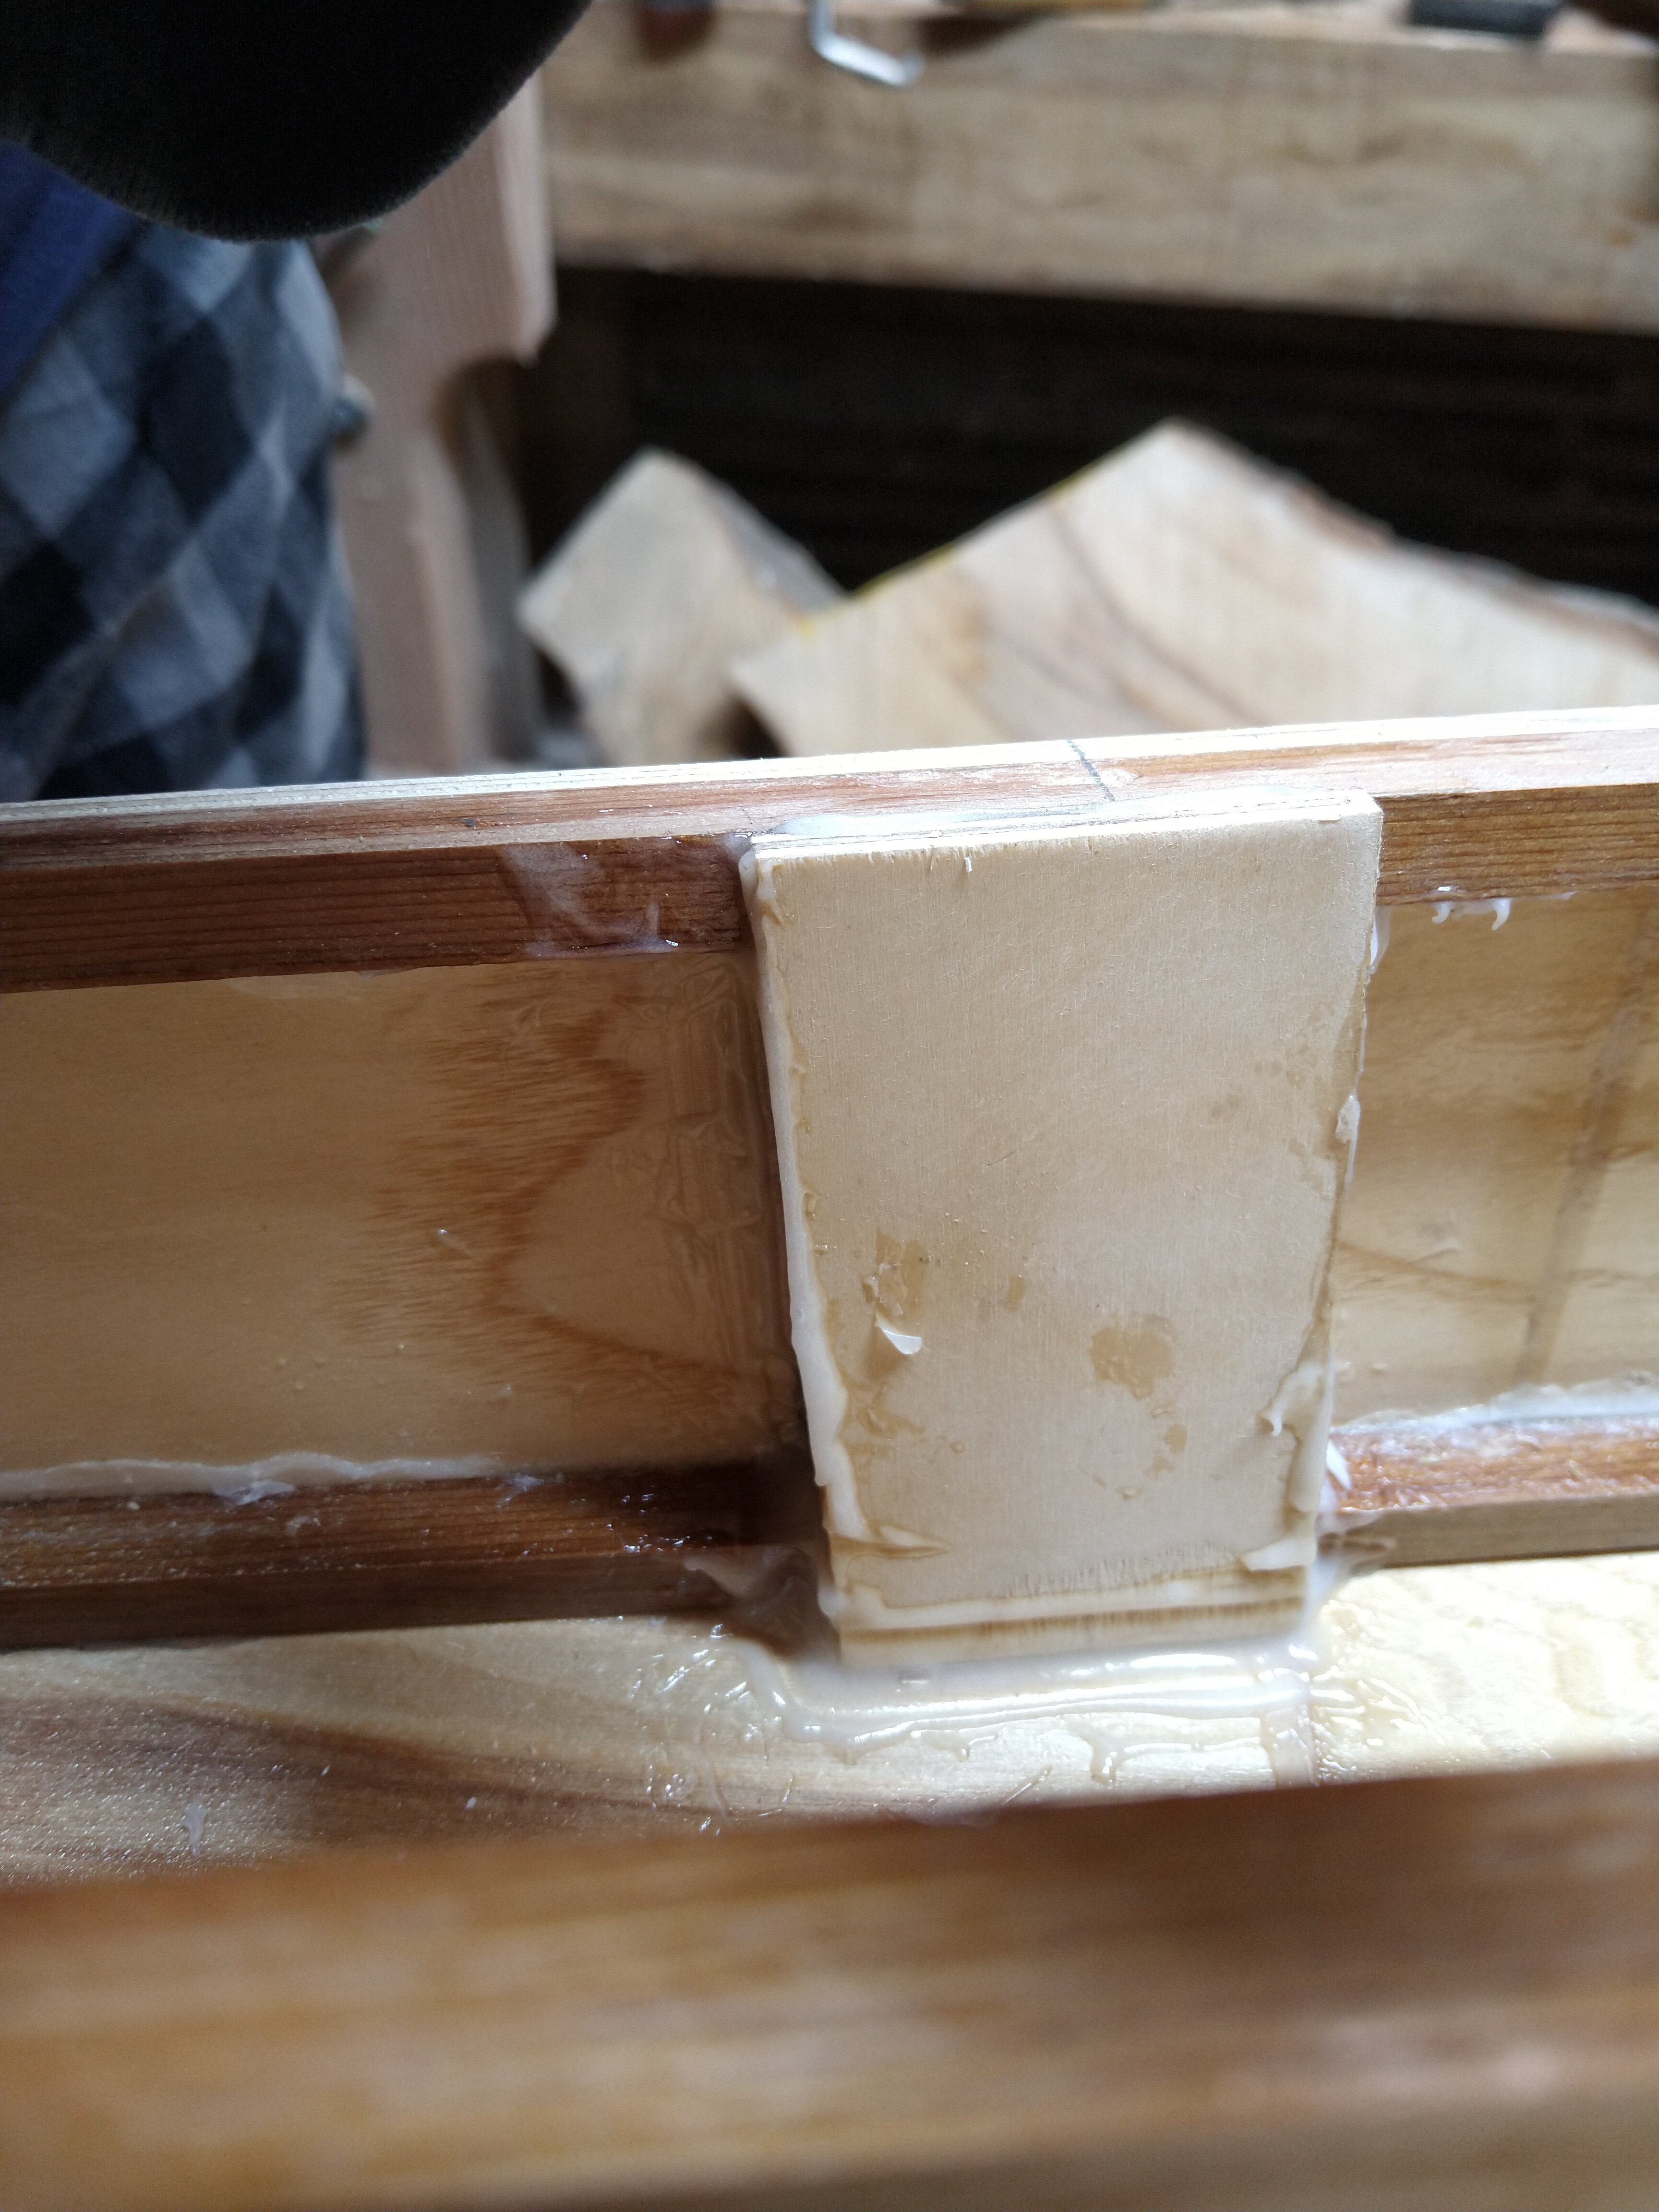
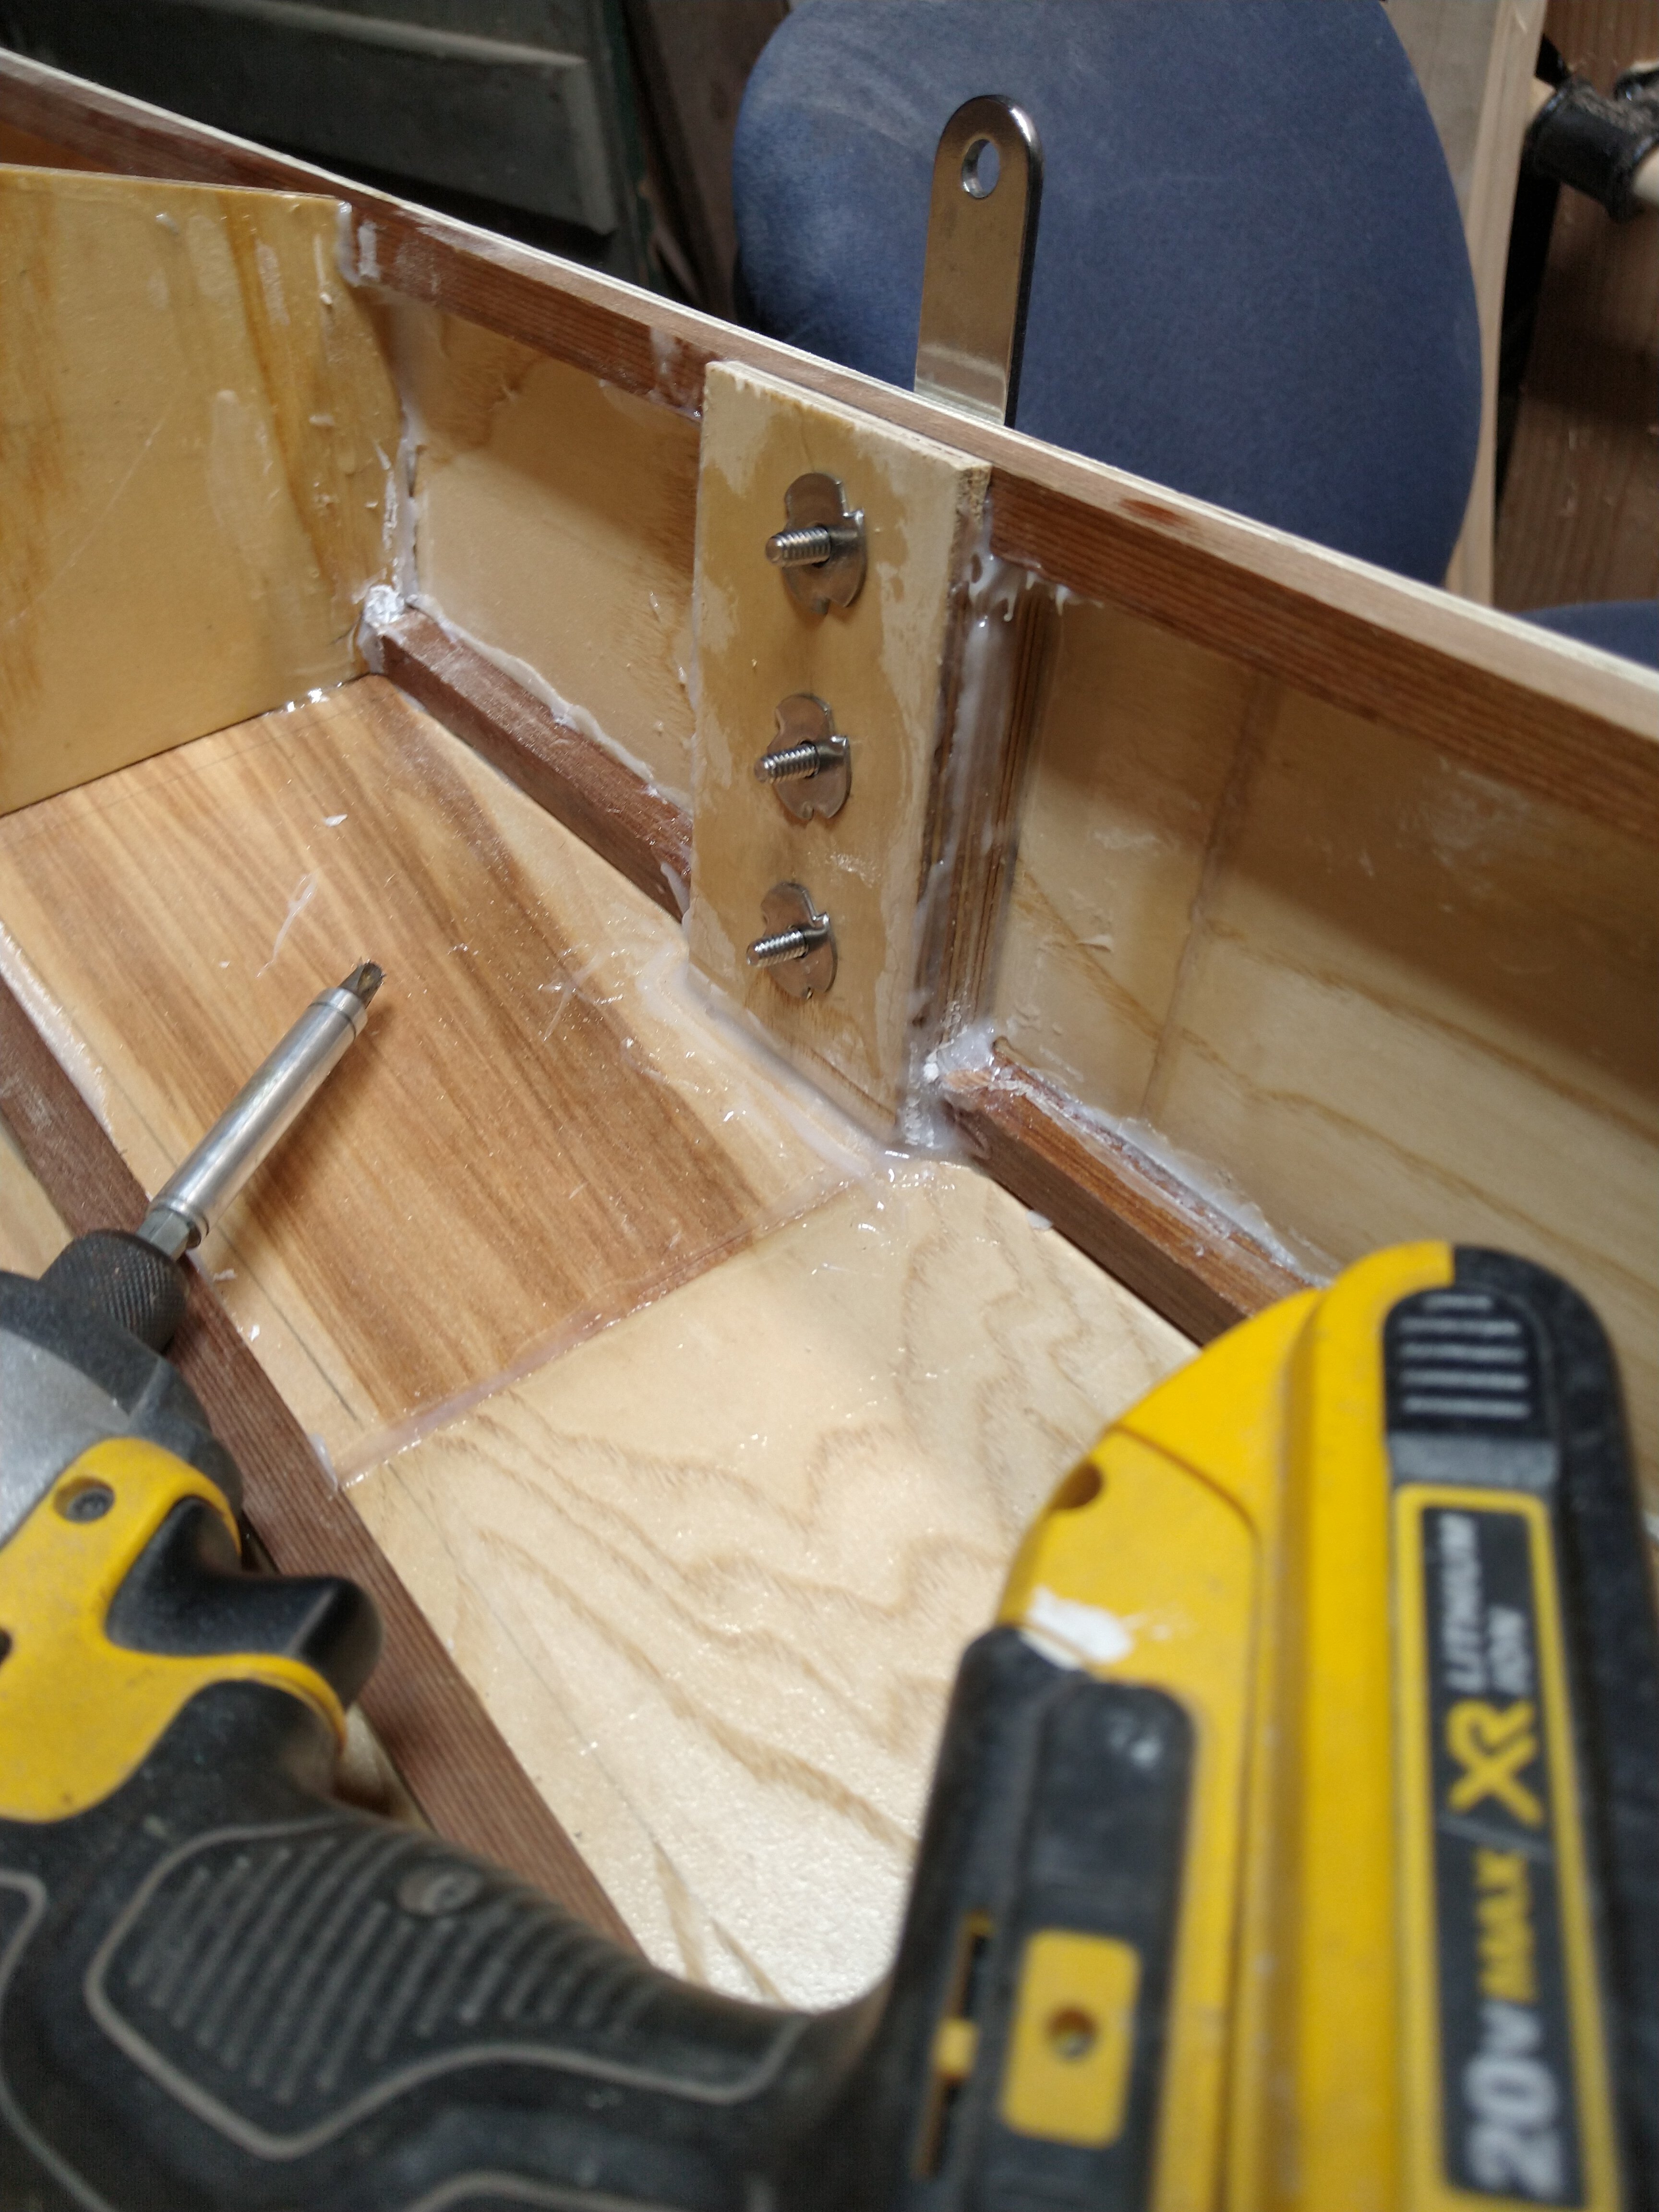
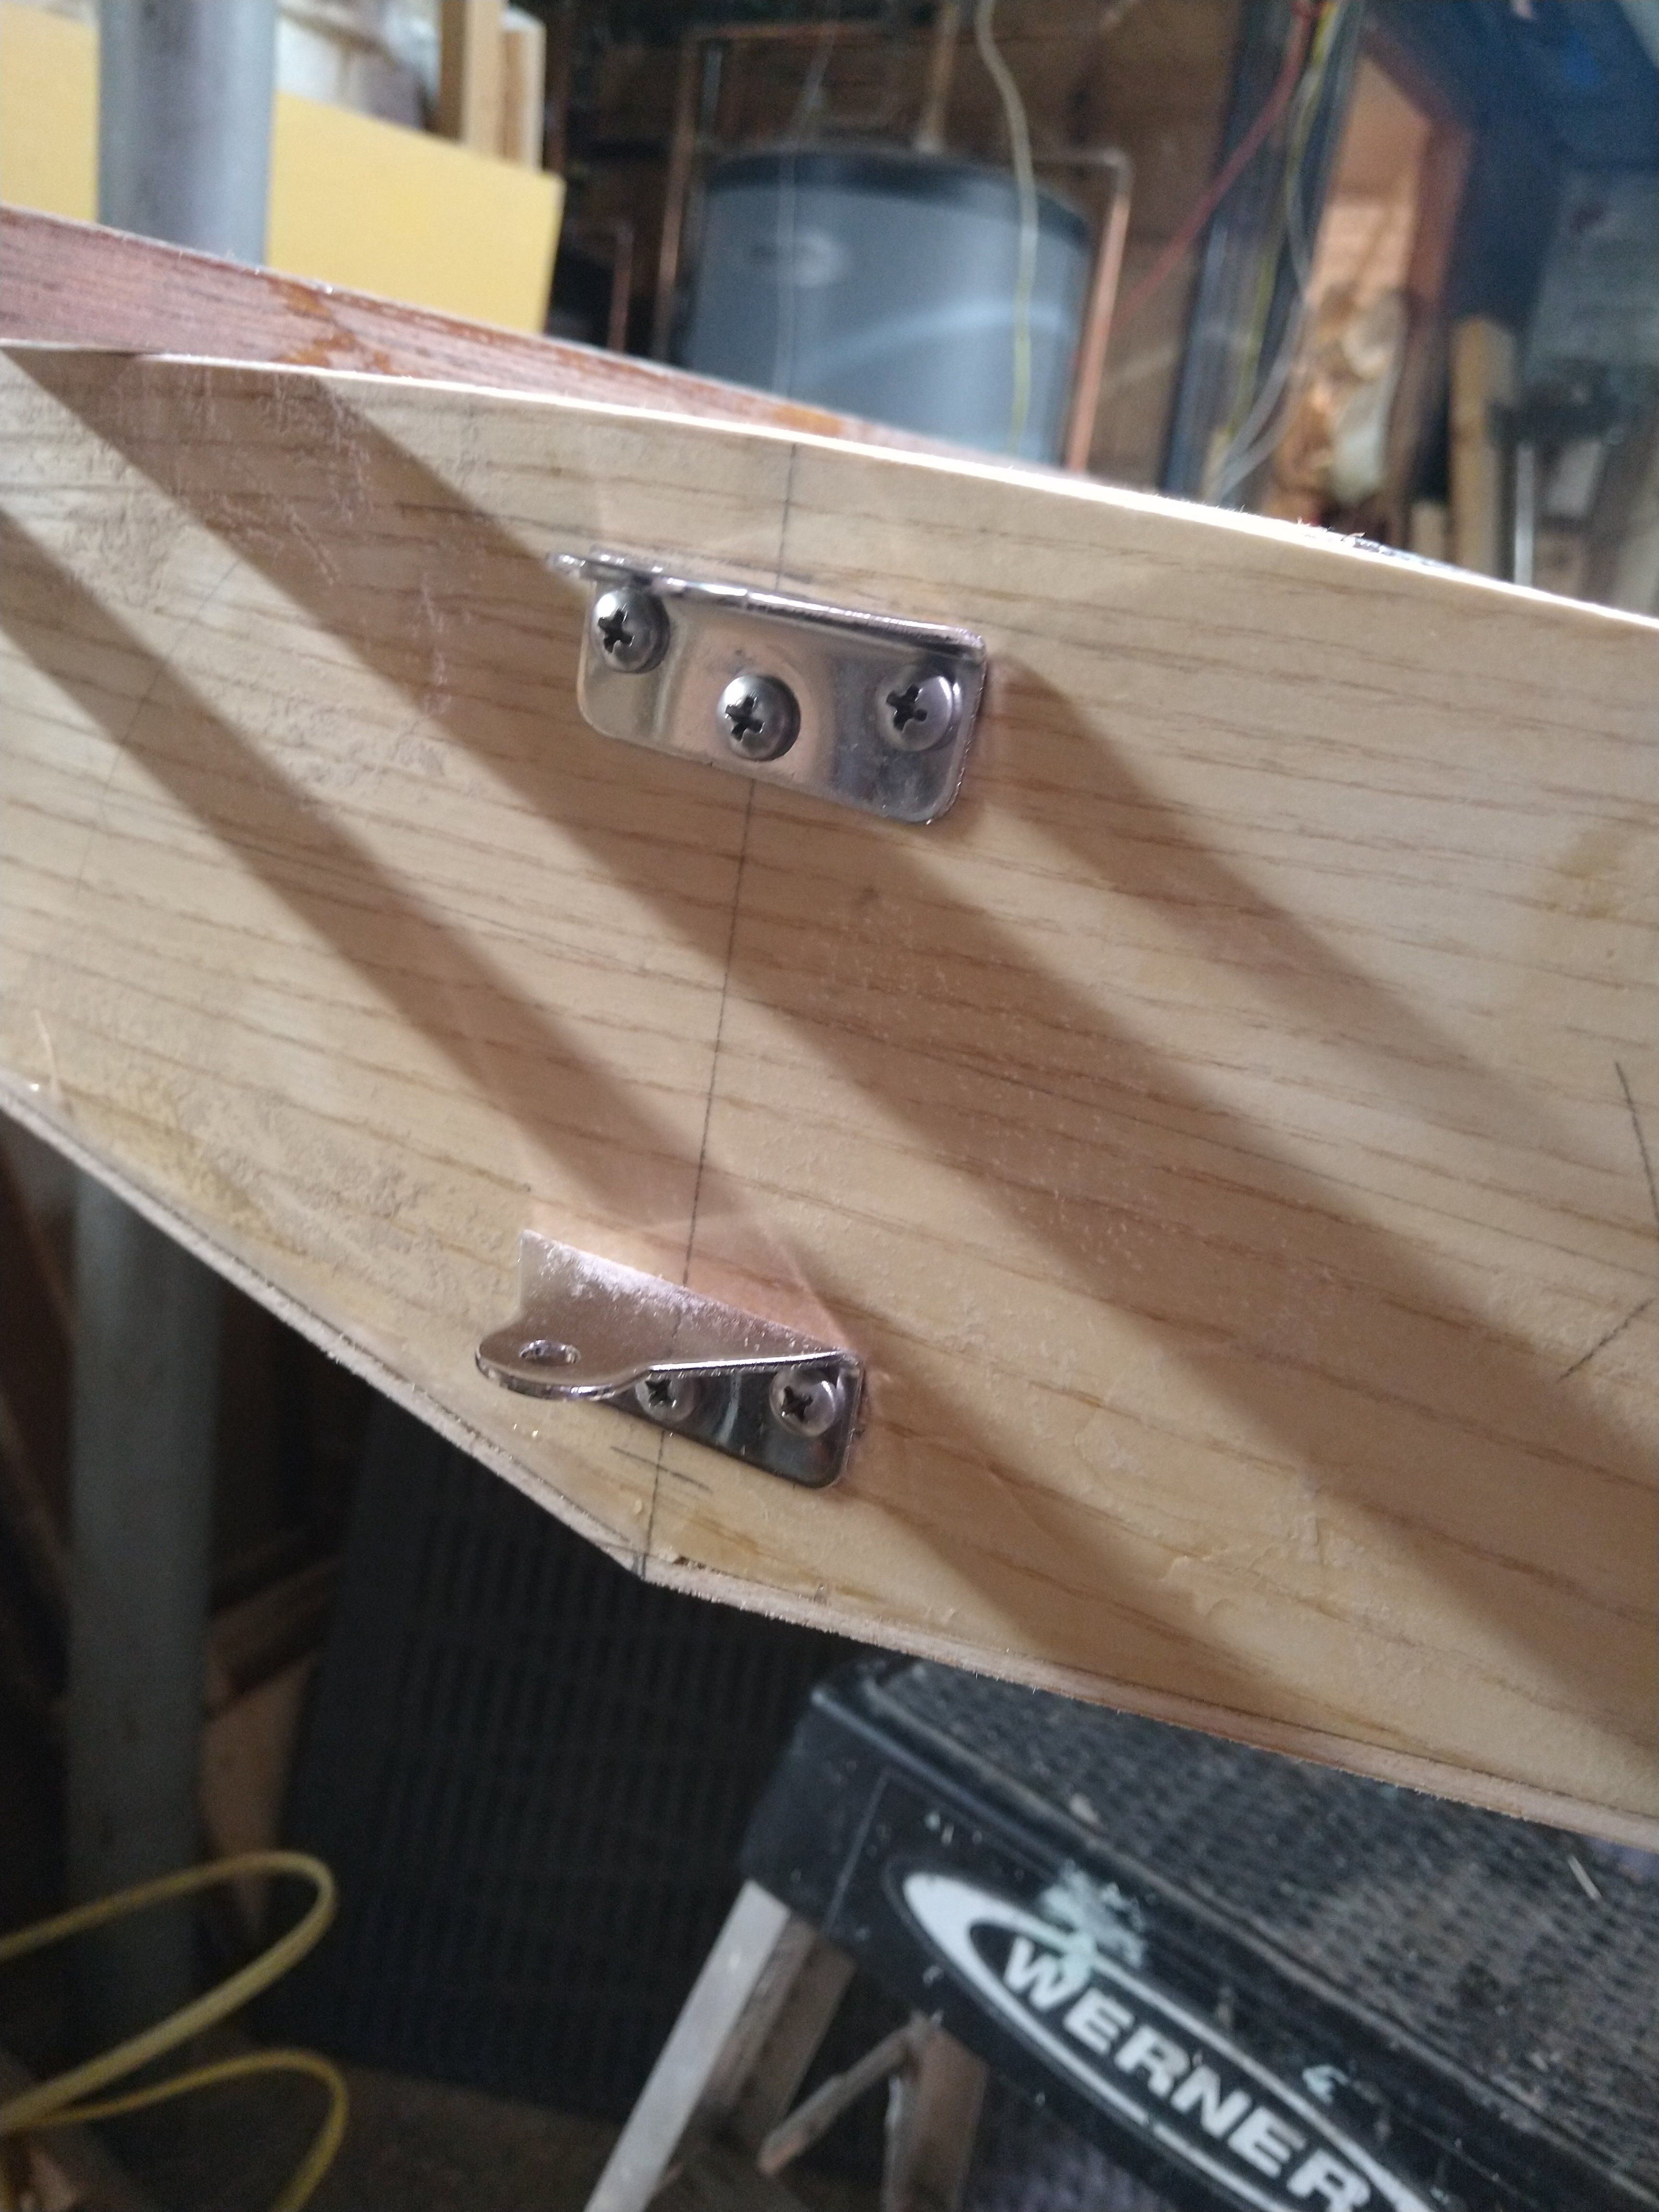
So now it’s time to fit the interior out for hardware. I chose to put T-nuts everywhere, so I can add the hardware after putting the deck on. I chose to laminate squares of the ply, rather than use blocks of cedar, just because that seems a better use of scrap material.

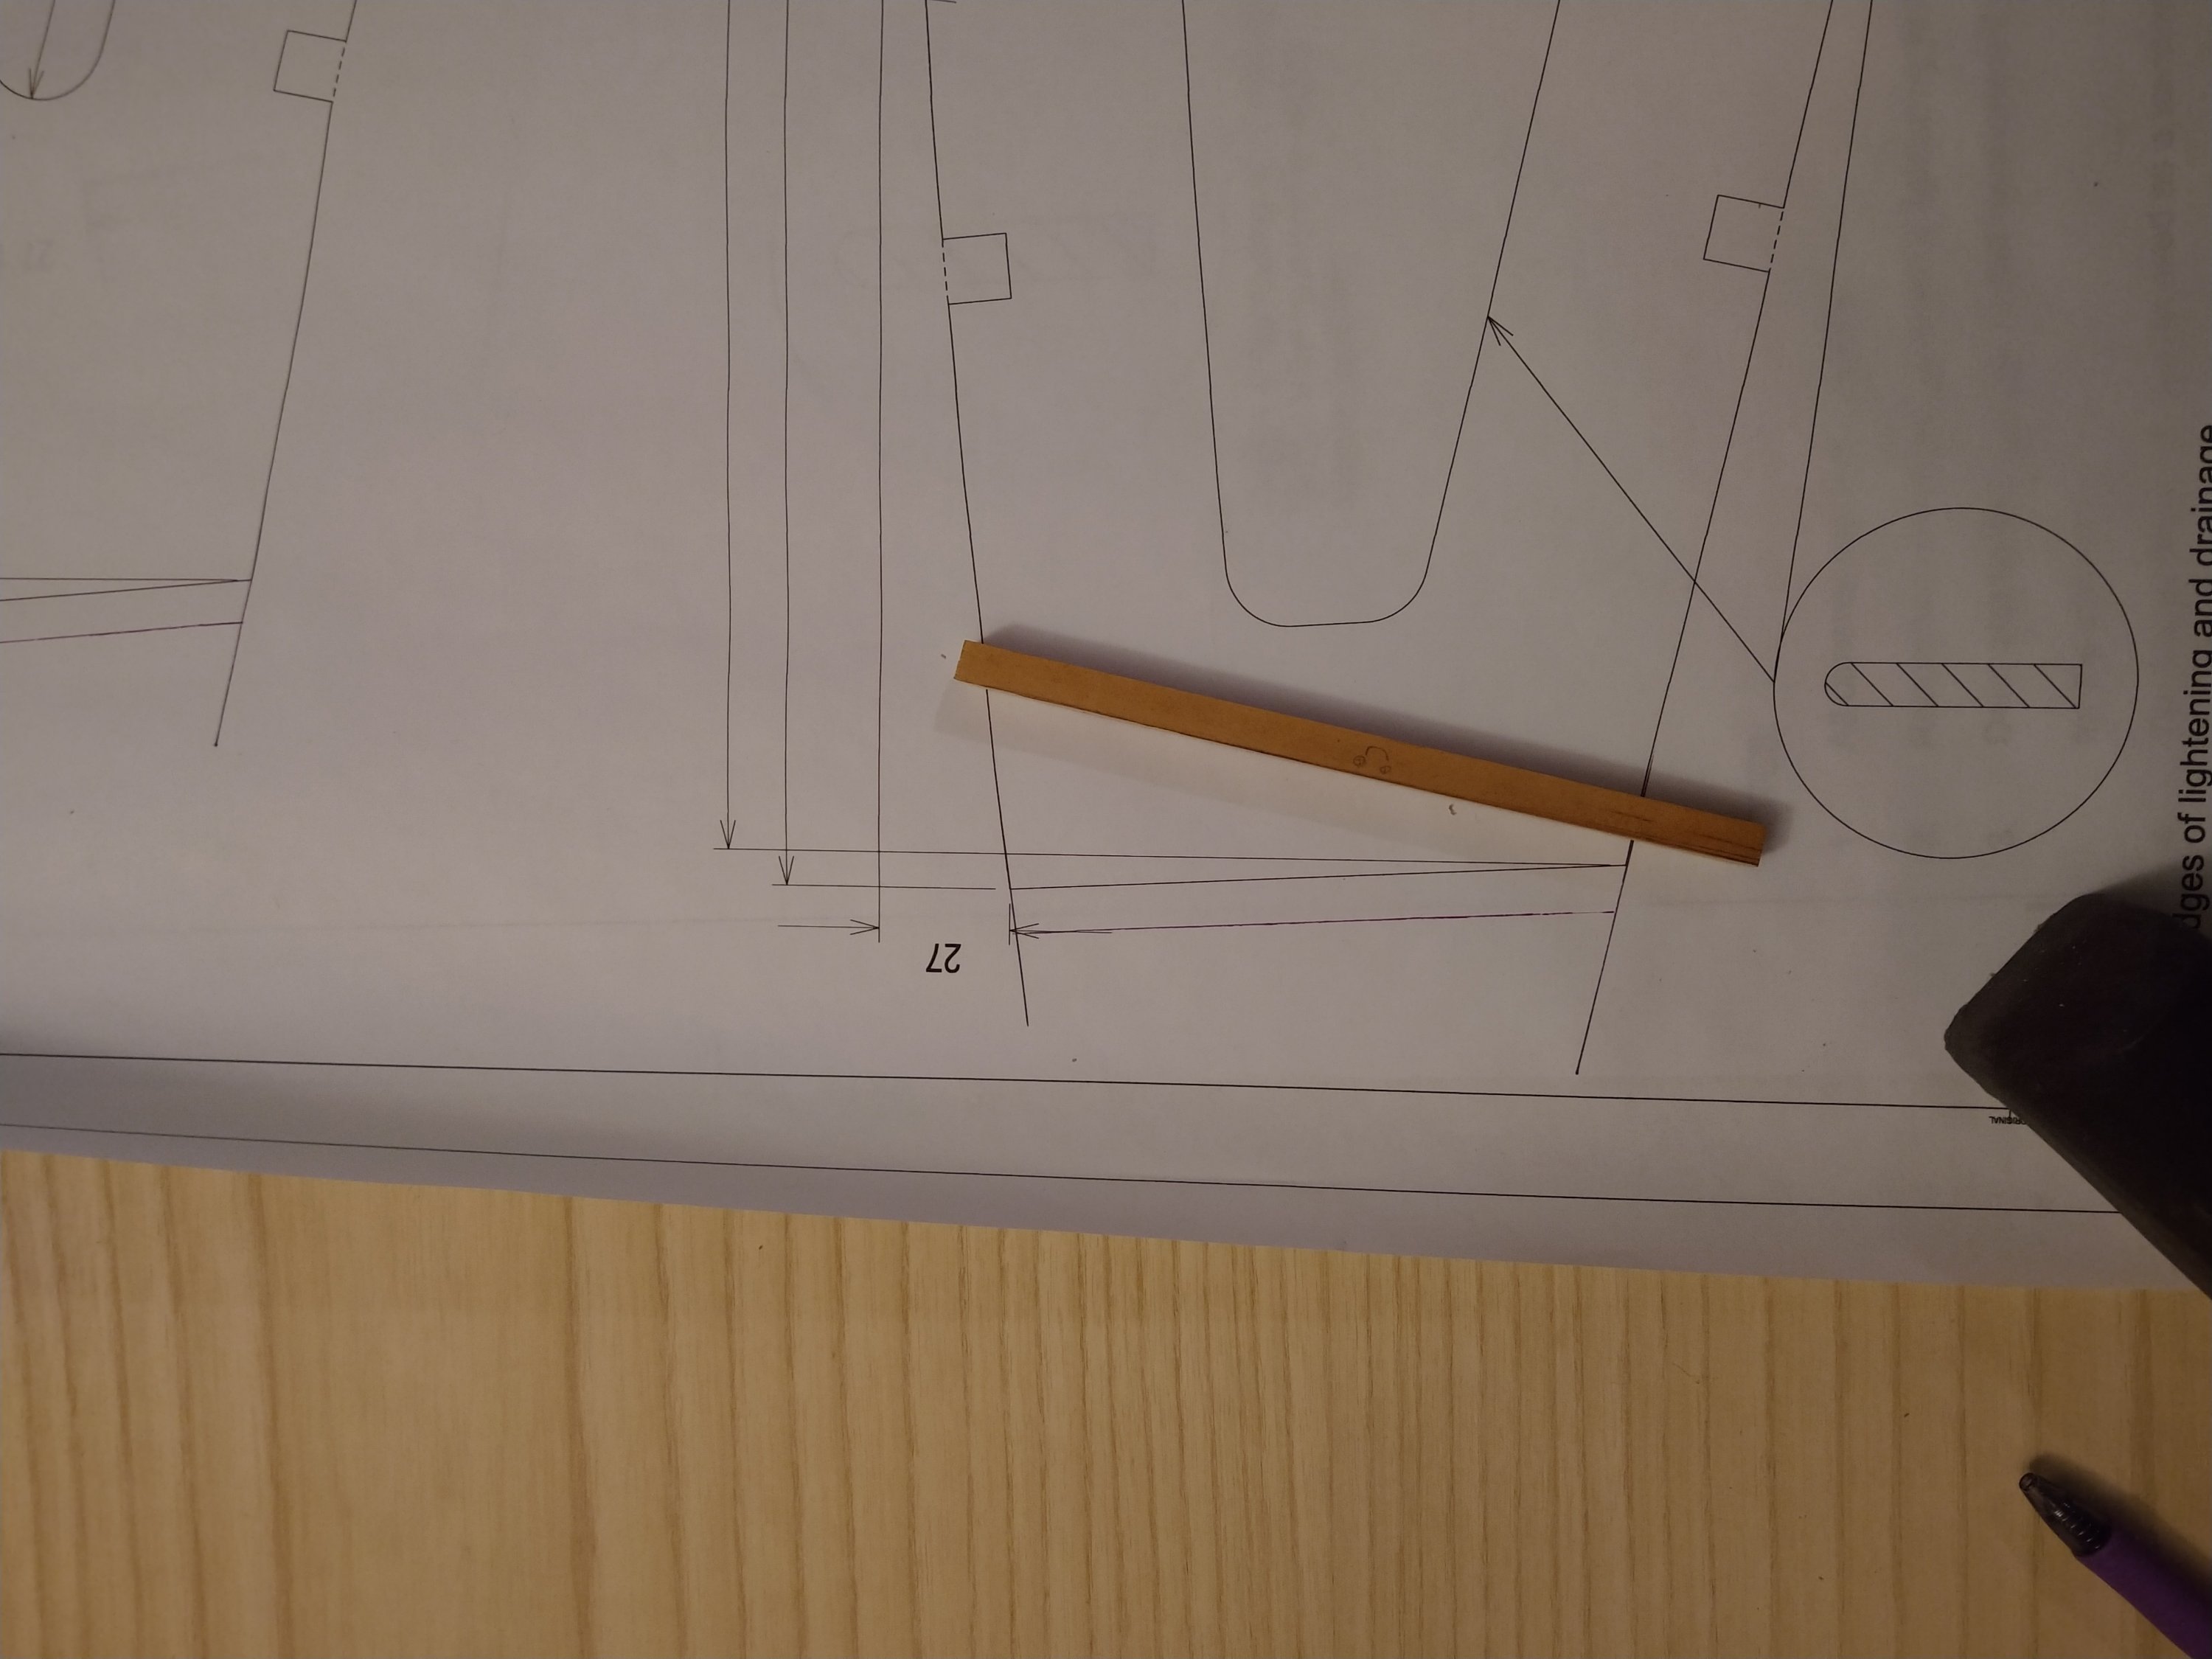
In the bow, I installed bolts where I’ll install a U channel to hold the forestay.

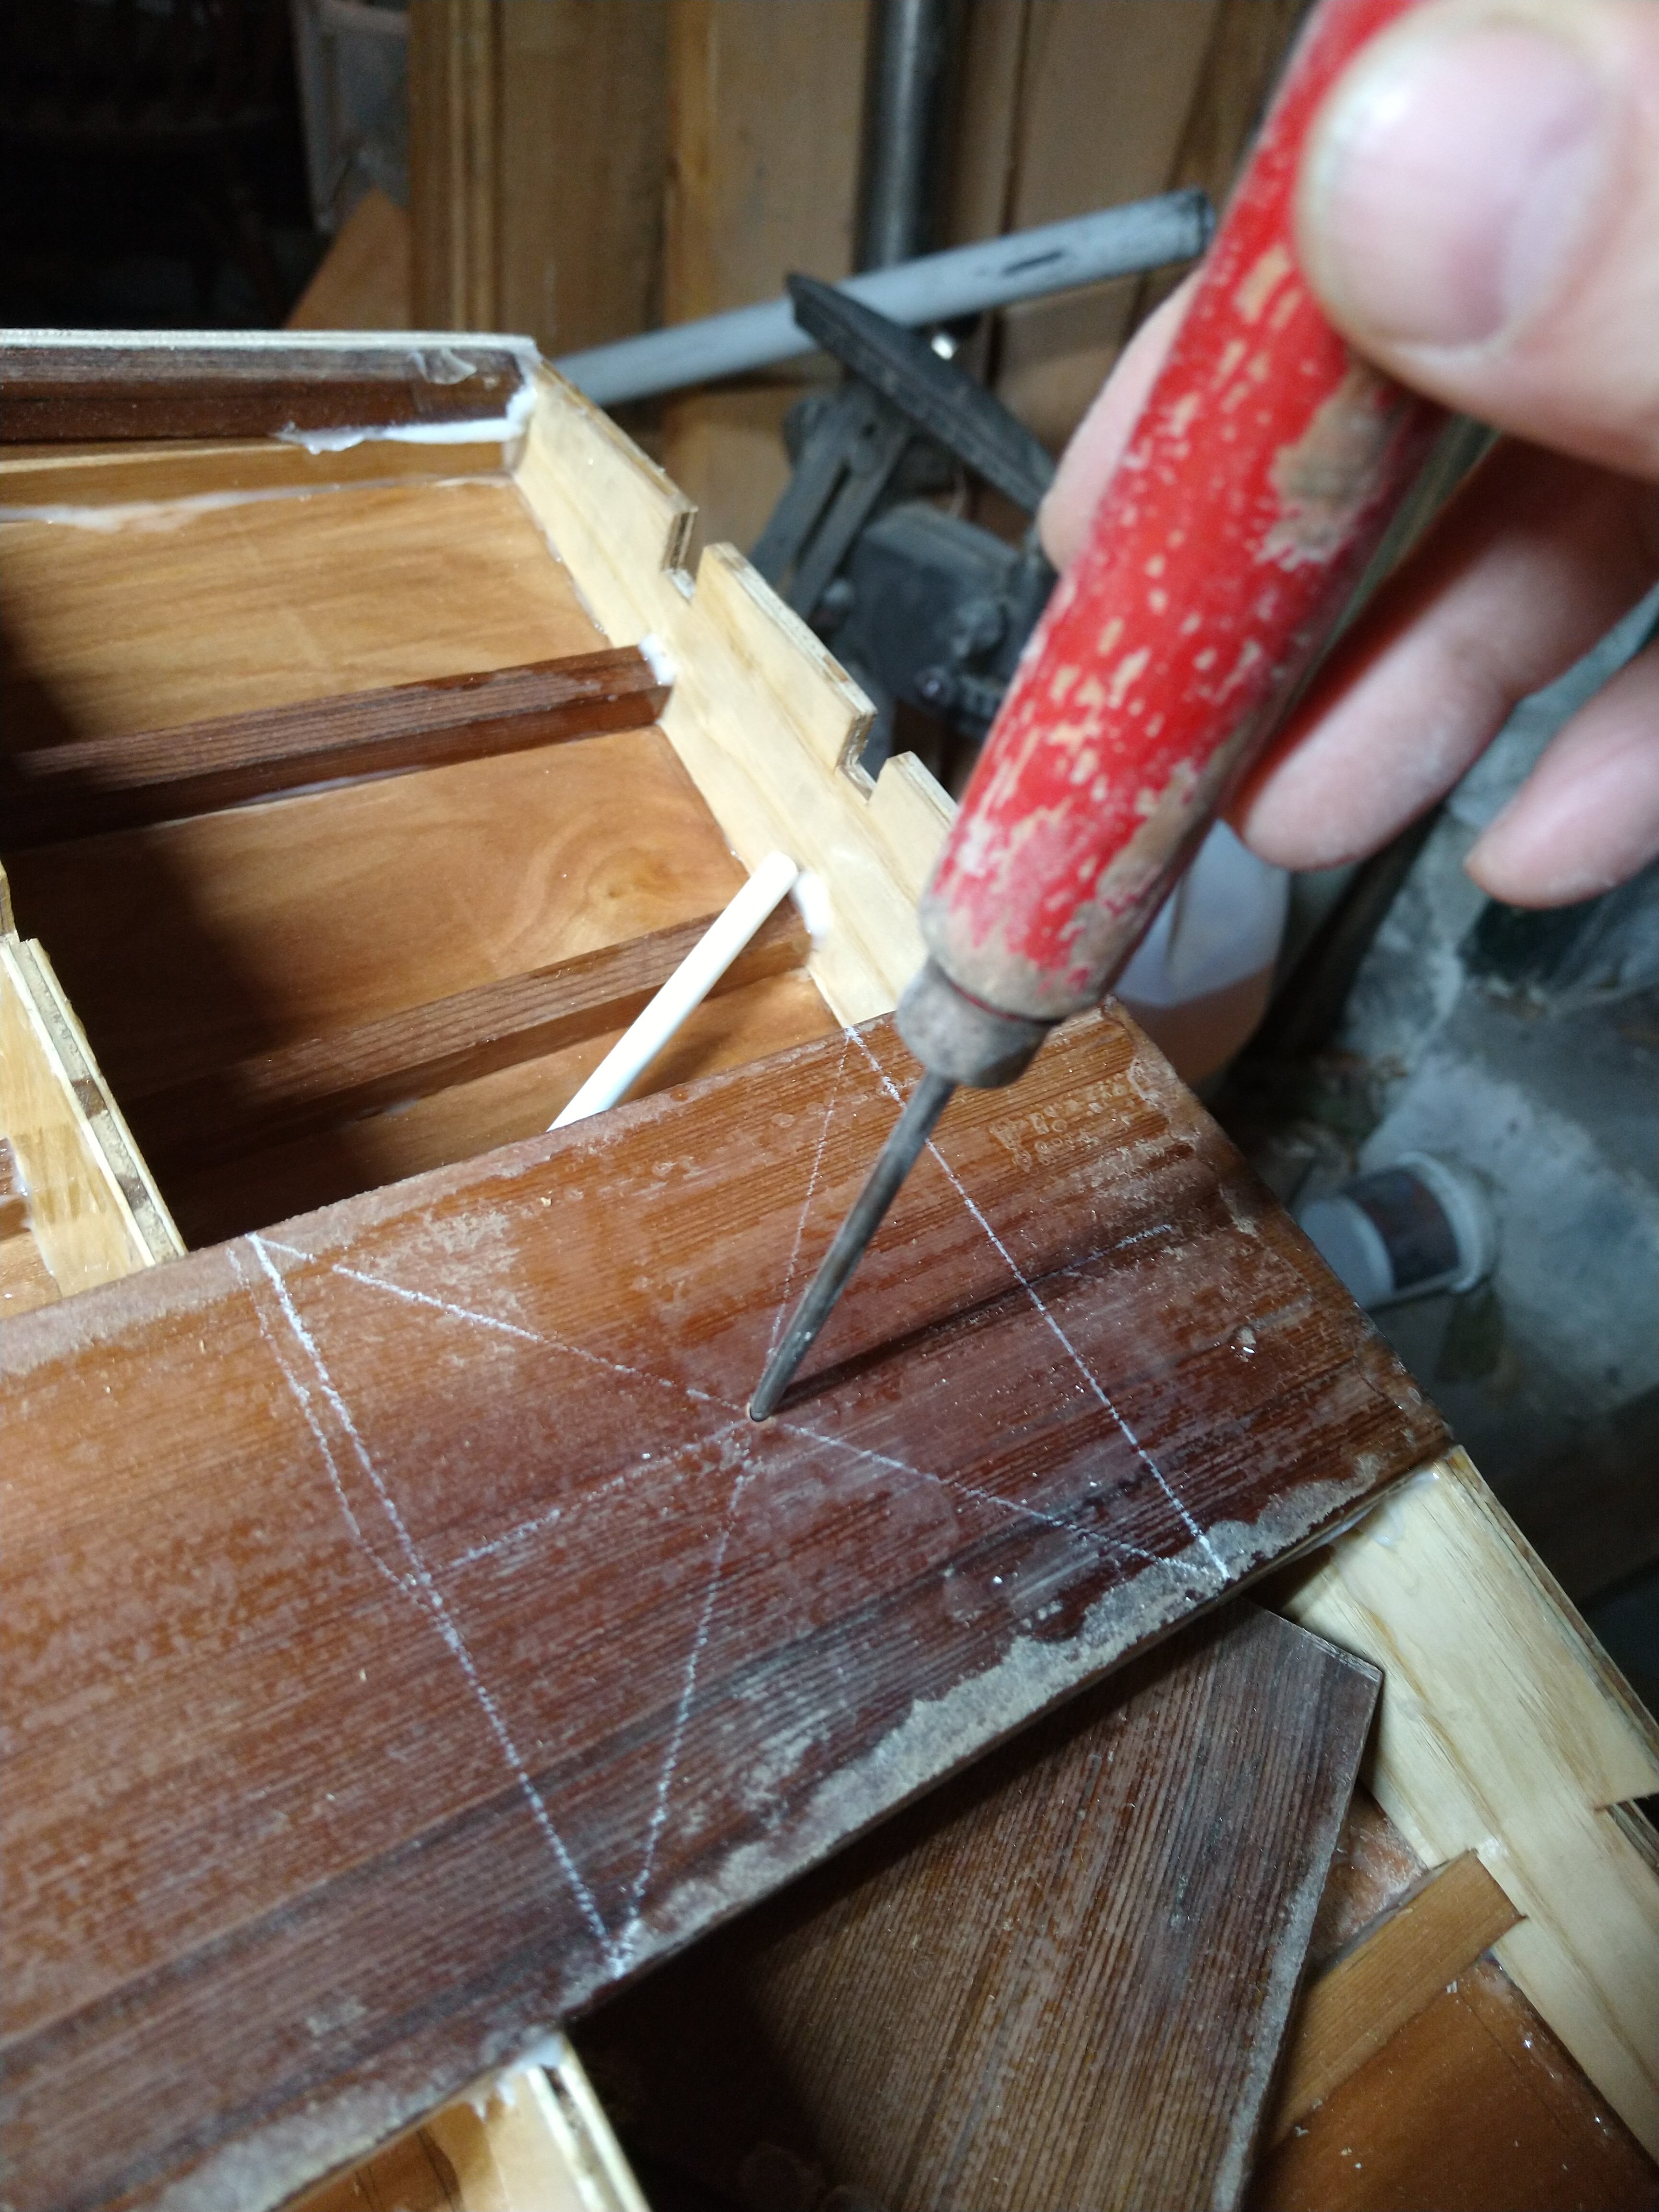
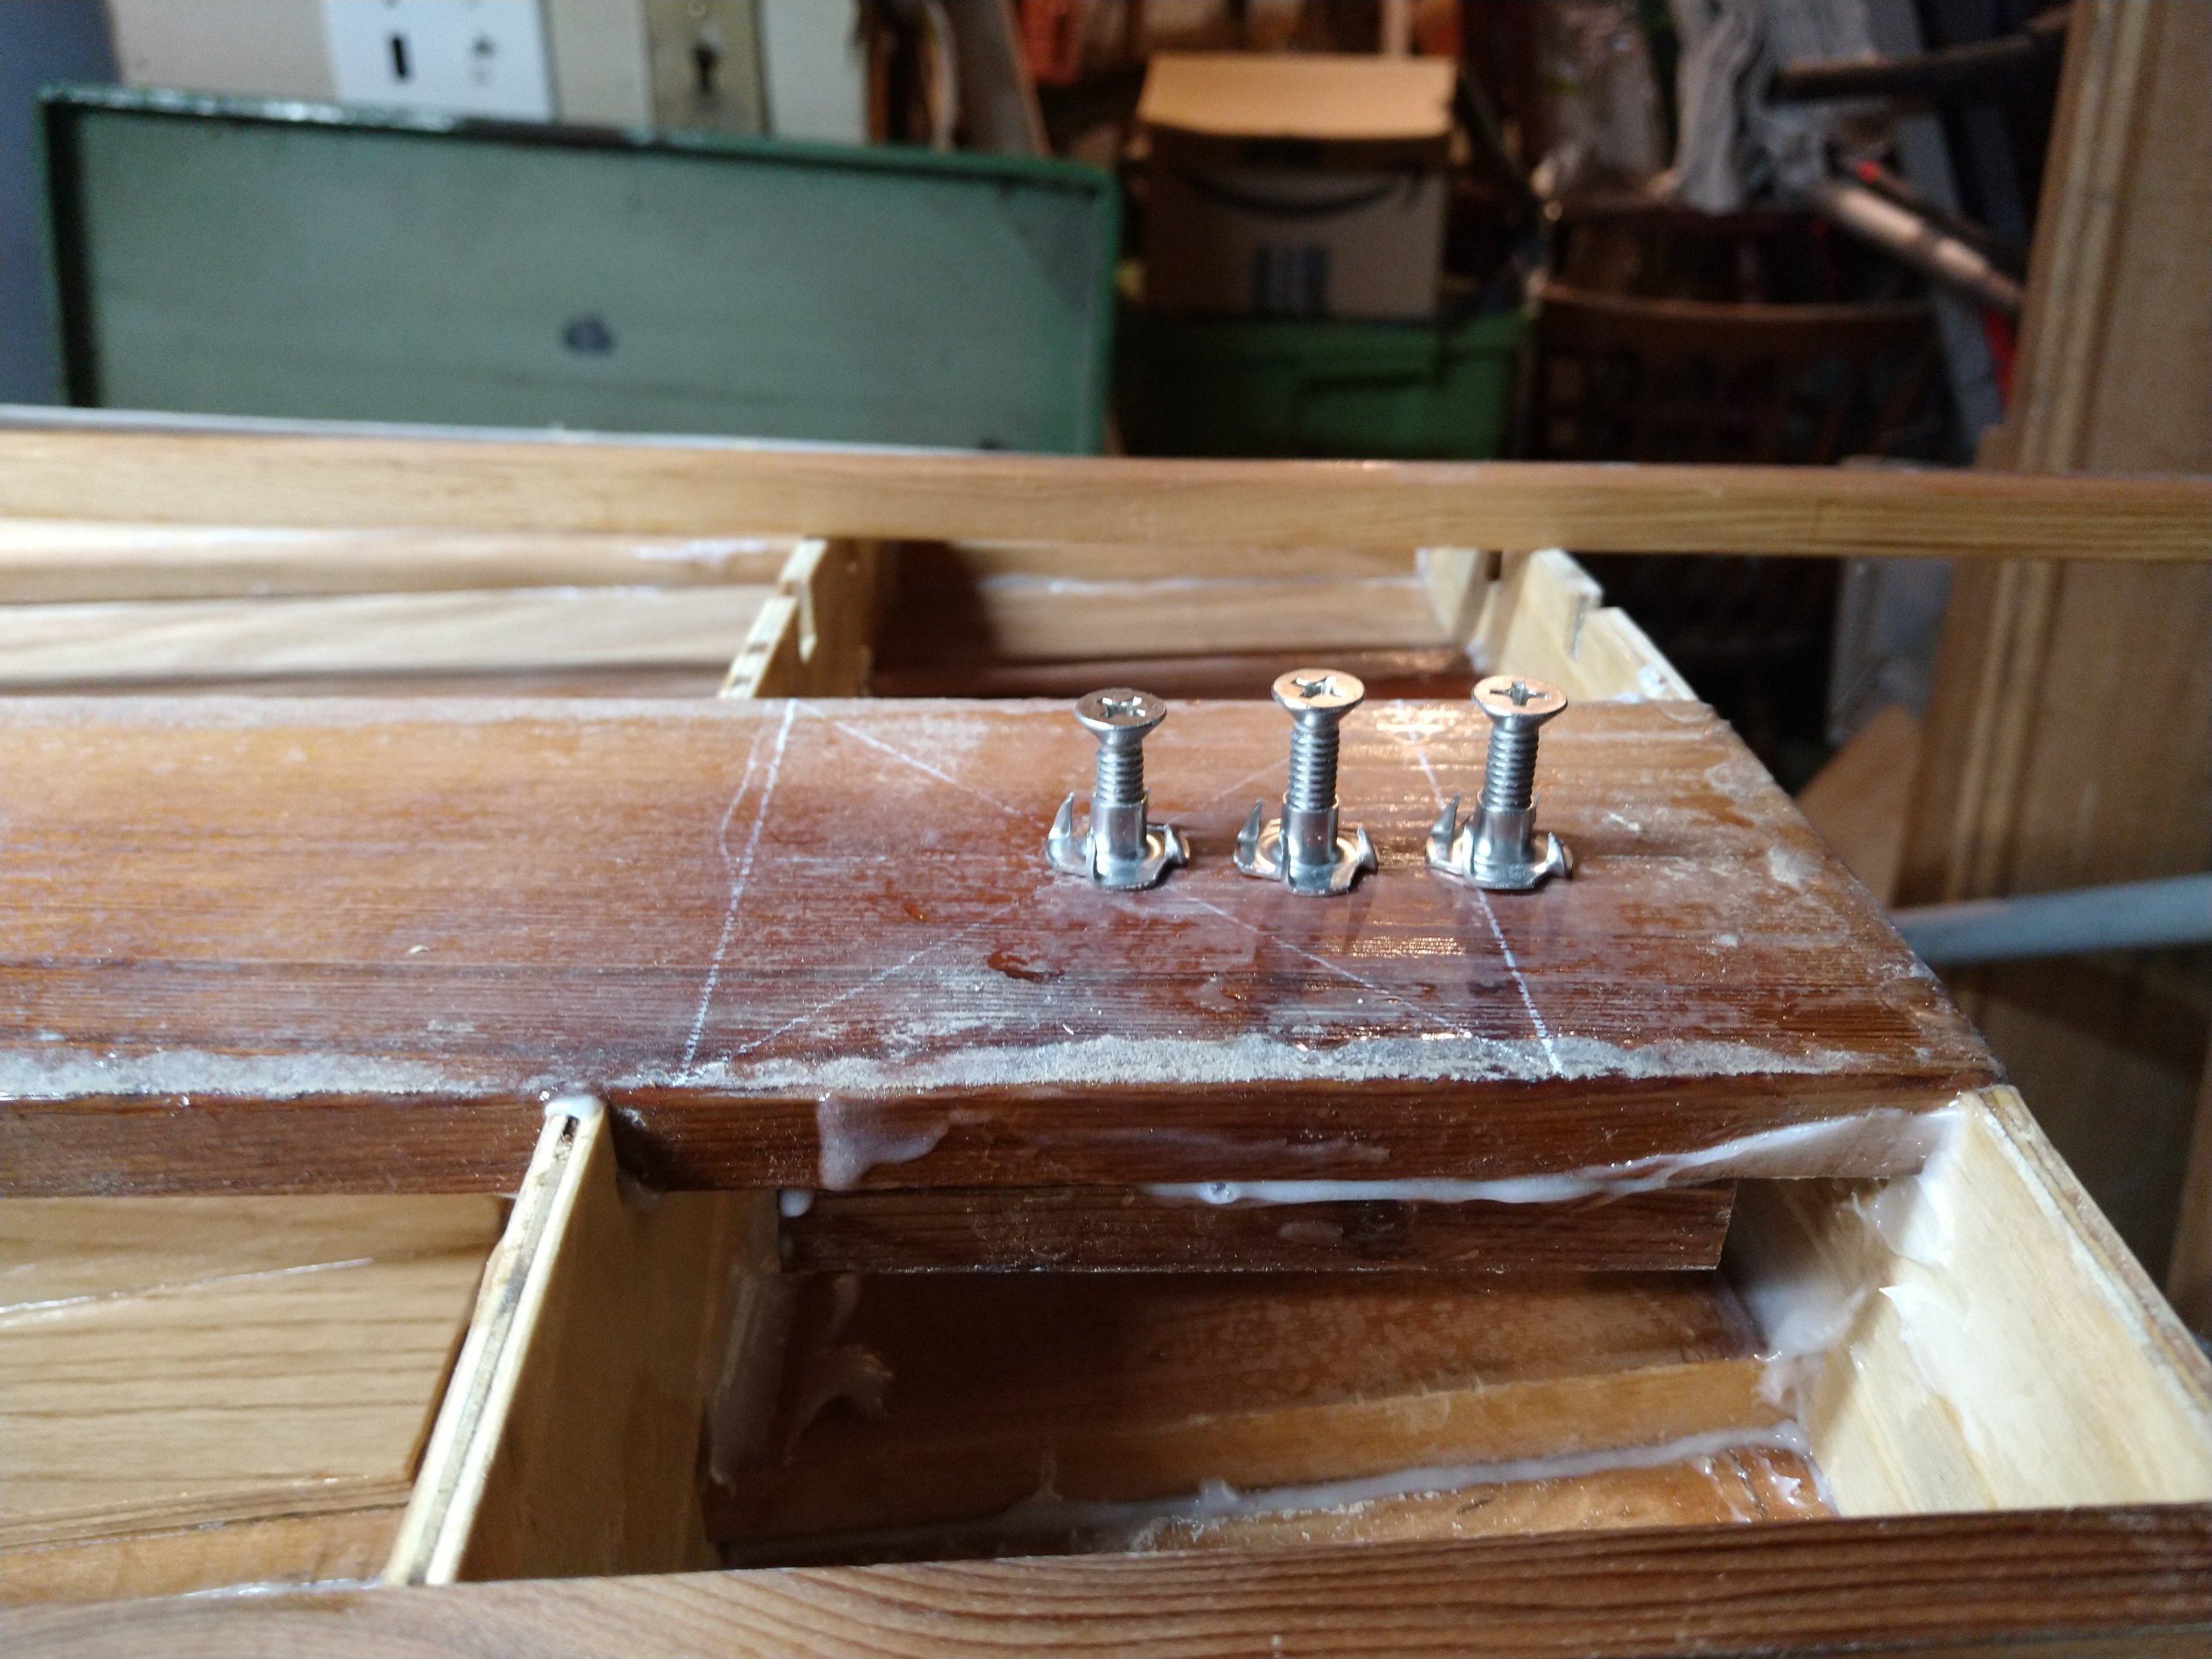
On the sides, I installed bolts for the shrouds. These are at an angle specified in the plans. After drilling out the bolt holes I pressed the T-nuts into the wood. Then I removed them so I could coat the entire assembly with unthickened epoxy. Once tacky, I added the T-nuts back in.

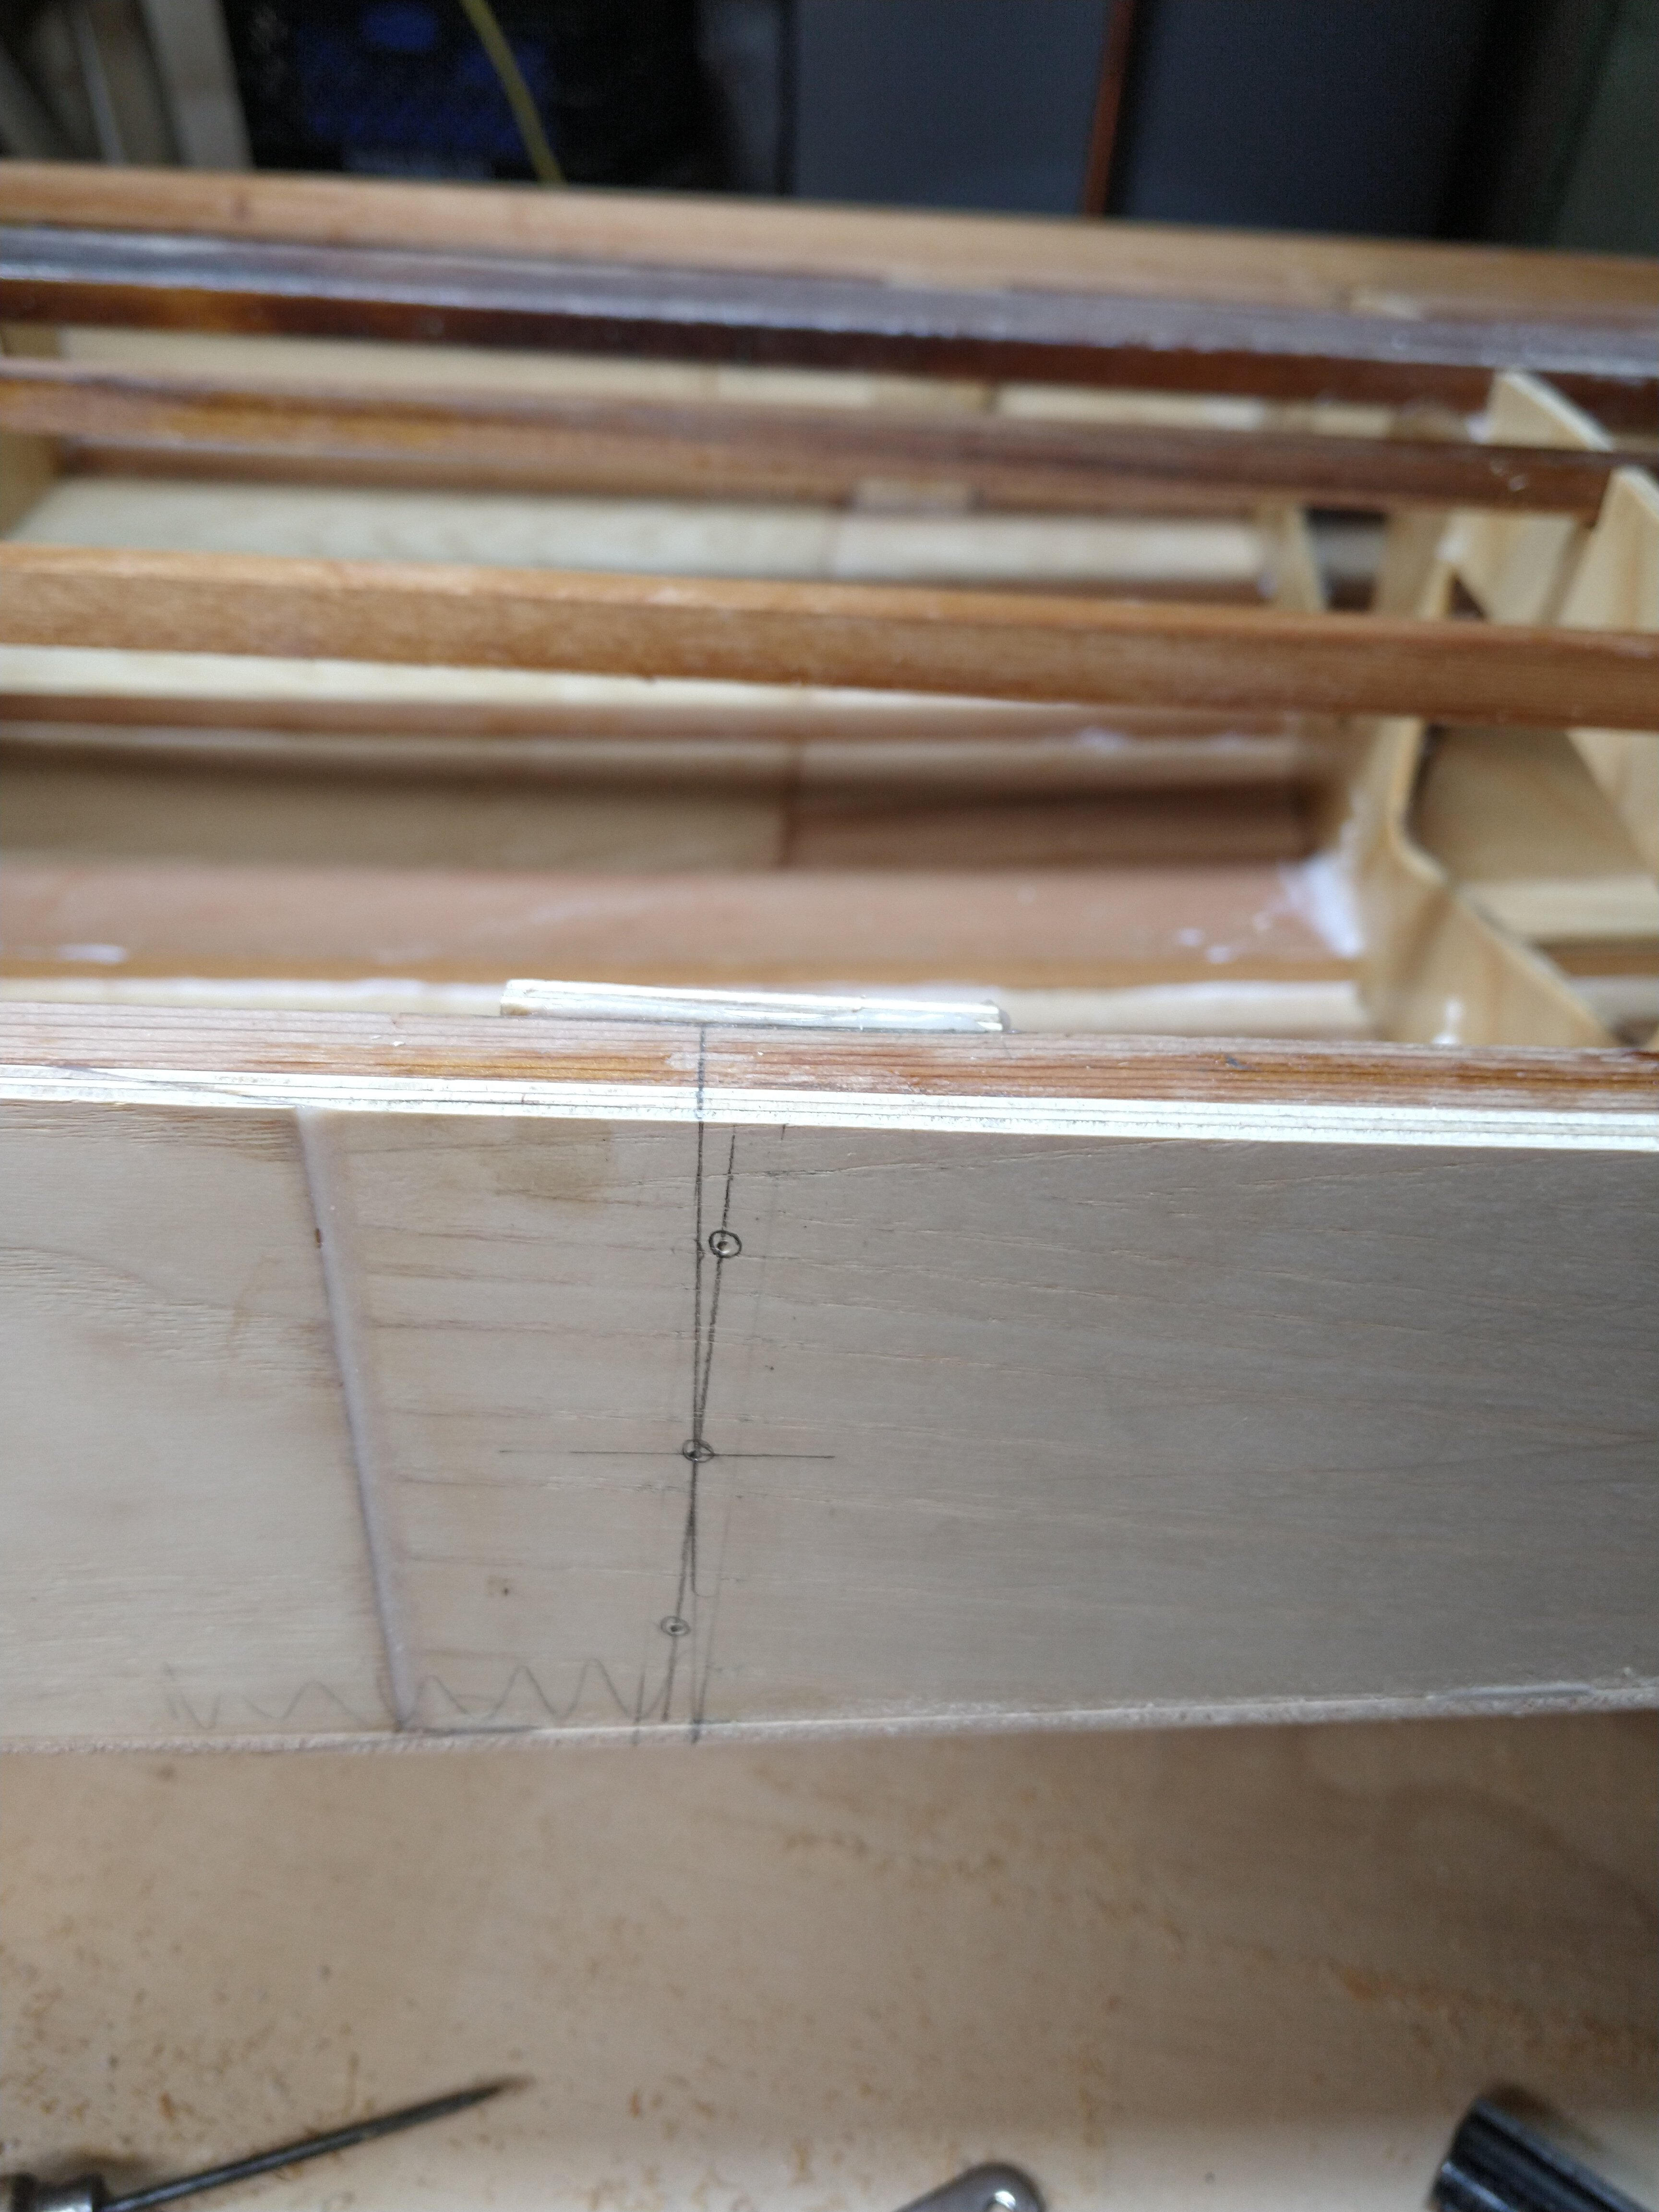
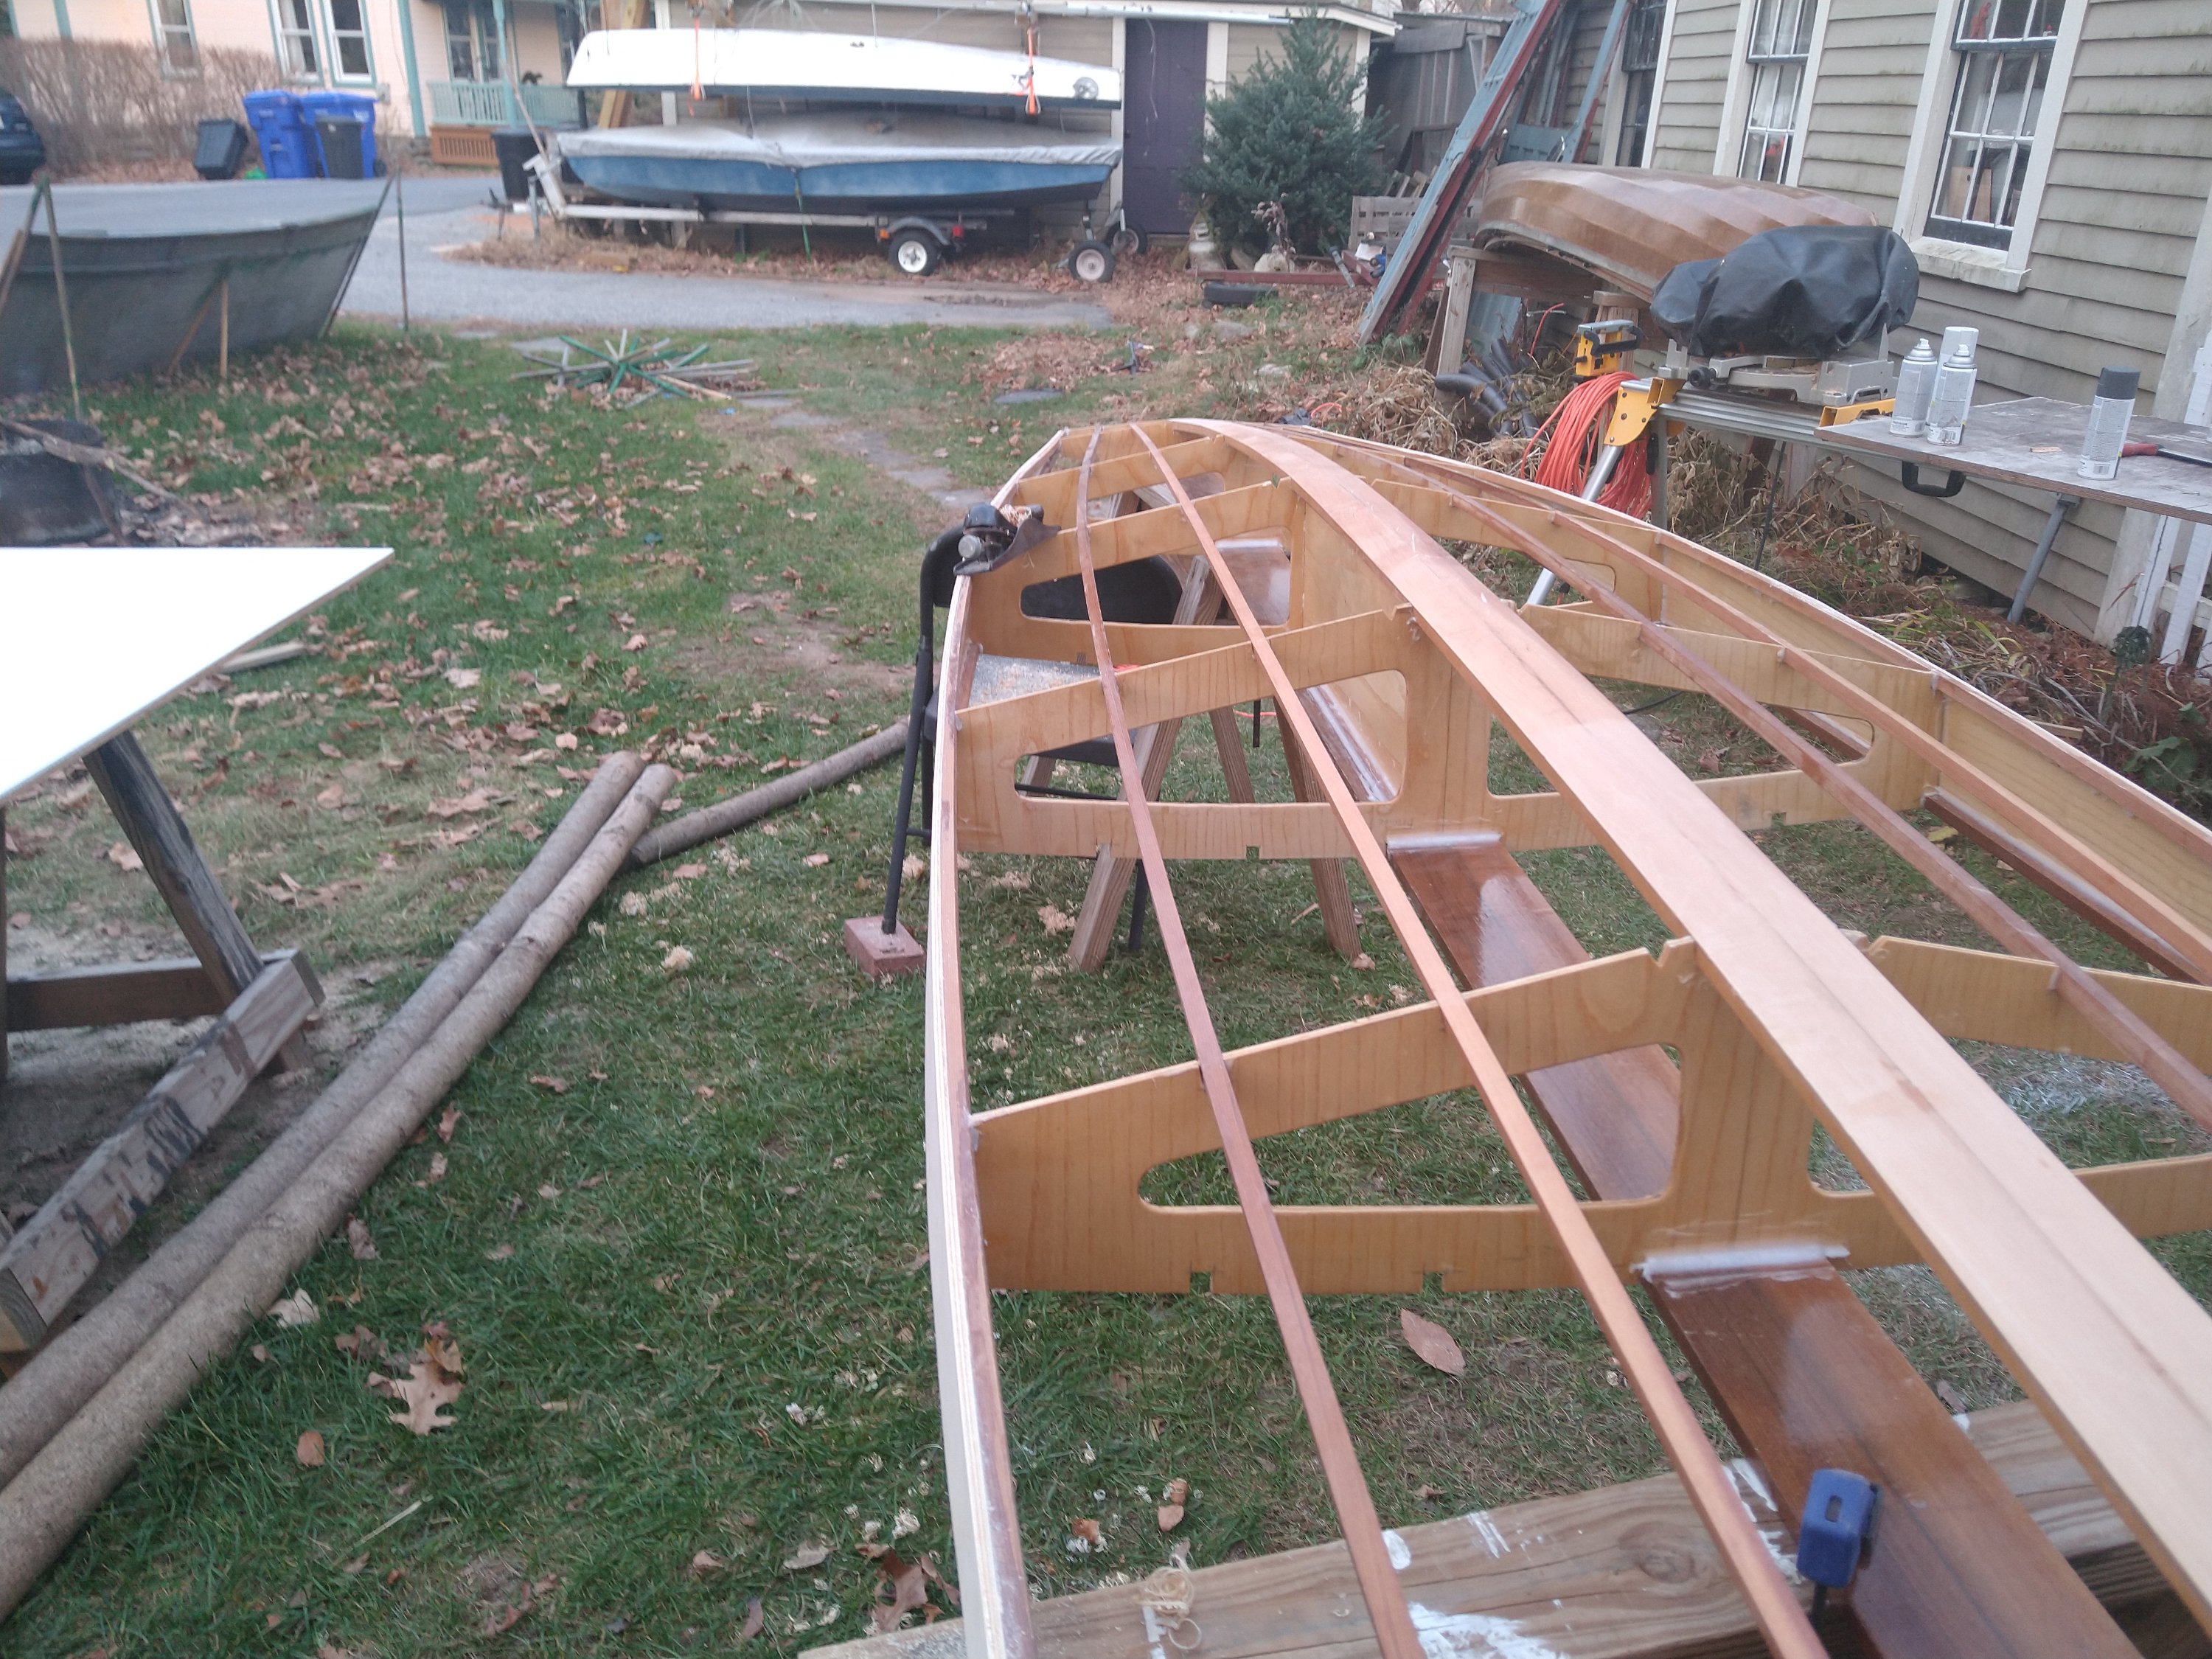
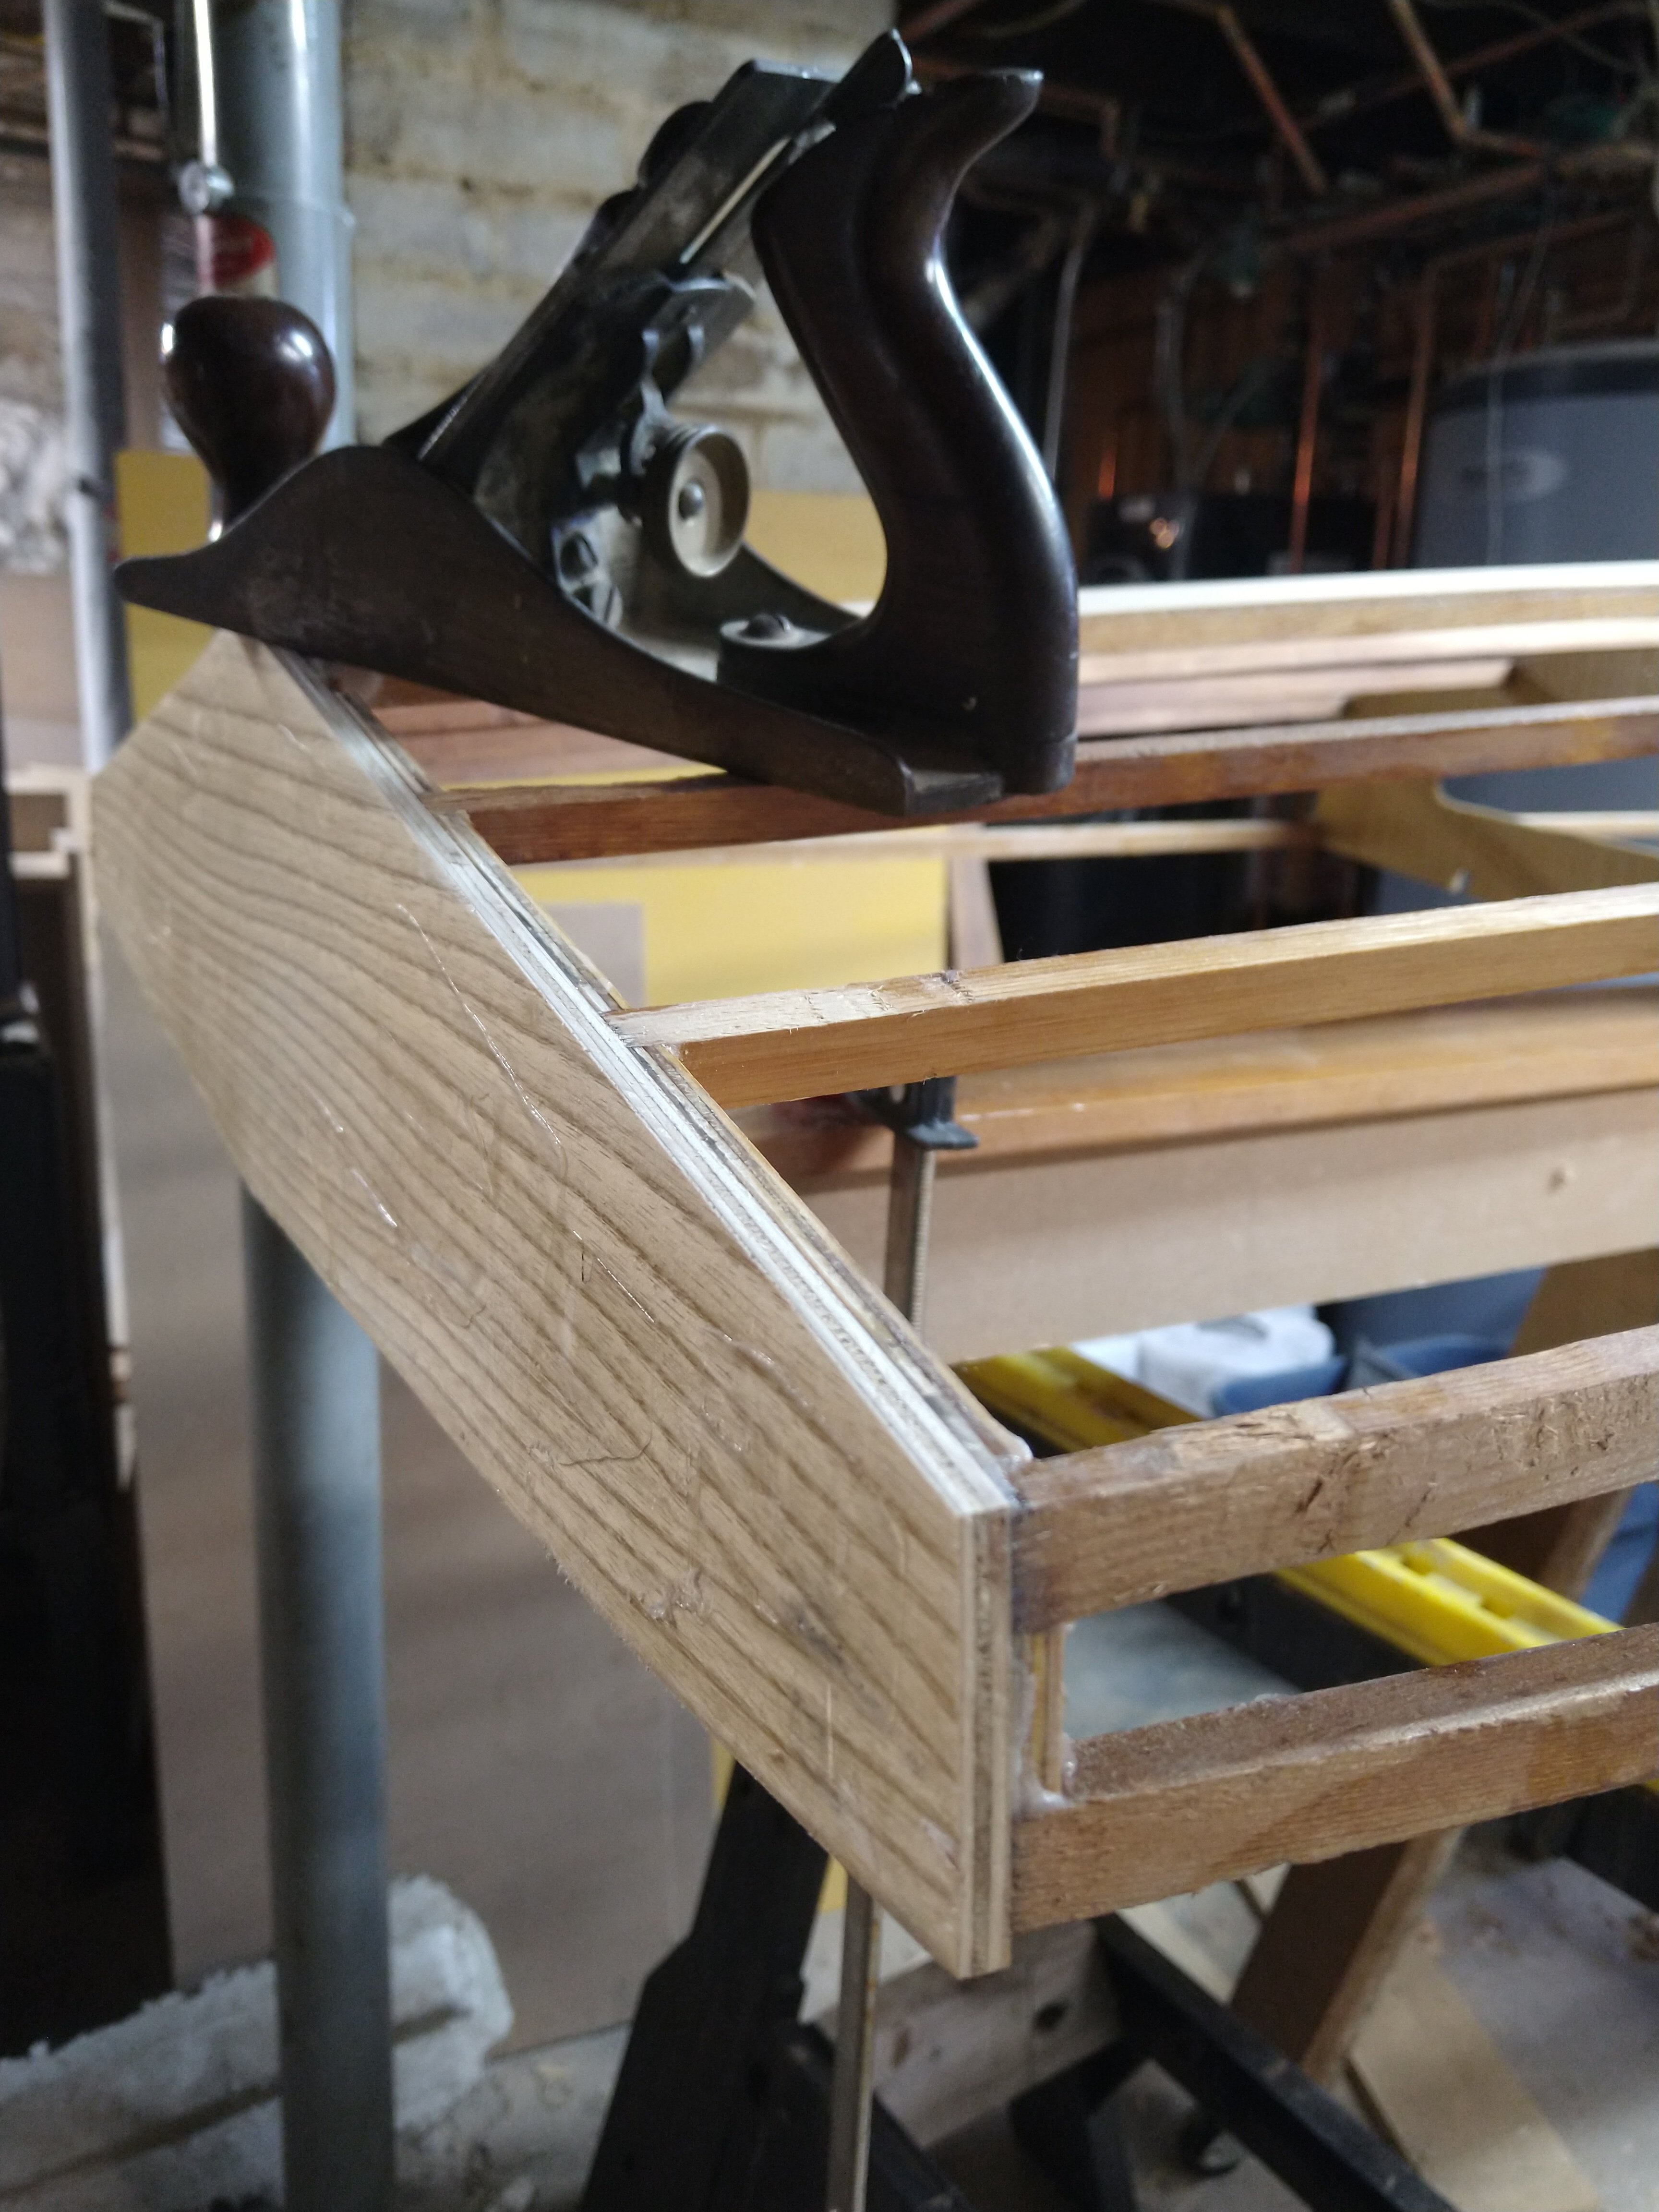
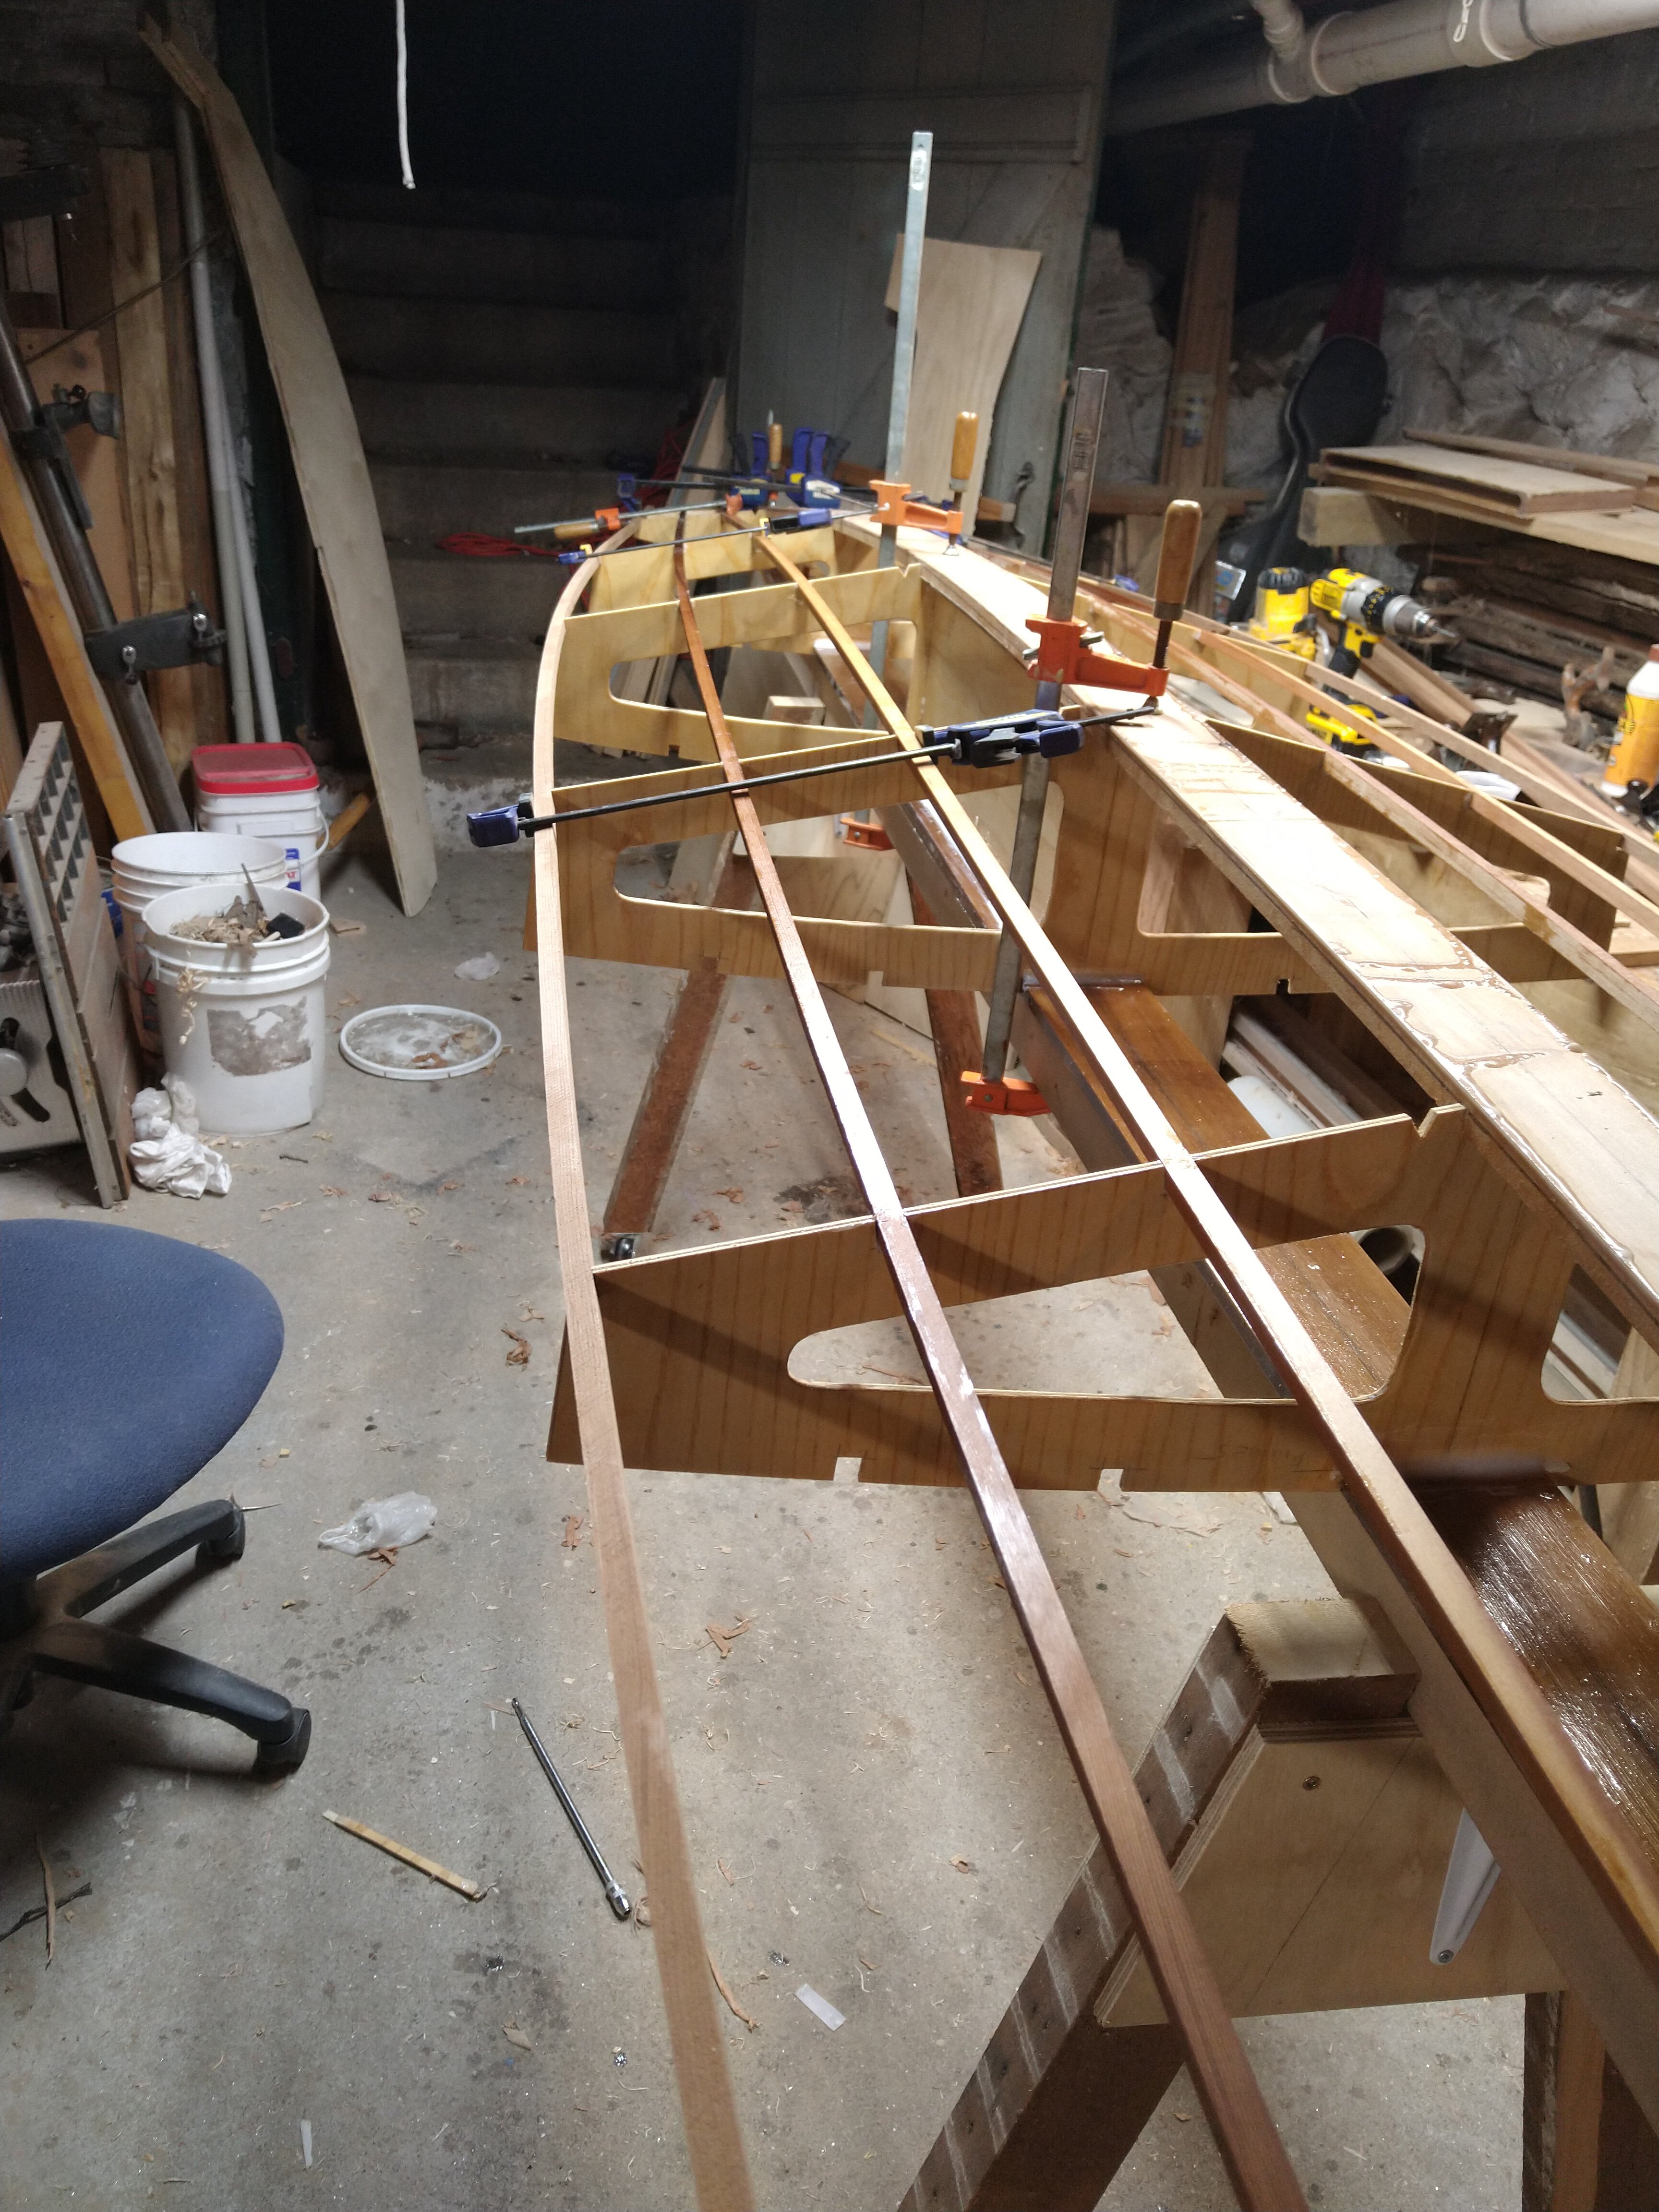
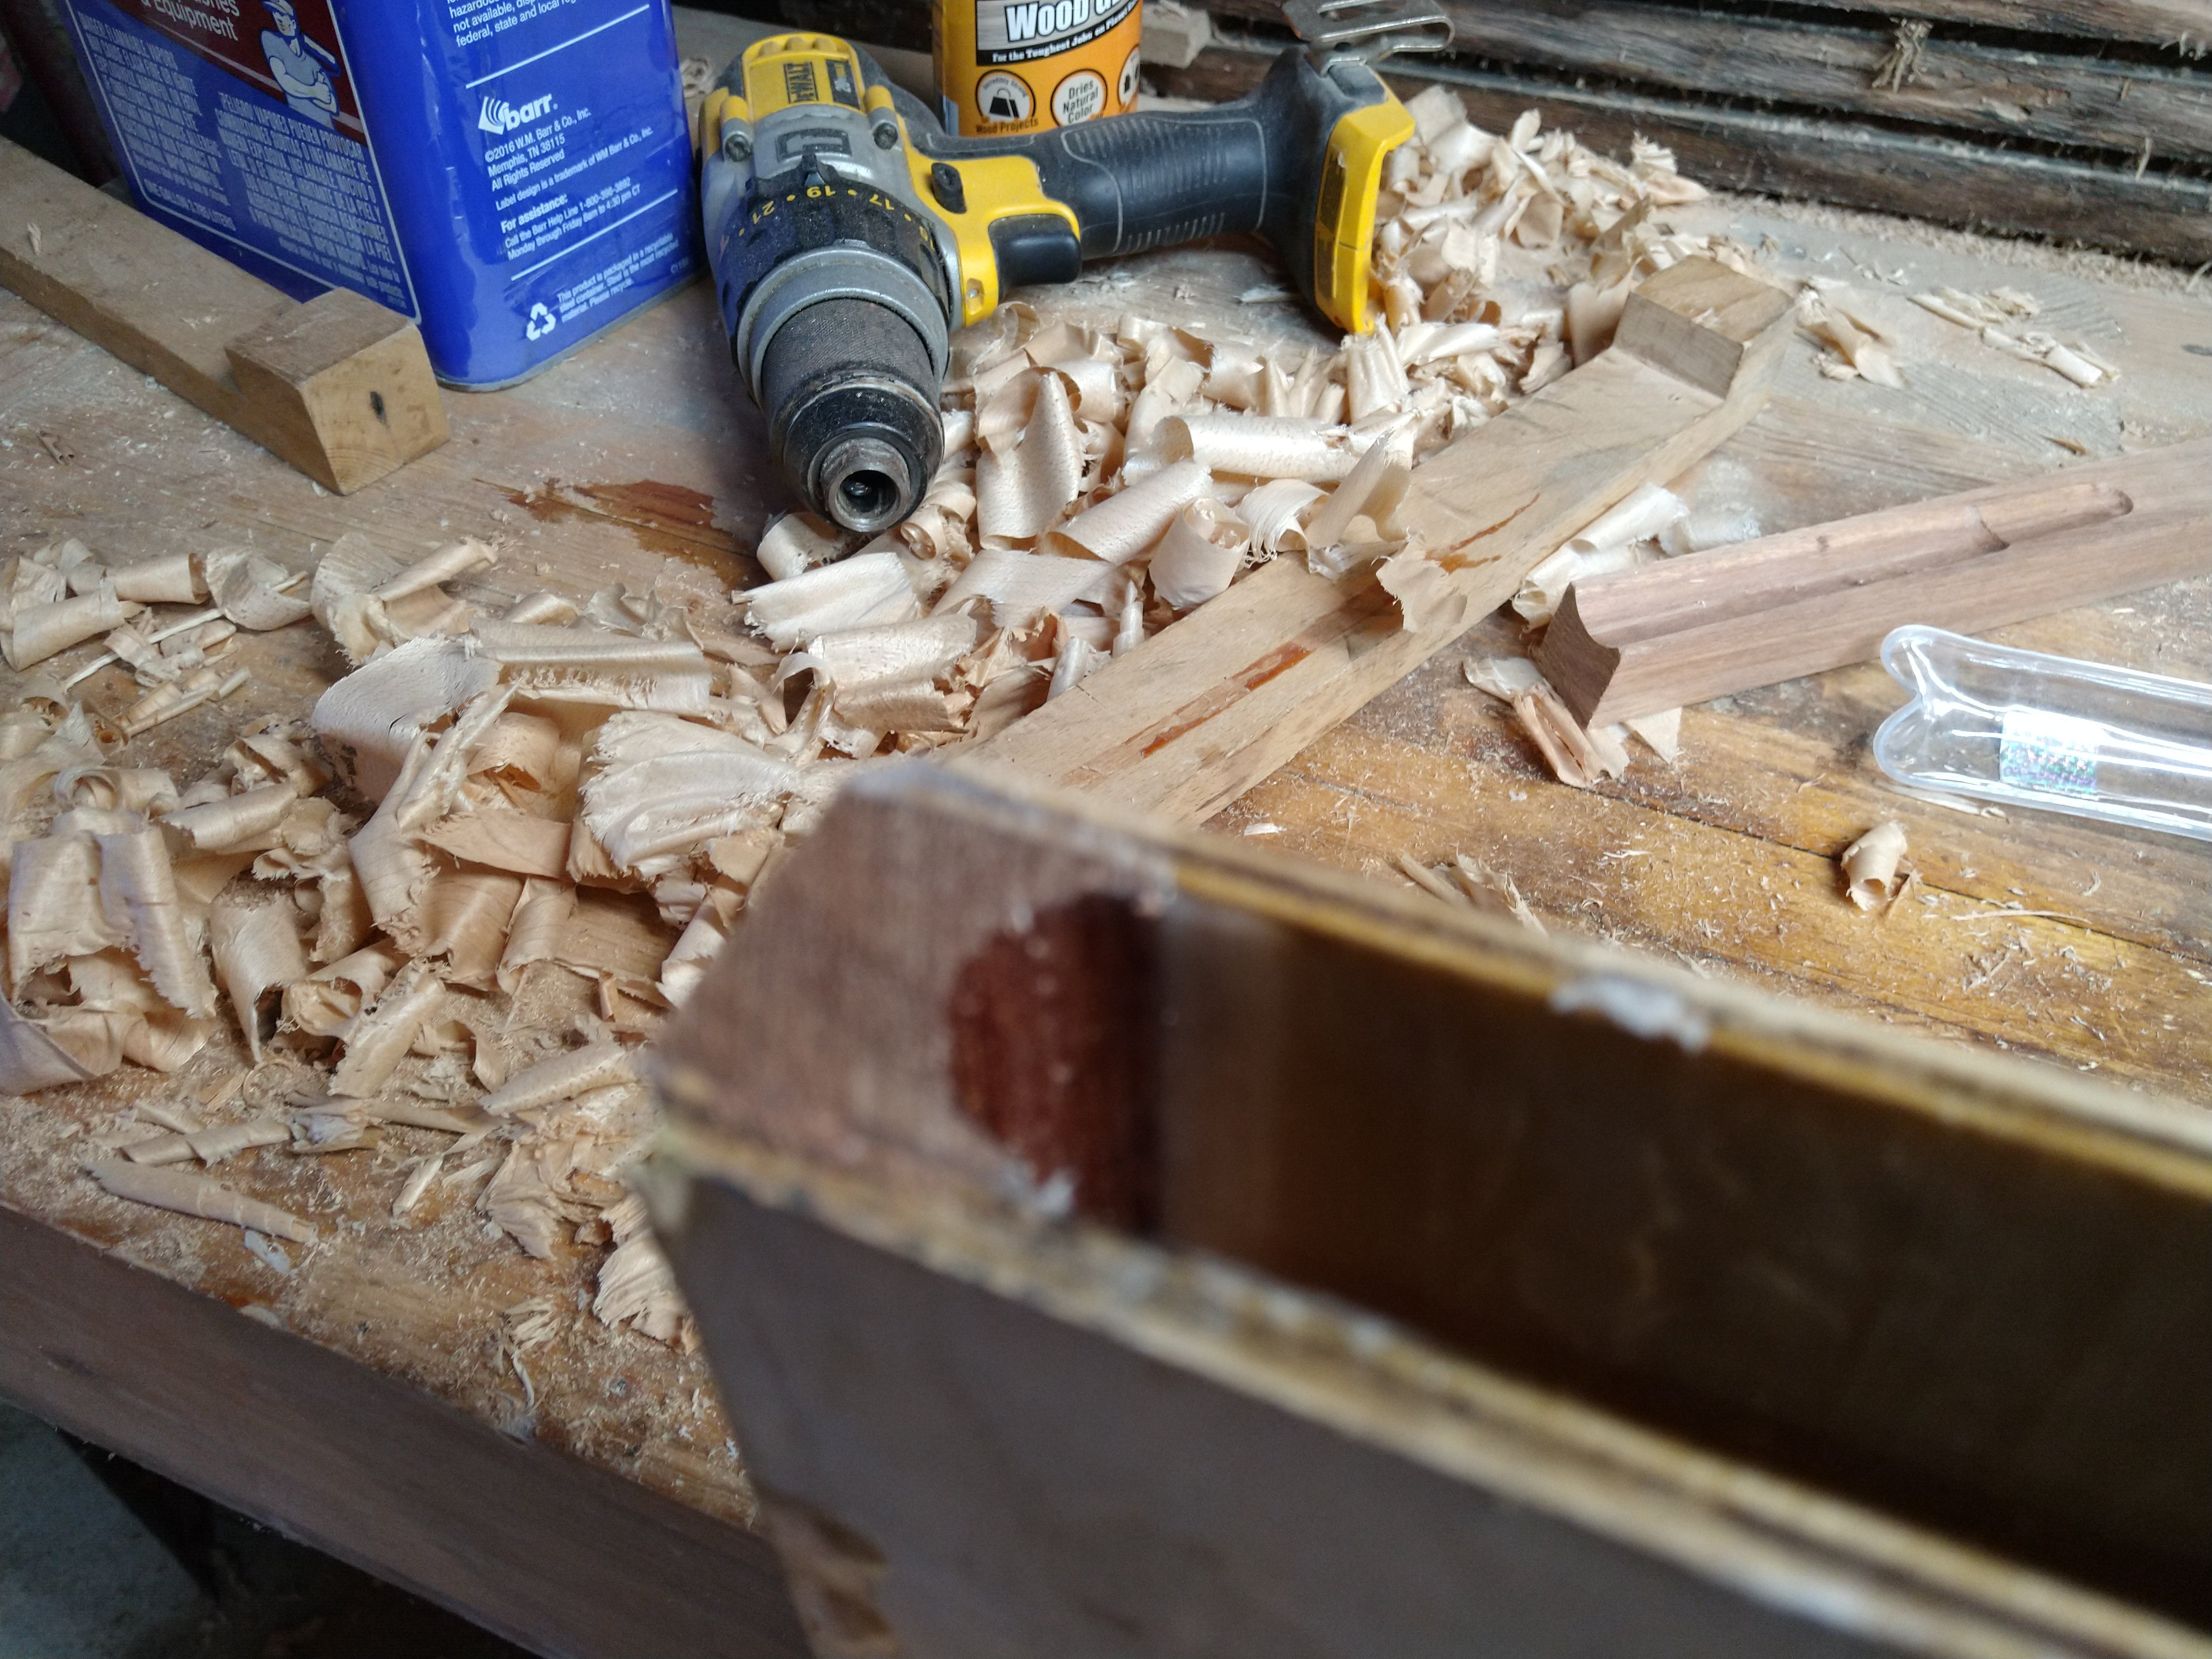
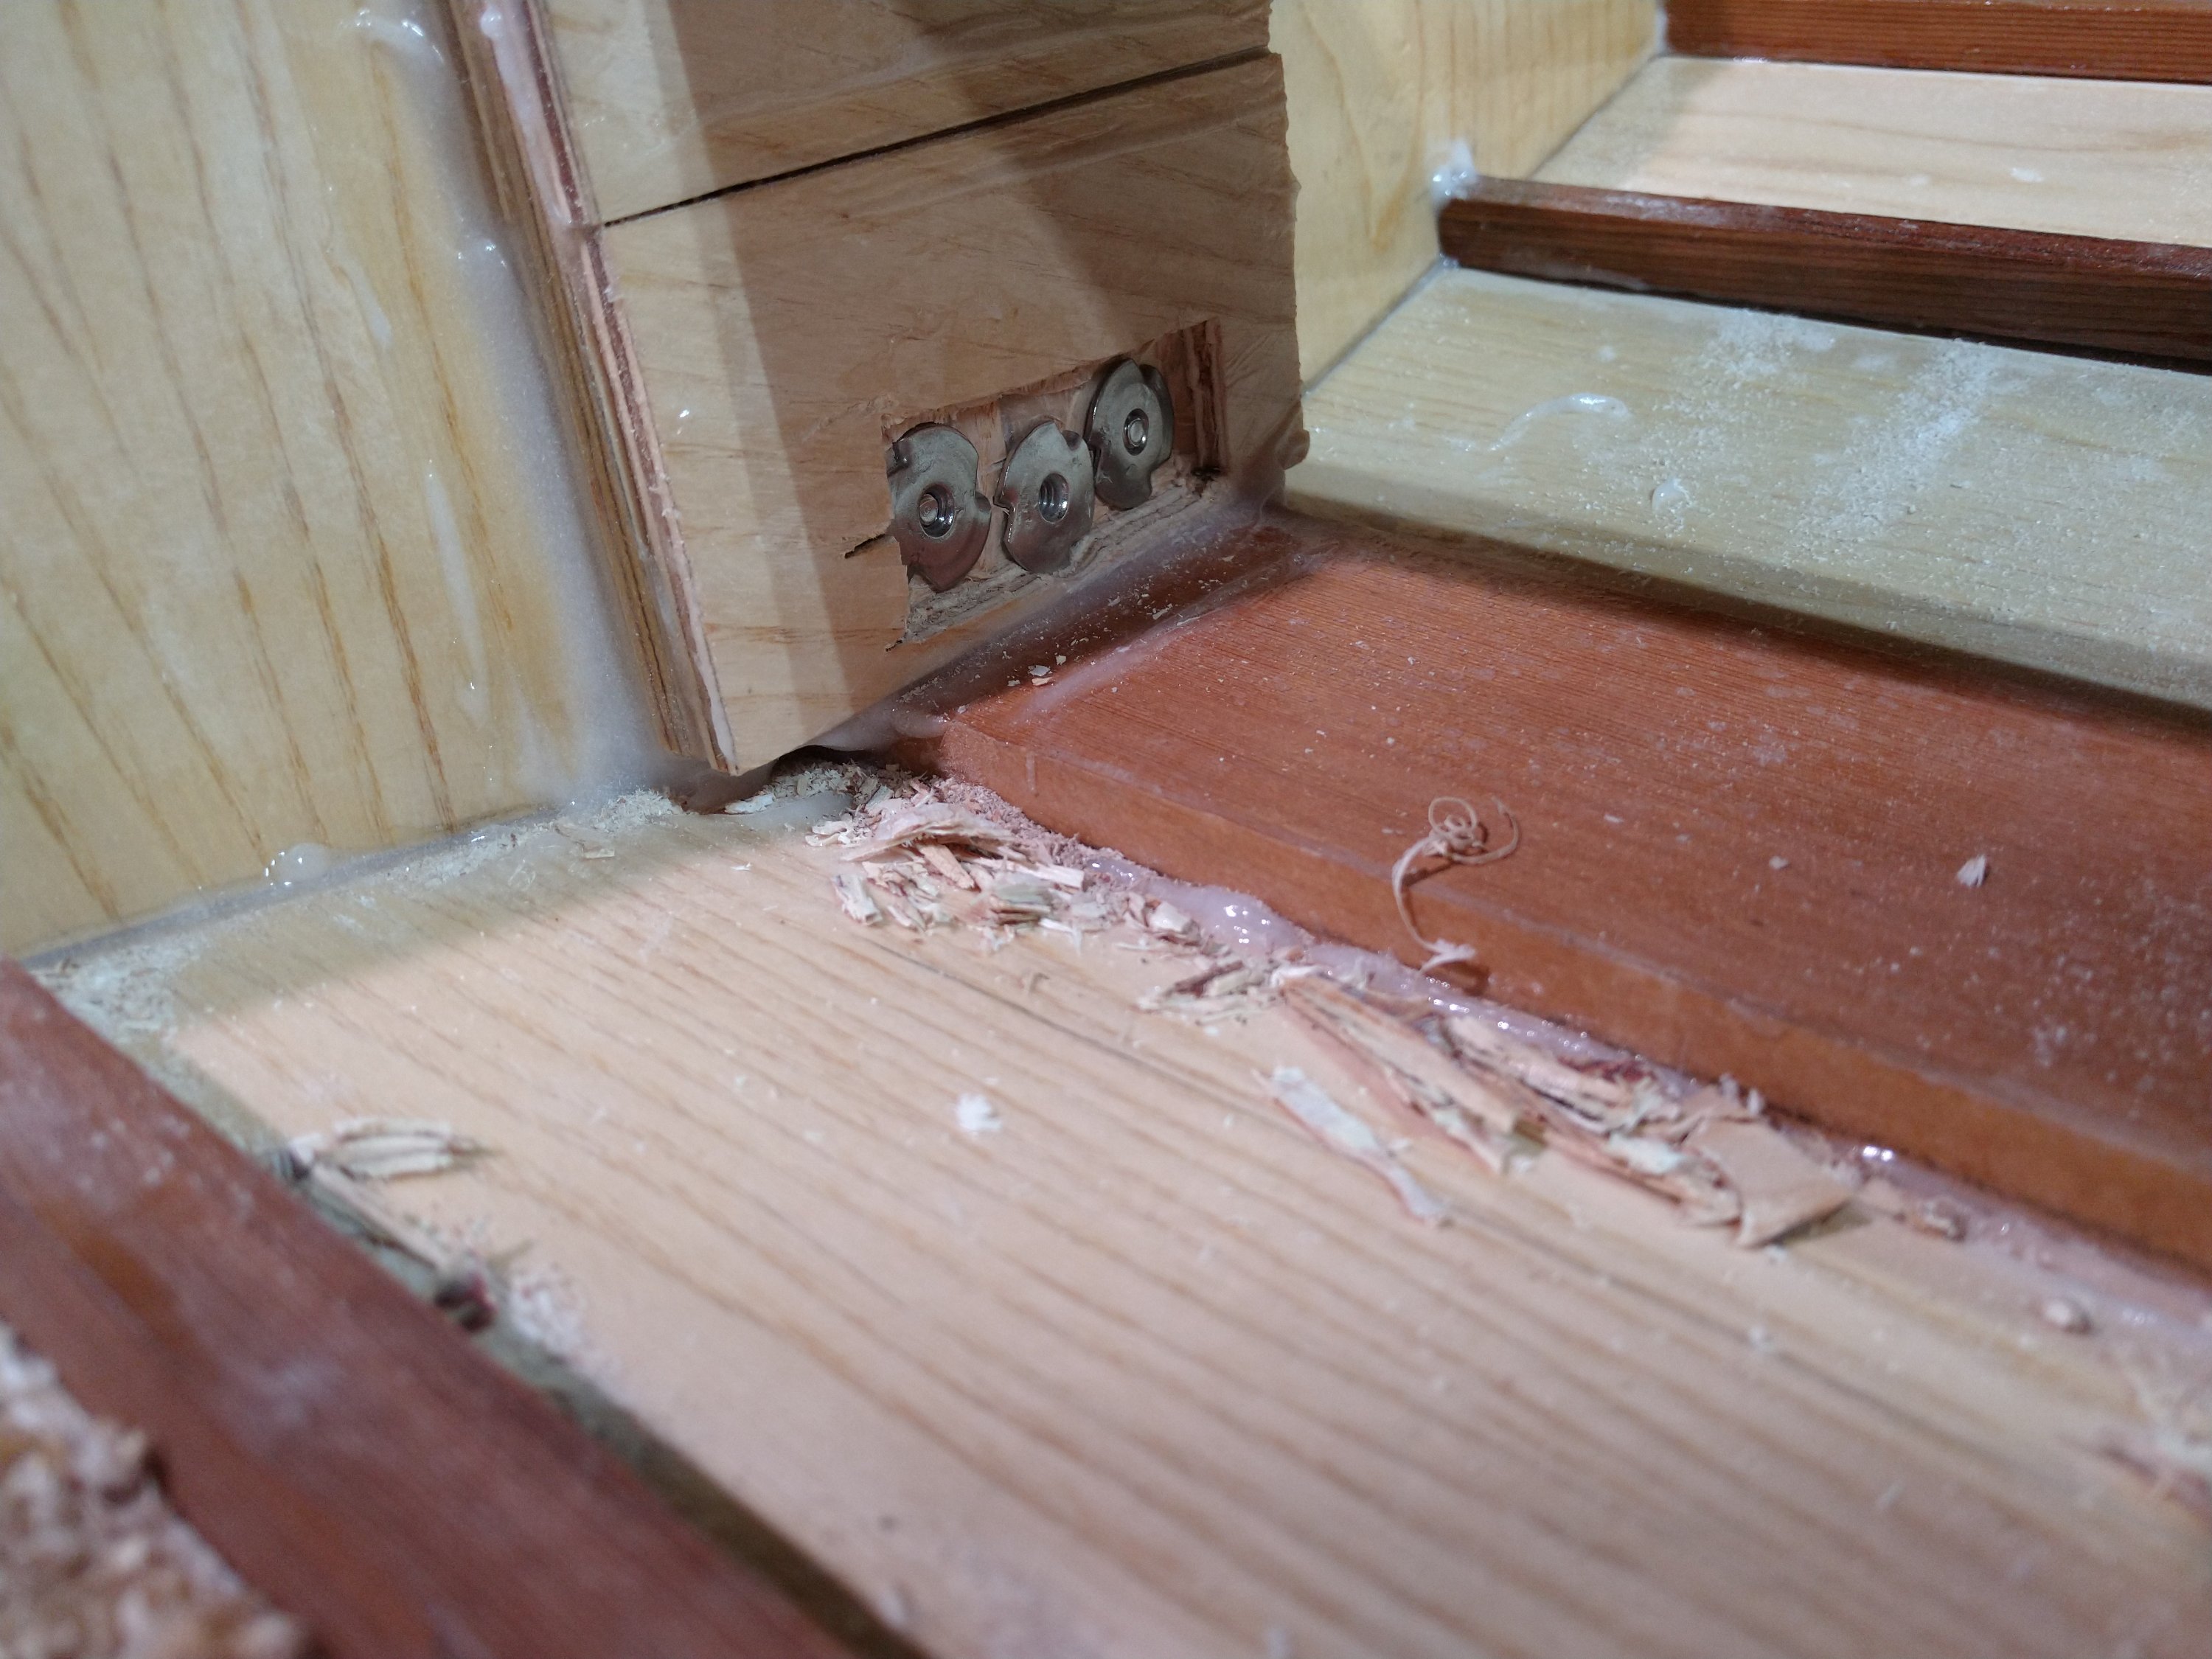
The transom was fussy, because of how I had to work between the deck and the keel plank. And because I’m paranoid about the rudder, I made the backing plate three layers thick of ply. But this was too much as the bolts I bought weren’t long enough. Silly mistake. Since I didn’t want to bother getting new bolts I just chiseled out a recess. I got it done, but it wasn’t pretty.

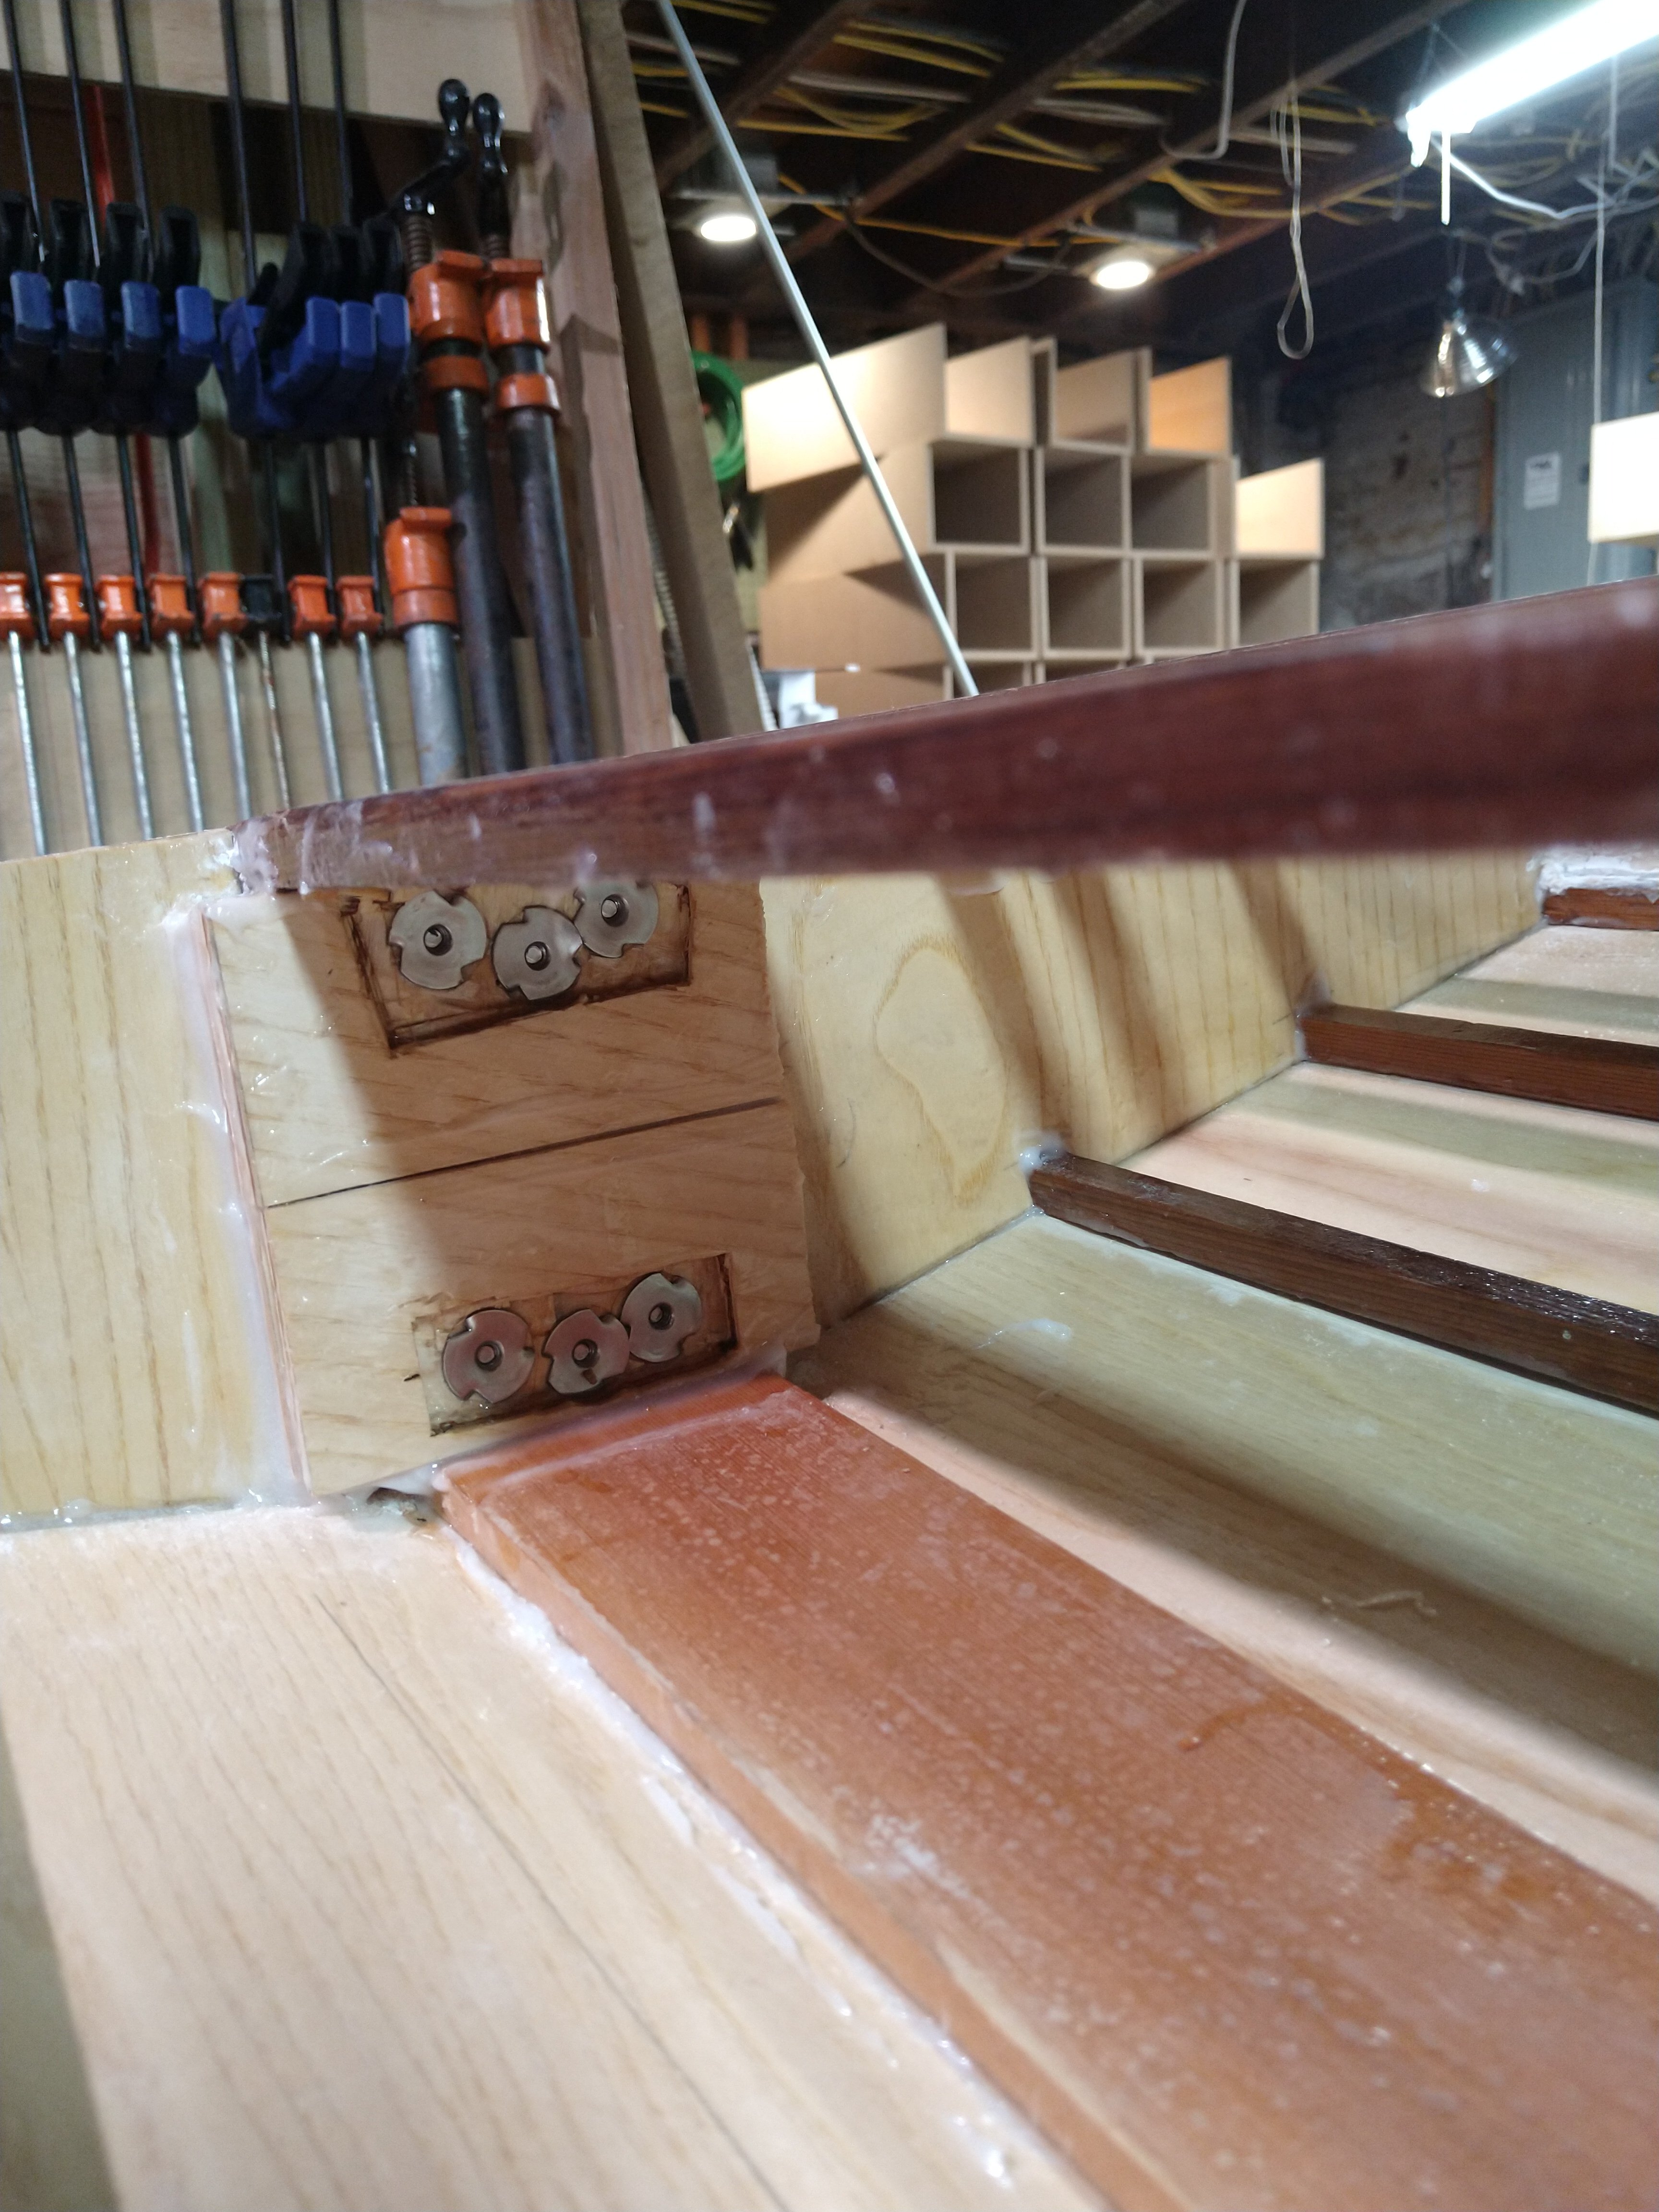
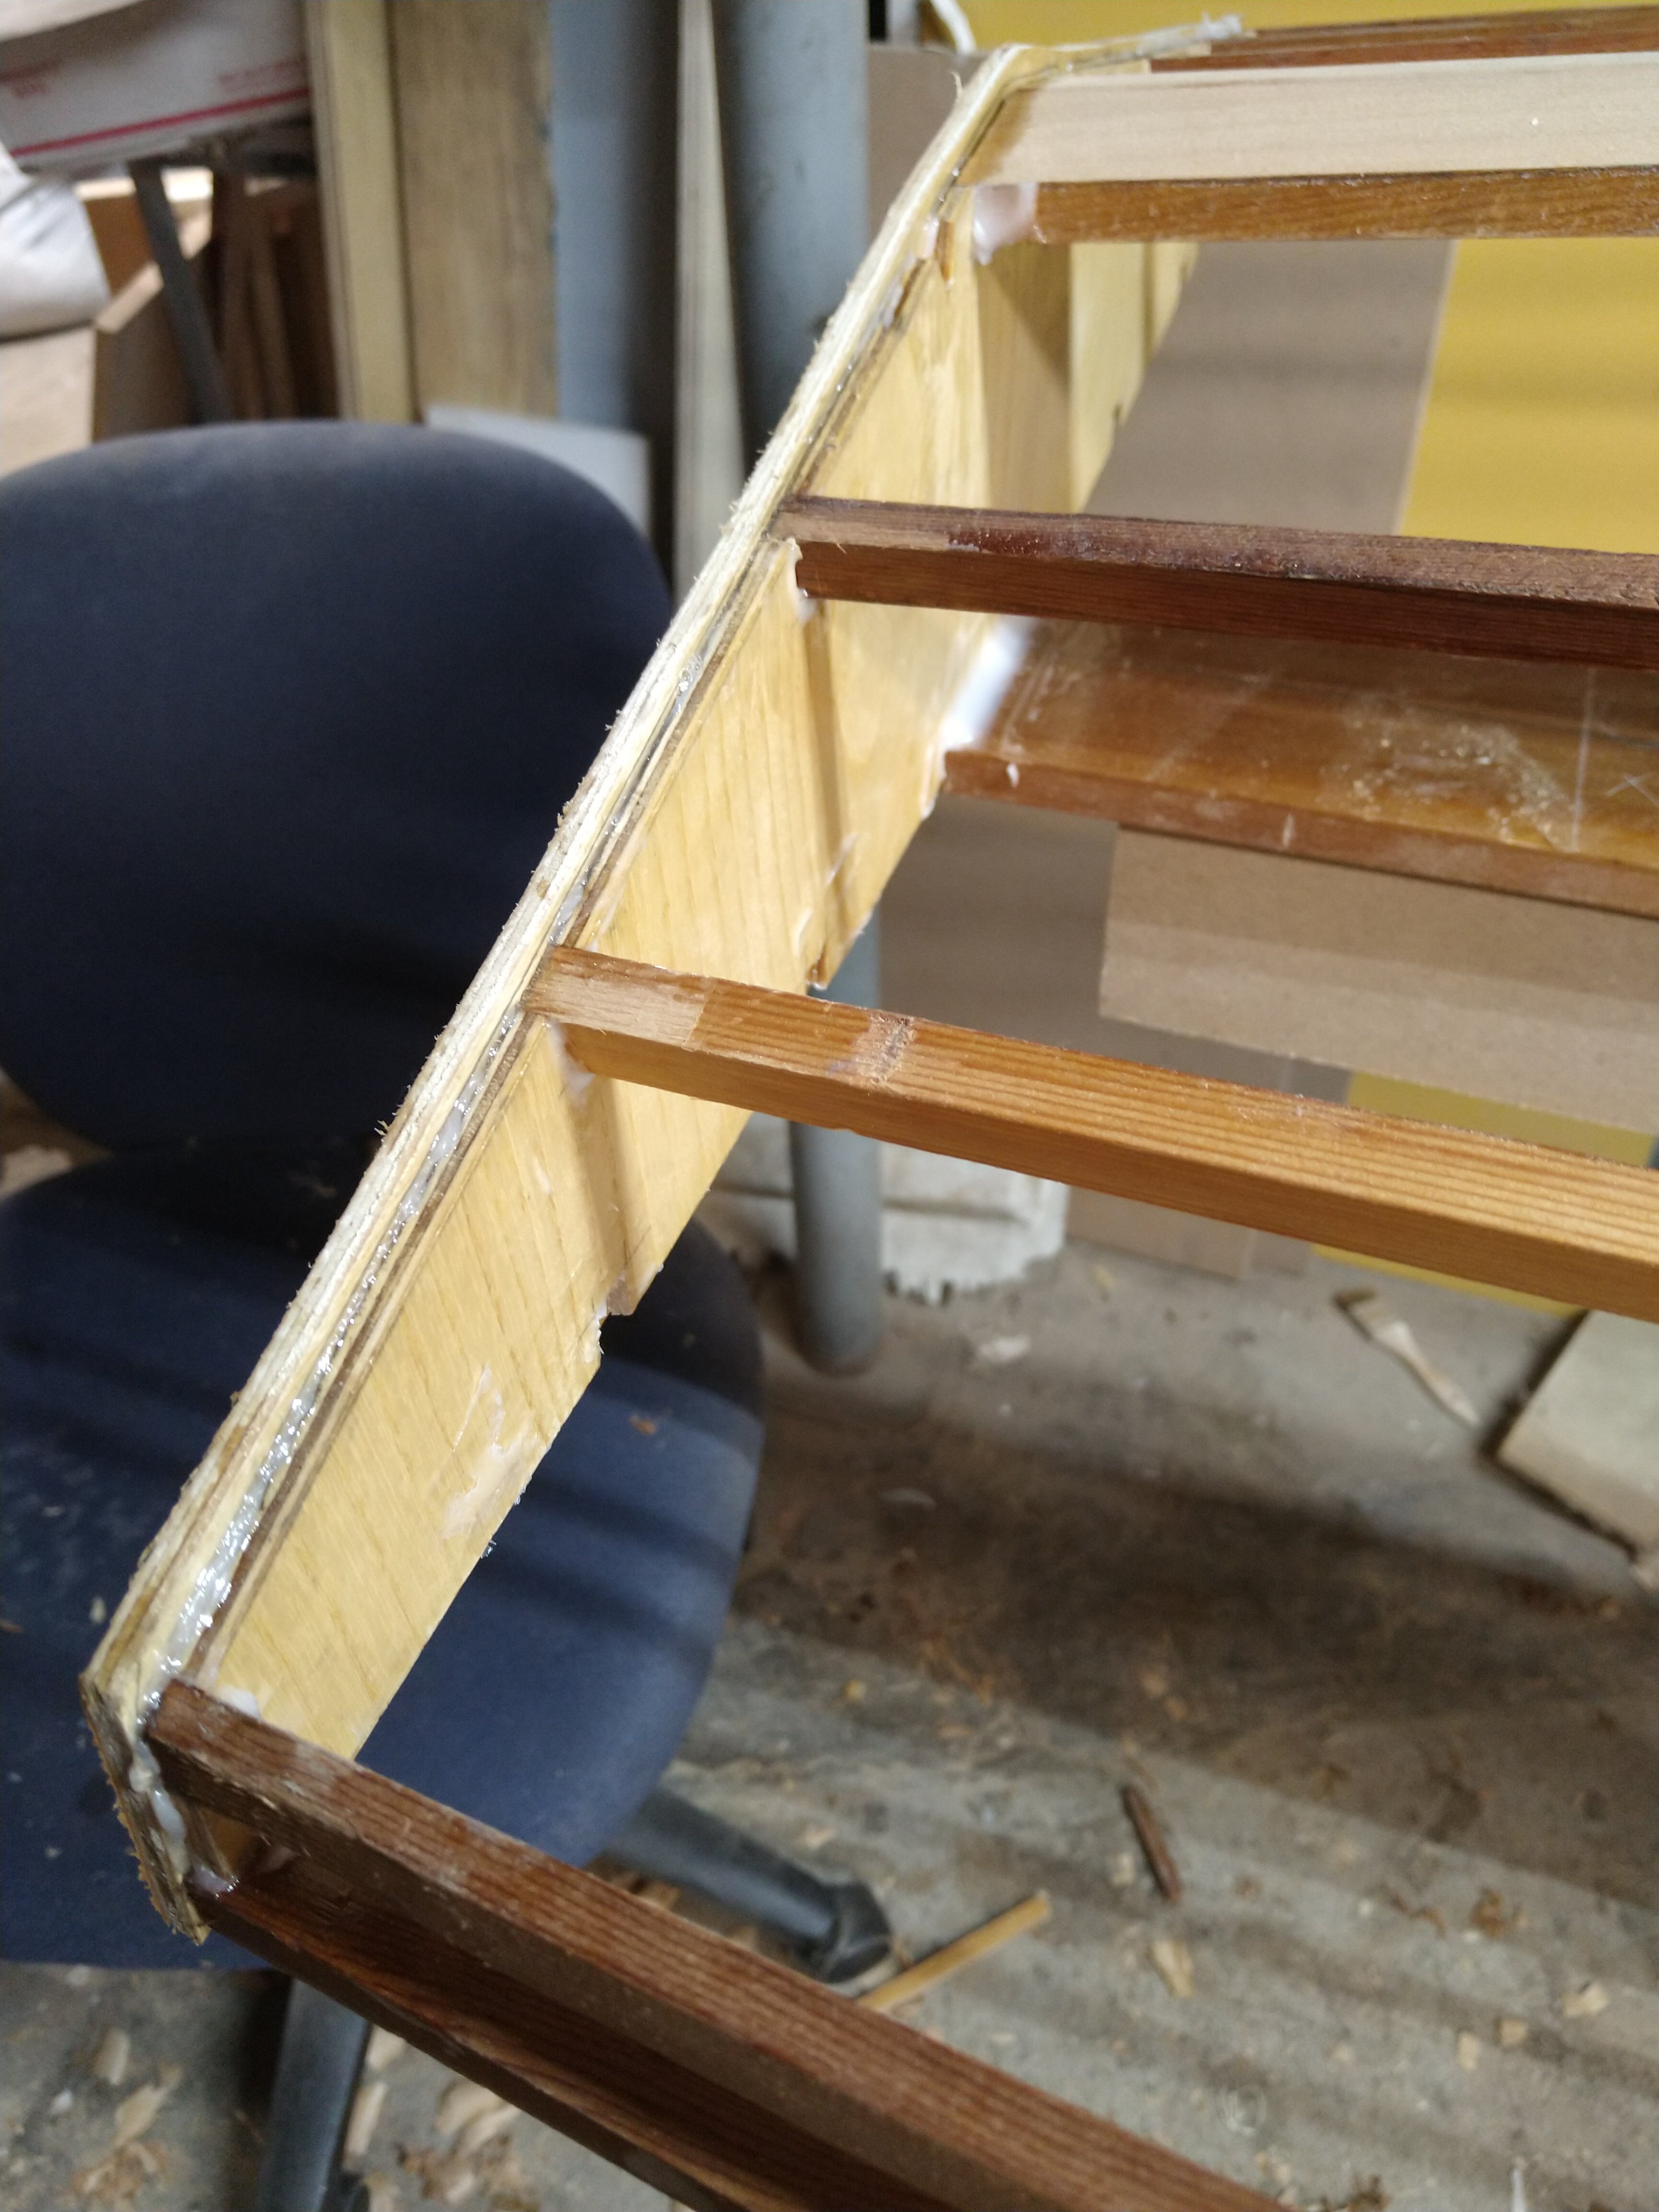
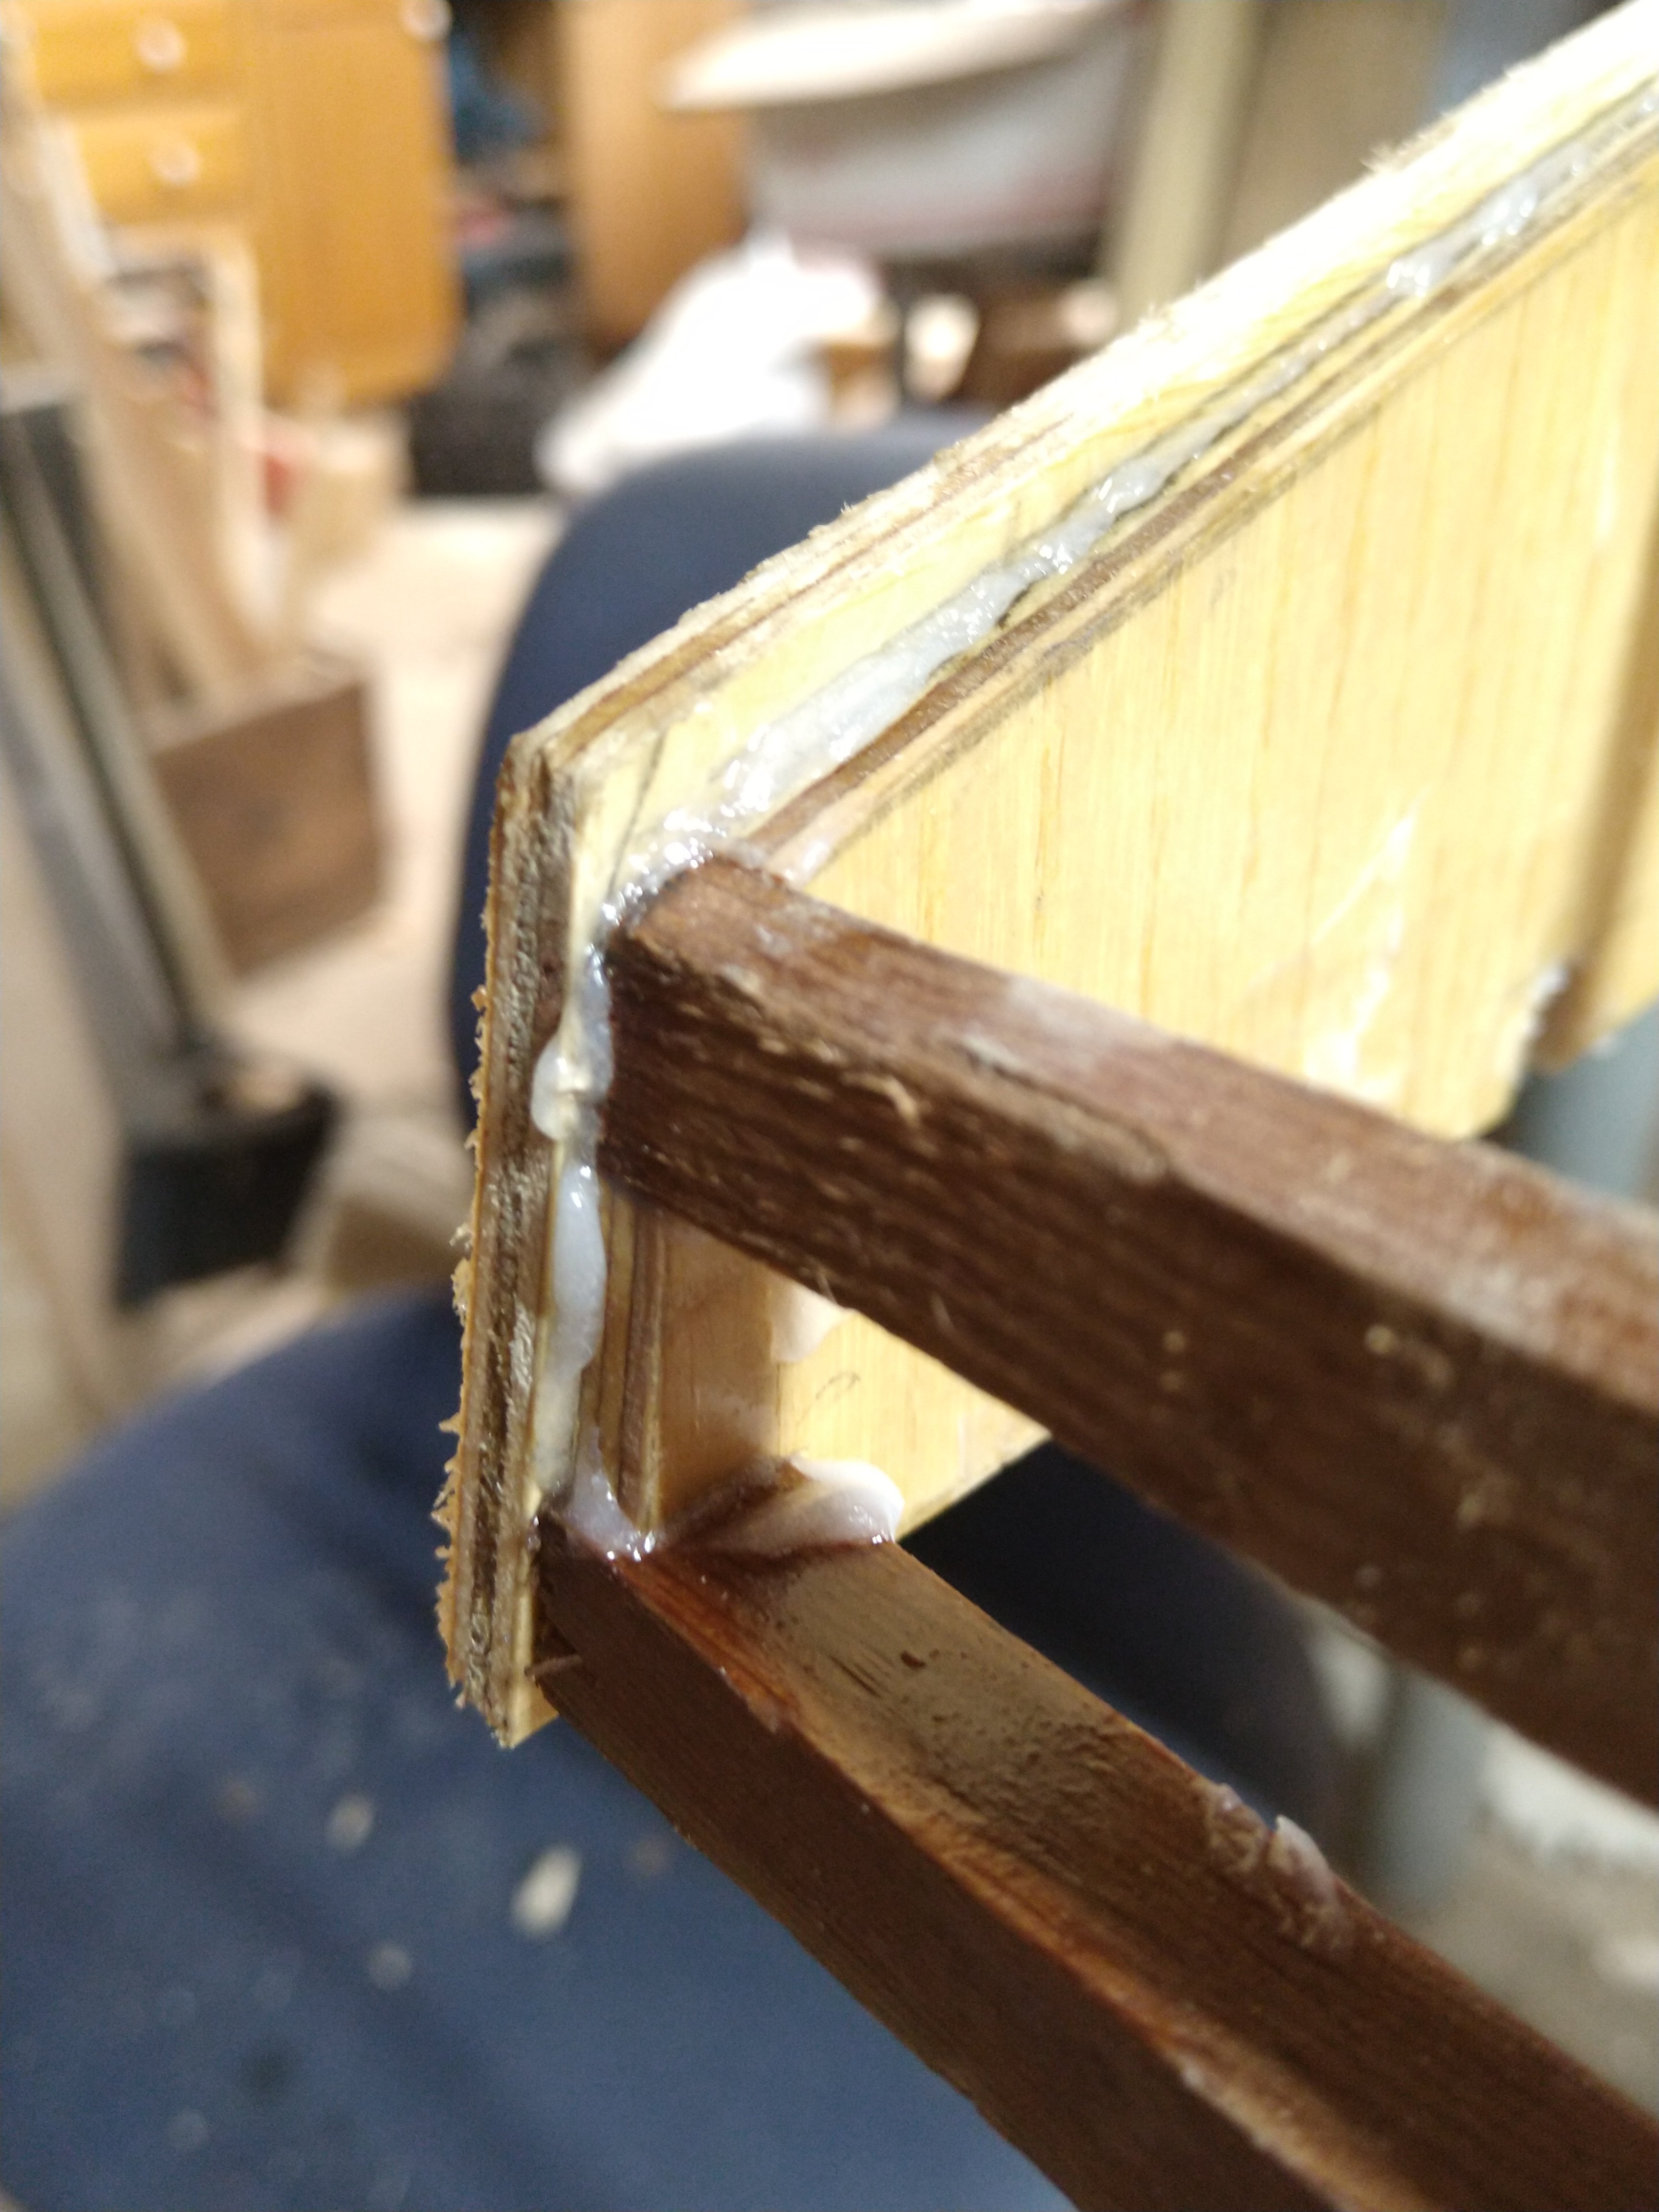
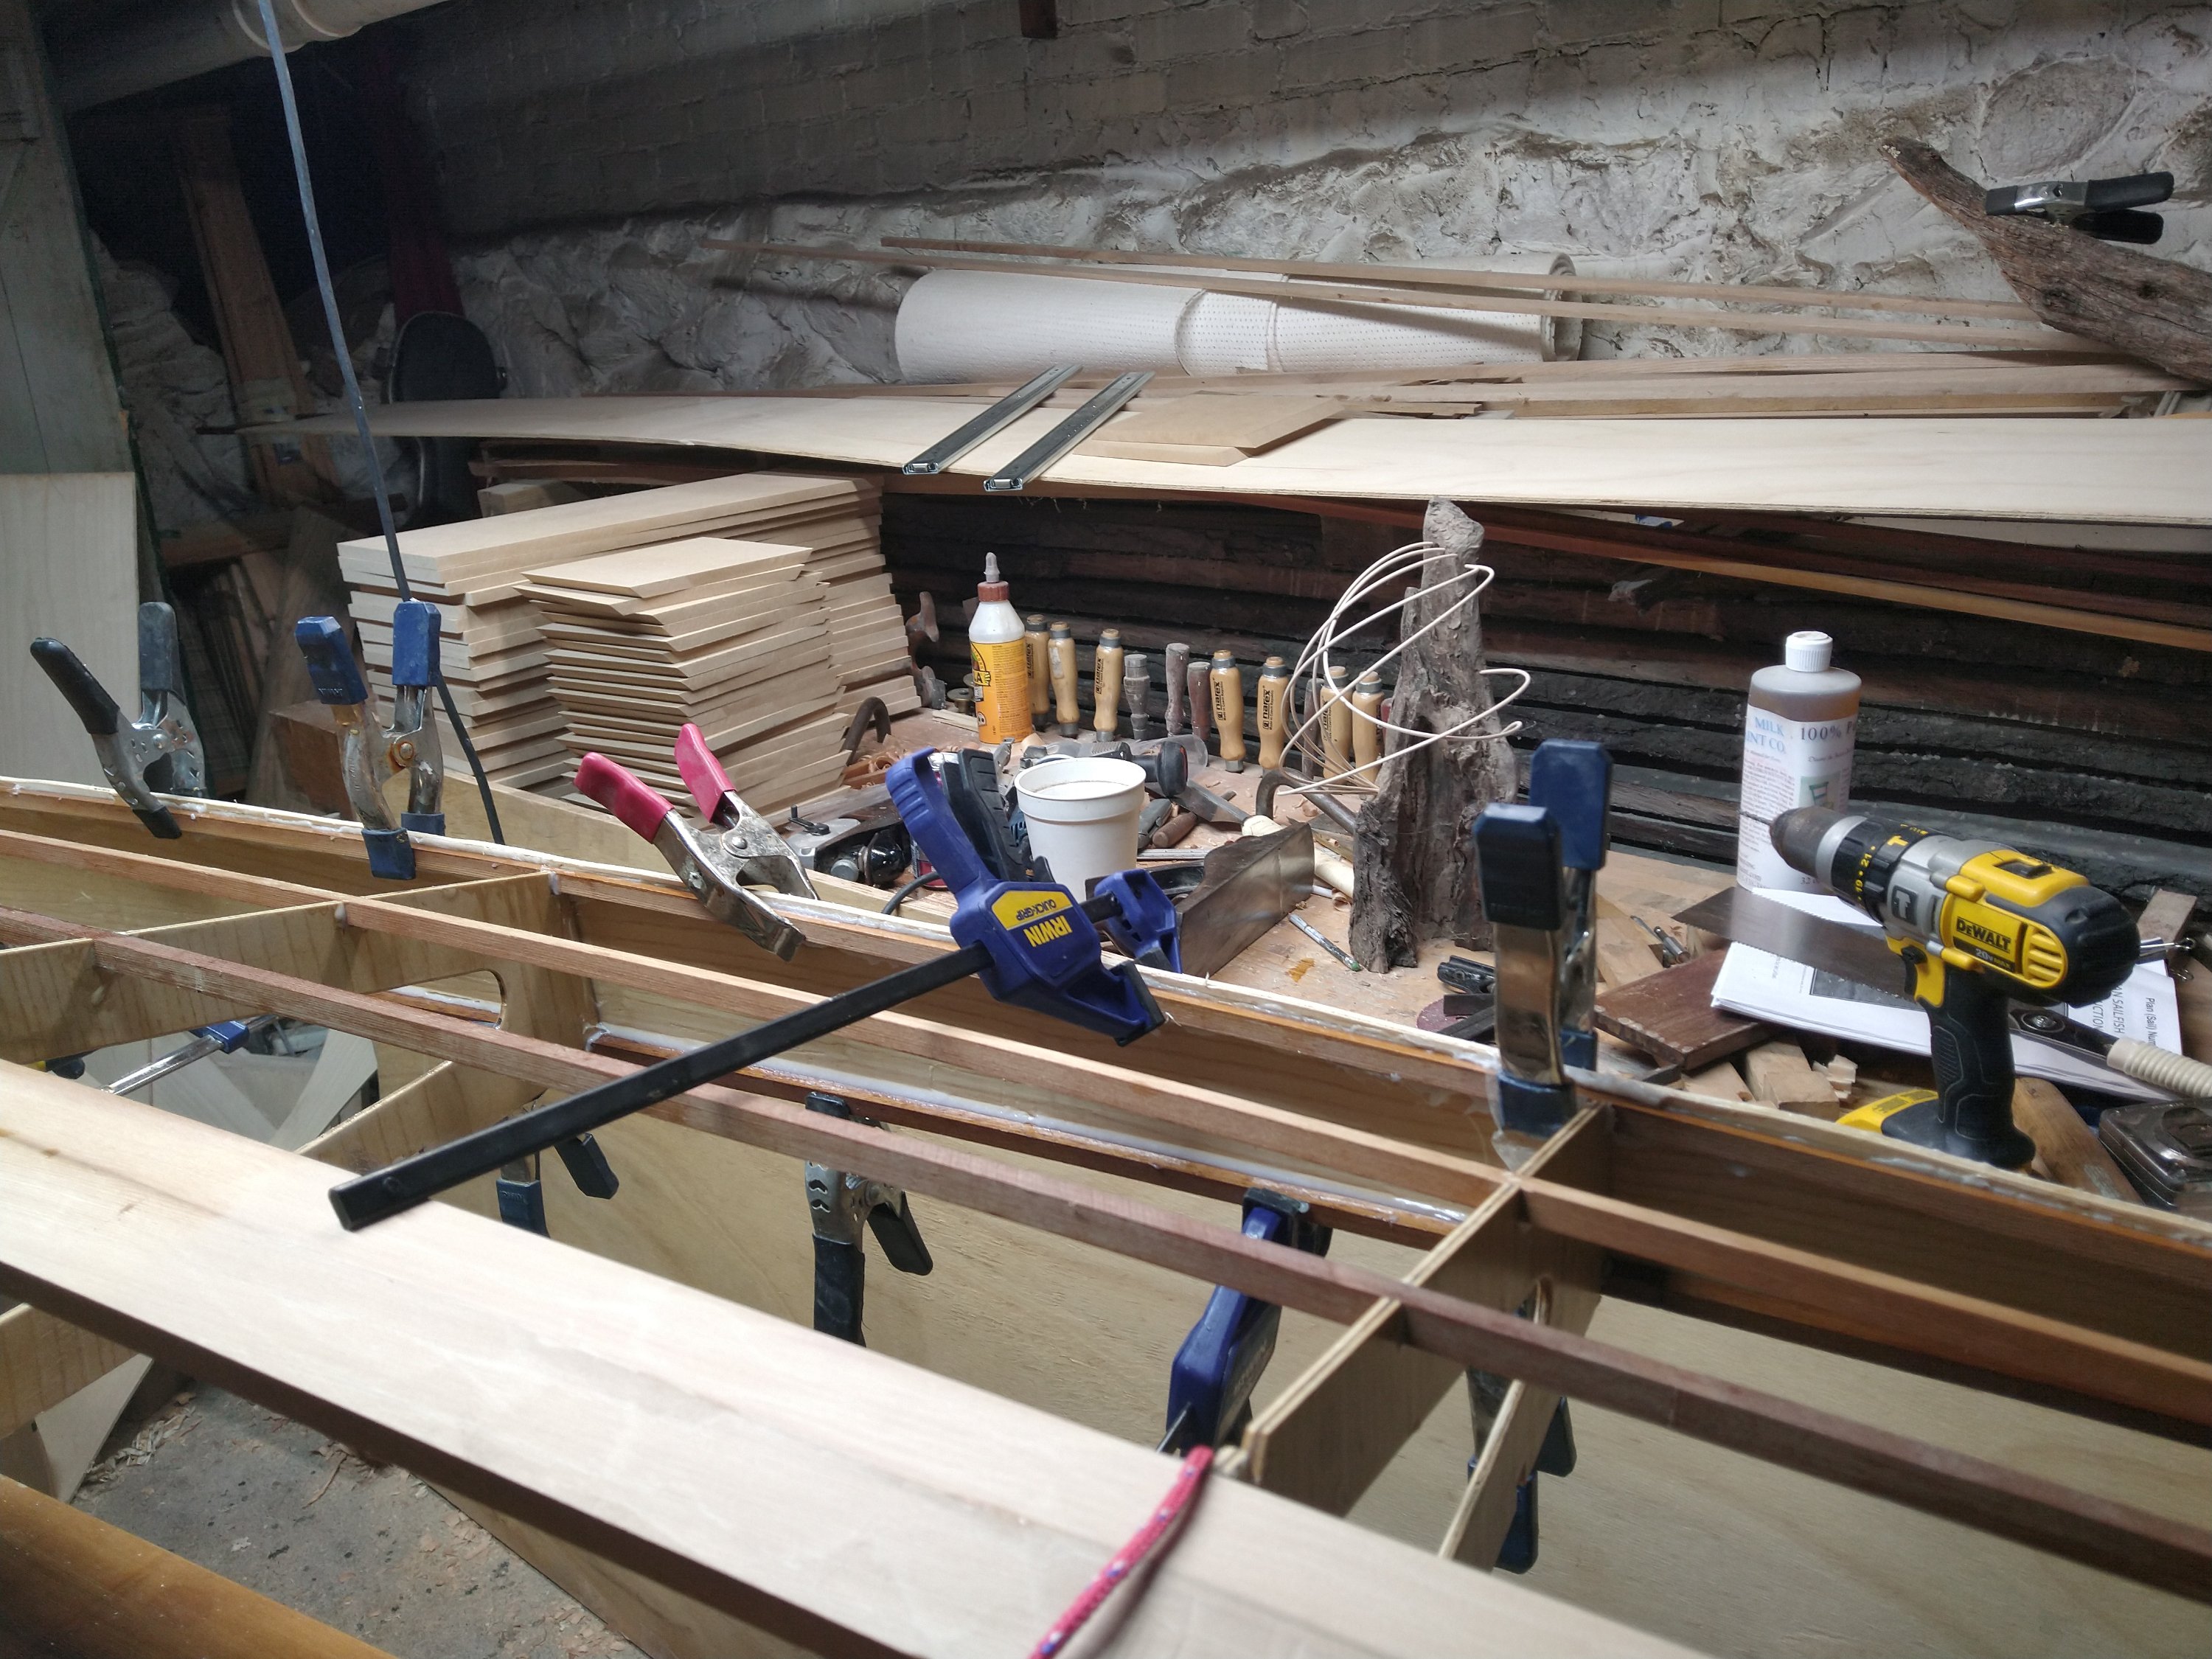
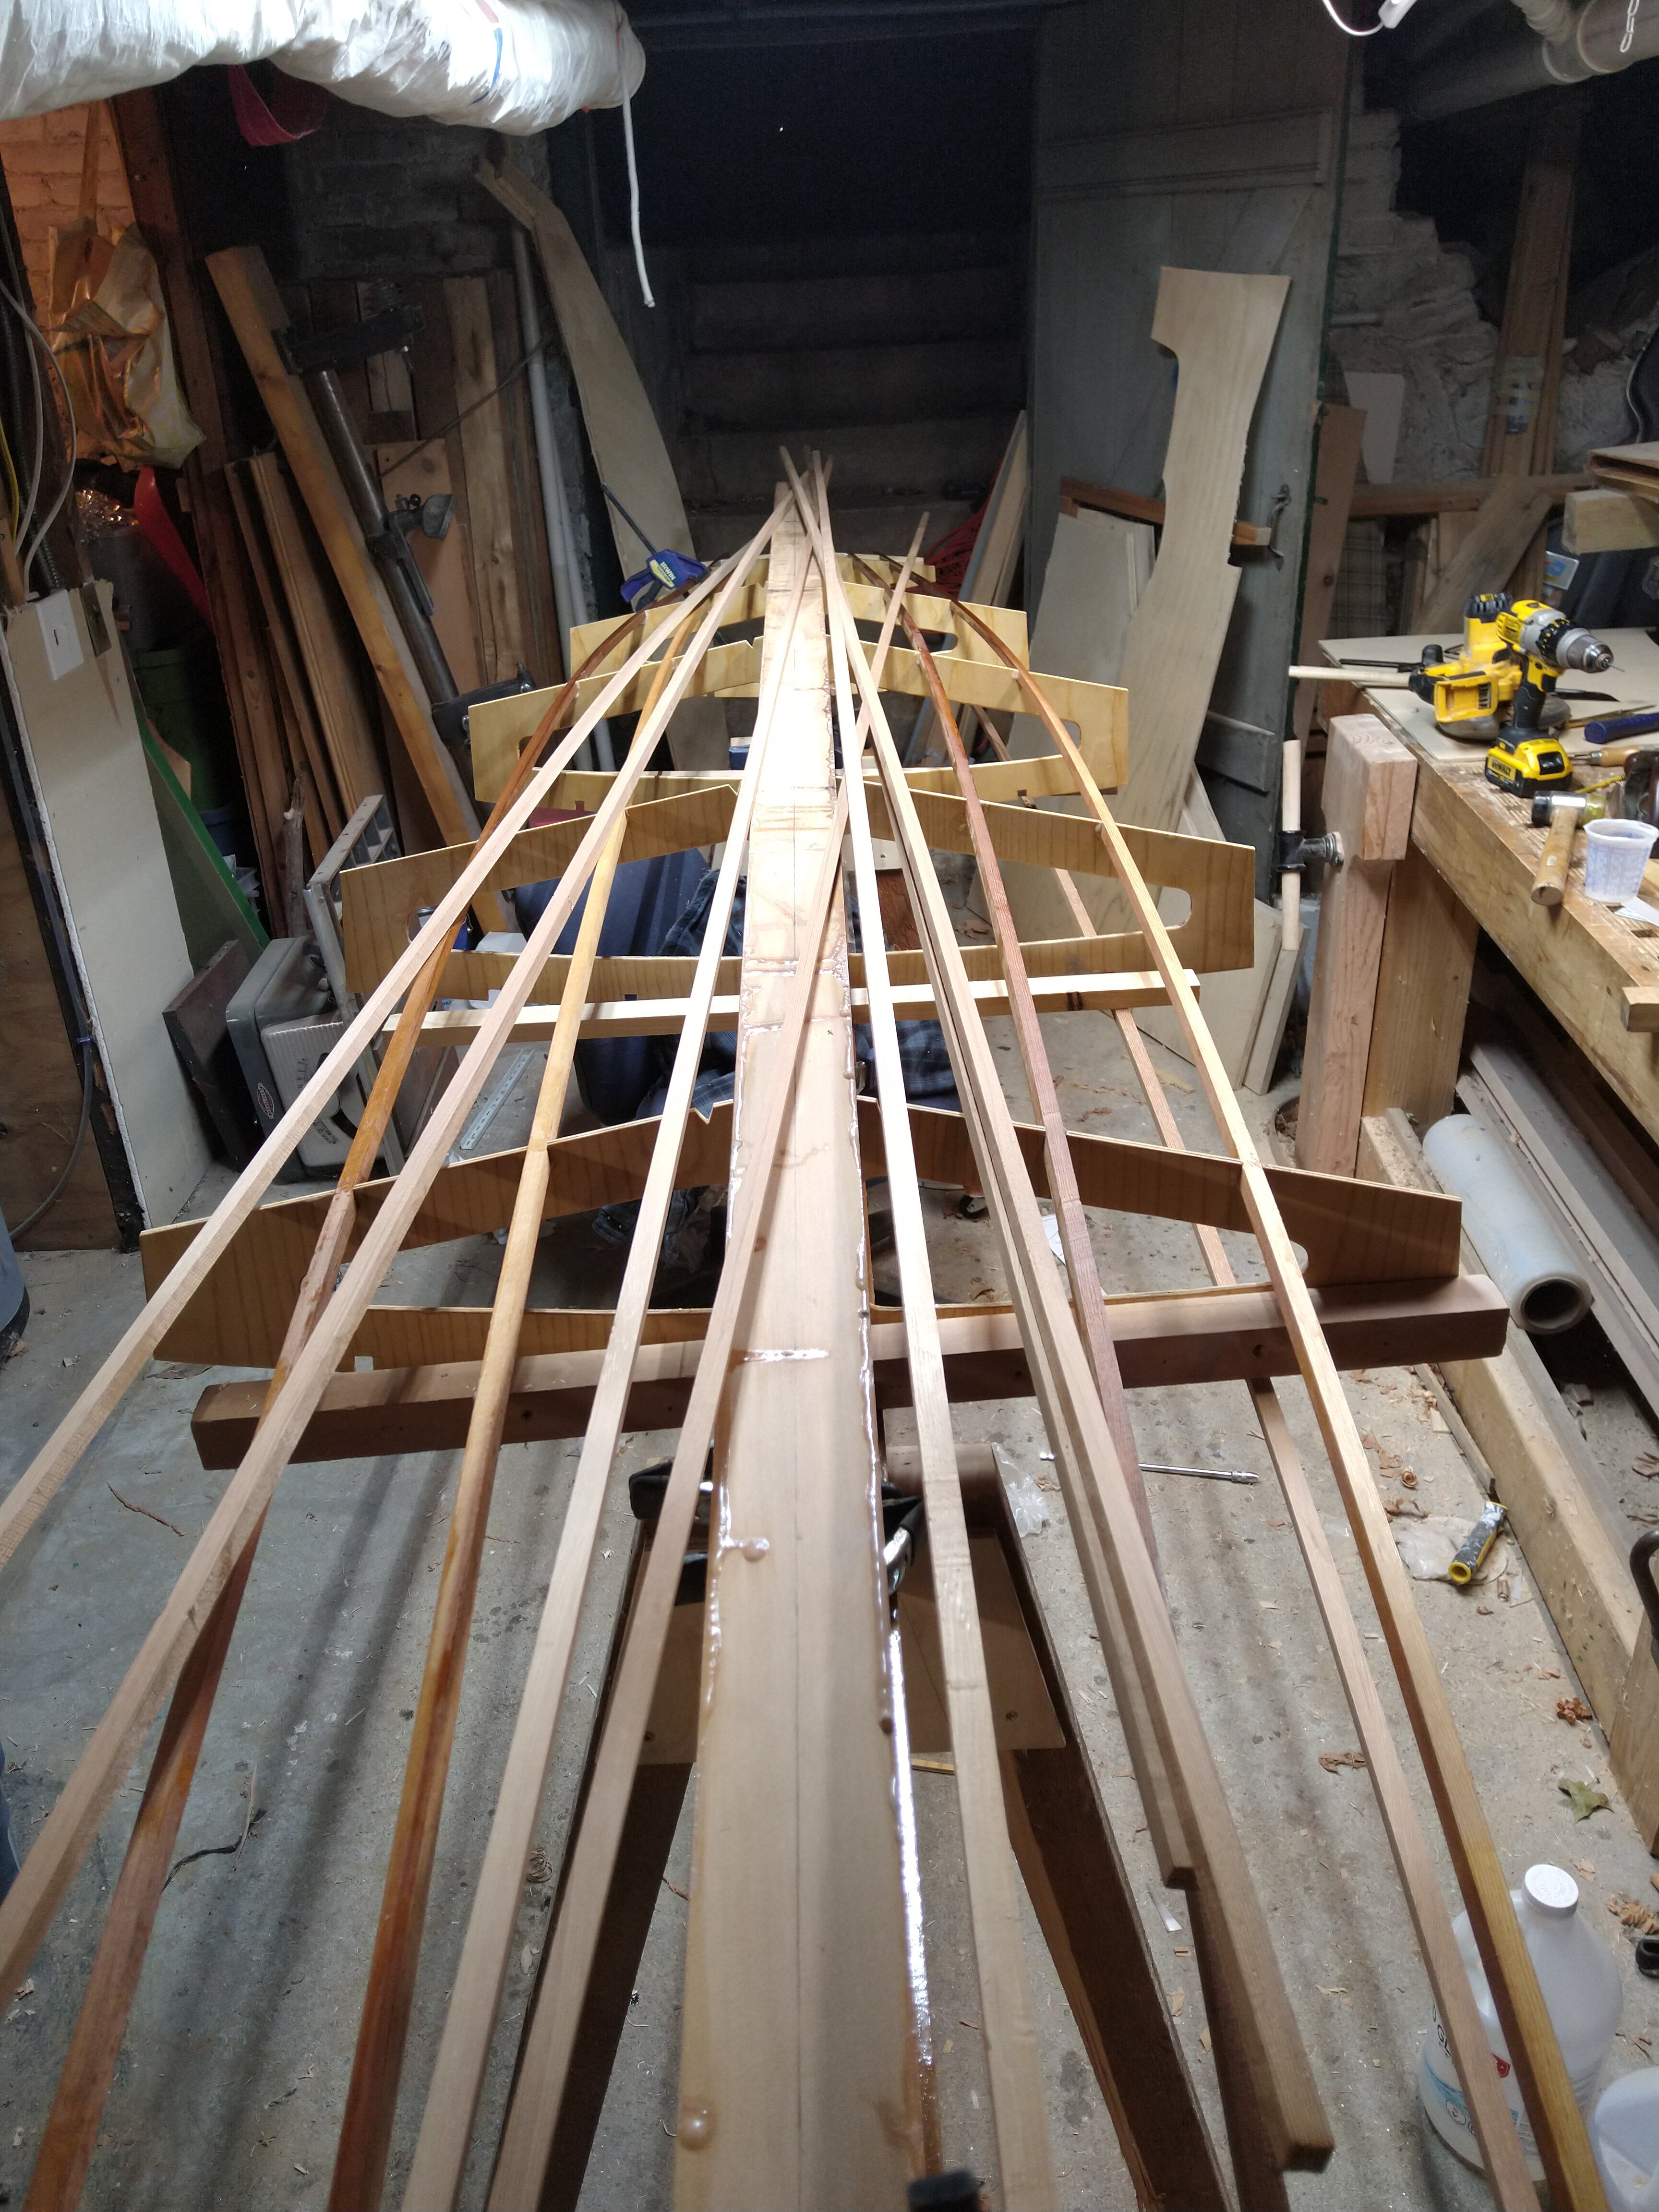
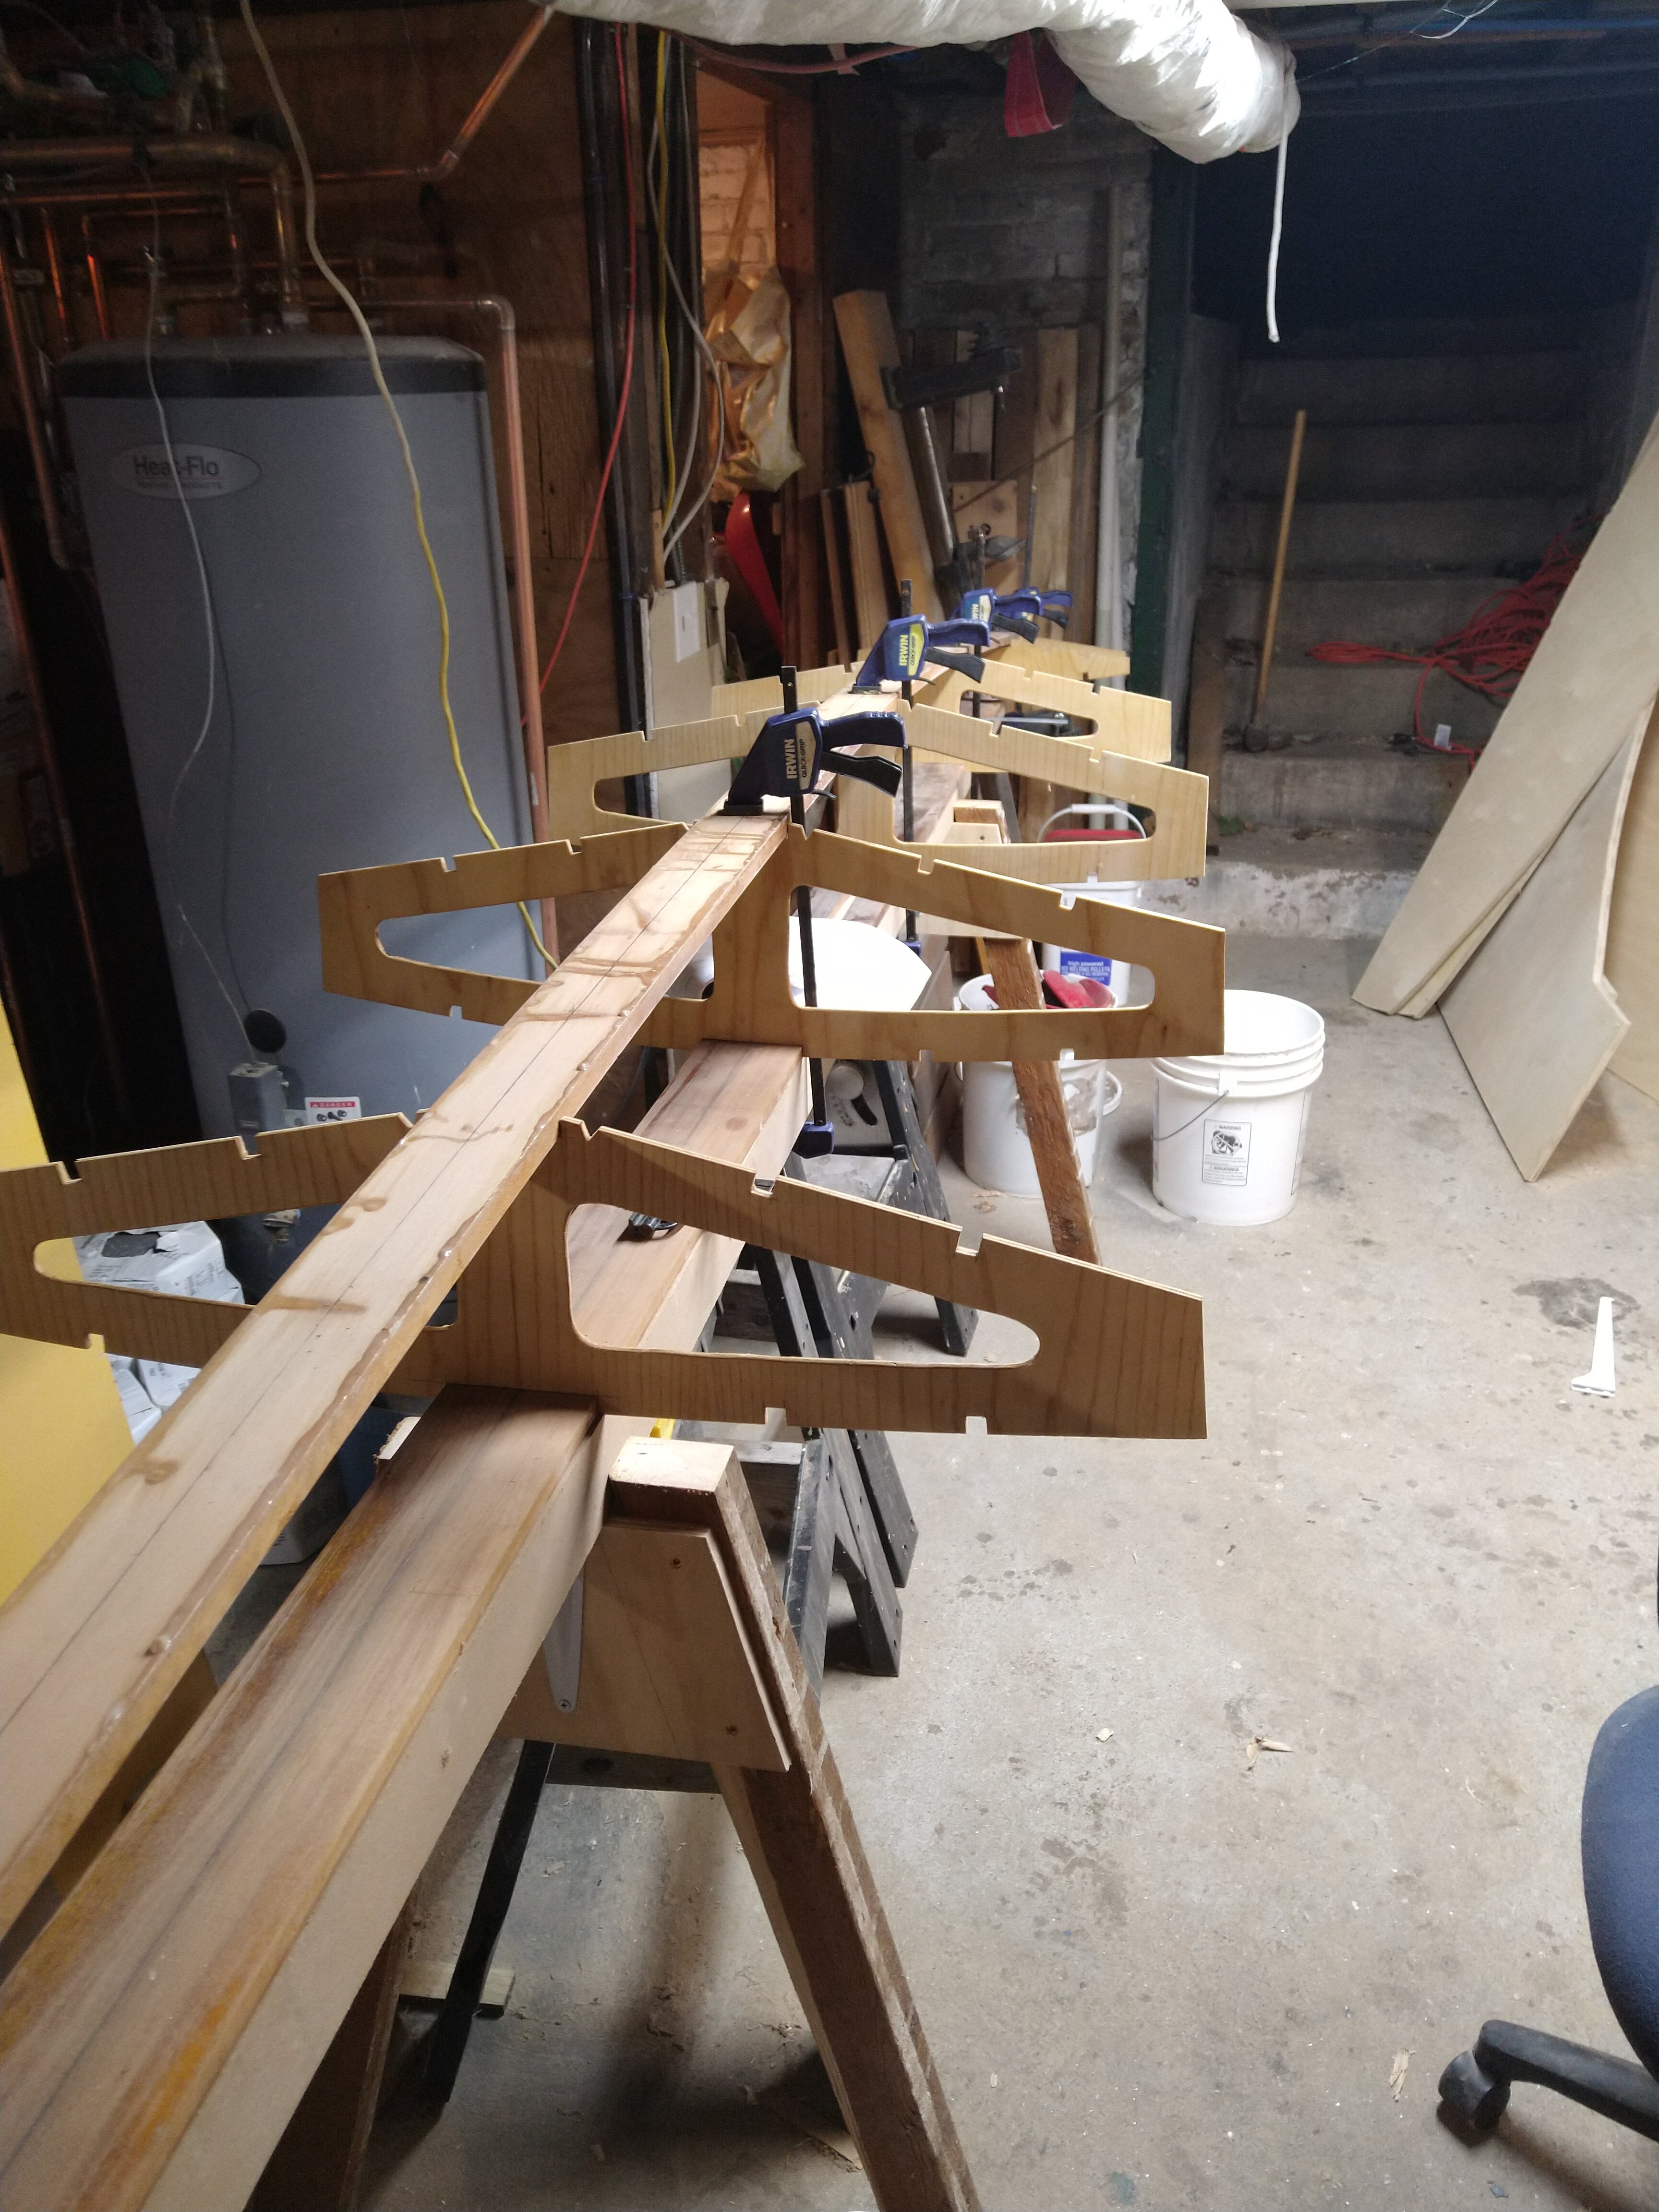
Next step is to go back to the epoxy. I’ll be spending the next little while cleaning op and filleting the stringers and all other joints. I have to do this now, because the next step is the deck stringers, and once they’re in I’ll be severely restricted in my ability to access the awkward corners.

Australian Sailfish: Attaching the Bottom Ply

Time to start on getting the bottom ply on the boat. I brought the boat out the basement for the first time to do this, because I wanted to be able to walk all around it to sight down the sides. The goal here would be a fair bevel all the way down the length of the bottom edge of the side ply. So I used my eye to check along the length, and then I used a batten to check that the bevel of the keel was on a plane with the station molds. I’m not completely happy with how this worked out. I think on a subsequent boat I might want to get a little more thickness on the keel to get this right, maybe by glueing down a batten along the center line before planing.

Back in the garage, I dry fit the first piece, and used a batten to mark the center line. This was so I could trim down the inside edge to closely approximate the centerline. Once trimmed, I ran thickened epoxy down all the stringers, the chine logs, and the frame edges. I clamped up battens where the frames were and used shims to press the plywood up to the frames. I did the same between frames as well.

Once the bottom was cured it was time to establish the centerline bevel where the next piece would overlap the first. I was pleased at how easy this was with my #6, riding the tail end of the plane over the nearest stringer until it met the keel. I was a little worried about how this would work toward the bow, where the bevel flattens out significantly. I was thinking that depending on how flat the ply went I might be looking at cutting a gain. But as it happens that wasn’t necessary. You can see below how the bevel widens toward the bow.

And on goes the second piece of bottom ply. I repeated the process from before: put thickened epoxy down on the boat, then dropped the ply on. I used a batten to lift one end of the ply while I lined up the other, in the hope of avoiding having to slide the piece around on the epoxy. Except for one moment when the bow end went squirly and slid way out alignment, that seems to have worked out.

And so this morning before work I removed the clamps, flipped it over, and failed to resist the urge to dive into trimming and planing some of the sides down.

Australian Sailfish: Scarfing and Cutting the Sides

This week I made a lot of progress. Earlier this week I cut and attached a piece of ply to the transom. Ordinarily, this would be a 1/2 inch piece of cedar. But I decided to use ply everywhere I could, so that’s what I’m doing. I spent some time today trimming that down and prep for attaching the sides.

I had a lot of anxiety about scarfing the plywood. I’ve often thought through the process in my head, and I’ve watched a ton of YouTube videos about it. I really didn’t want to build a router sled or some other big and unwieldy jig, and I don’t have a ton of faith in high speed power tools to not shred my four and three millimeter material. So I decided to stick to what I know and feel comfortable with: hand planes, chisels, and battens.

So first I marked one inch in from the end of the material with my combination square, using it to run a line all the way across. Then I fit a batten against that line and went to town with my block plane. When I’d planed all the way down to almost a feathered edge, I stopped and switched to a sanding block, gently working the material down to a feather edge. I’m guessing I’ll have to work it a bit more before final fitting, but I’m super pleased with the result.

So I got the ply for the sides scarfed, cut, and epoxied on, and I got the ply for the bottom scarfed. Next, I’ll go ahead and scarf the ply for the top, but first I want to see how the scarf for the bottom turns out. I’ll be painting the bottom, so I want to make sure I know how to make a neat seam before committing all the way down the line.

But I did get the sides attached, and that feels like a huge step.

Australian Sailfish: Stringers and Keel

This week I made a little more progress on the stringers. First, I managed to get notches cut on the outer edges of the frames to accept chine logs. I just used an off-cut from one of the stringers to mark out the notch and I used a pull saw to cut them.

Then I worked on beveling the keel. For this I ran one of the as-yet unattached stringers down the side of the keel and marked it. Then I took the piece to my bench and beveled it down to that line. Once the keel is permanently affixed to the frames I’ll fine tune the angles. For now it’s just roughed in.

Feels good to see things starting to fill out and take shape. All said and done, I have four more stringers to attach, the topside notches to cut and the topside chine logs. Then it’s on to scarfing the ply for the sides and bottoms.

Australian Sailfish: Setting up Frames

With the frames cut out I ran the deck plank through my planer to get it to 1/2 inch and set it up on a strongback. Not happy with this strongback, btw. Tried to make it from MDF… dimensional lumber would have been better. The order of operations here is as follows:

  1. Set up the frames on the deck plank at the correct intervals
  2. Install the daggerboard trunk between frames 3 and 4
  3. With frames 3 and 4 supported by the trunk, set the keel plank down
  4. Square up the rest of the frames under the keel plank to ensure everything is running straight, and epoxy everything together

First, the daggerboard trunk. I actually ended up building two of these since the first one developed a warp that I couldn’t pull out.

With the daggerboard trunk set and trimmed, it’s time to place it under the keel plank and trace the curve so that it fits snugly between the keel and the deck. I did the cutting with a jig saw, and then planed down to the line, checking for square across the two edges of the ply with a try square. Once that curve was established and the fit dialed in, I installed bracing along the top and bottom edges of the trunk.

And finally, with the trunk trimmed and ready, it’s time to epoxy the whole shebang together. This went really well. First I rolled a coat of epoxy down the entire deck plank and coated the fore and aft faces, and the top and bottom edges of the trunk with un-thickened epoxy. Then I added silica into what was left in the cup. I glopped the epoxy onto all the contact surfaces of the trunk and set frames three and four into place against it. Laying the keel plank down with packing tape between it and the trunk, I verified the trunk was centered on both the deck and the keel planks, then clamped the whole thing down.

Frames set up and squared up, it’s time to fillet. I’m installing everything but the nose frame, which needs some shaping. Also, I’m going to need to put this whole things on casters to be able to shift it around. This space is too narrow to work on more than one side at a time, and that’s going to be a problem.

Next up: Nose frame, more filleting, and then stringers.

Australian Sailfish: Tracing Frame Patterns

Welp, here we go. I’m on to another boat. This build shall represent a new stage of maturity in my boatbuilding skills, whereupon I build something that sails and is made all of wood. It’s an Australian Sailfish, and you may avail yourself of Google if you don’t know what that is. Building a sailboard seems to make sense for lots of reasons: it’s still light enough to car top and lug around without lots of mechanical assistance, and it’s something you could conceivably paddle around, like a SUP. This is important because our local lake has sections, joined by very narrow stretches that would be difficult to sail through to get to more open water. Also, I can see the kids beating around on this without feeling so intimidated as they might feel in a “real” boat.

So here we go. I ordered the plans for free from the class page, and I’ve had some very helpful conversation with the folks over there as I work through my approach. My main departure from the plans is that I’ve opted to build the sides out of 6mm ply since the spec’d Western Red Cedar (WRC) is super expensive and sometimes not judiciously sourced by suppliers. This has the side effect of potentially making the boat lighter, which always makes a better boat. But since the plans were drawn to the assumption that the sides would add an extra half inch, I have to extend the frame lines out by 1/2 inch minus the 4mm thickness of the ply. I did this by sawing a stick to 1/2 in, then holing it up the edge of the ply and tracing a second line. I then planed the stick down to that line, and used the stick to draw directly on the plans sheets.

I’m tracing the patterns onto the ply with carbon paper. This is my favorite method. The other would be to simply spray mount the paper plans directly to the plywood, and cut directly from the plans lines. Carbon takes more time, but saves me sanding the paper off later, and I don’t mind taking the extra time.